Cisco Tetration - Hands-On Lab
Module25: Container Policies and Enforcement
In this module we will configure the policies and enable enforcement on a microservices web application running in Amazon EKS. Amazon Elastic Kubernetes Service (EKS) provides a Kubernetes master controller and worker node(s) to deploy containerized applications. During the lab build process, an EKS cluster was brought up and the application was deployed into Kubernetes. In this module, we will create an application workspace for the microservices application and define the clusters based on queries using the Kubernetes labels that were configured as part of the application deployment, and that are being brought into Tetration via the External Orchestrator configuration that we performed in Module 6. We will then create the policies needed to secure traffic between the multiple tiers of the application, and enable enforcement. Finally, we will test to make sure the application is still functioning once moving into enforcement.
Steps for this Module
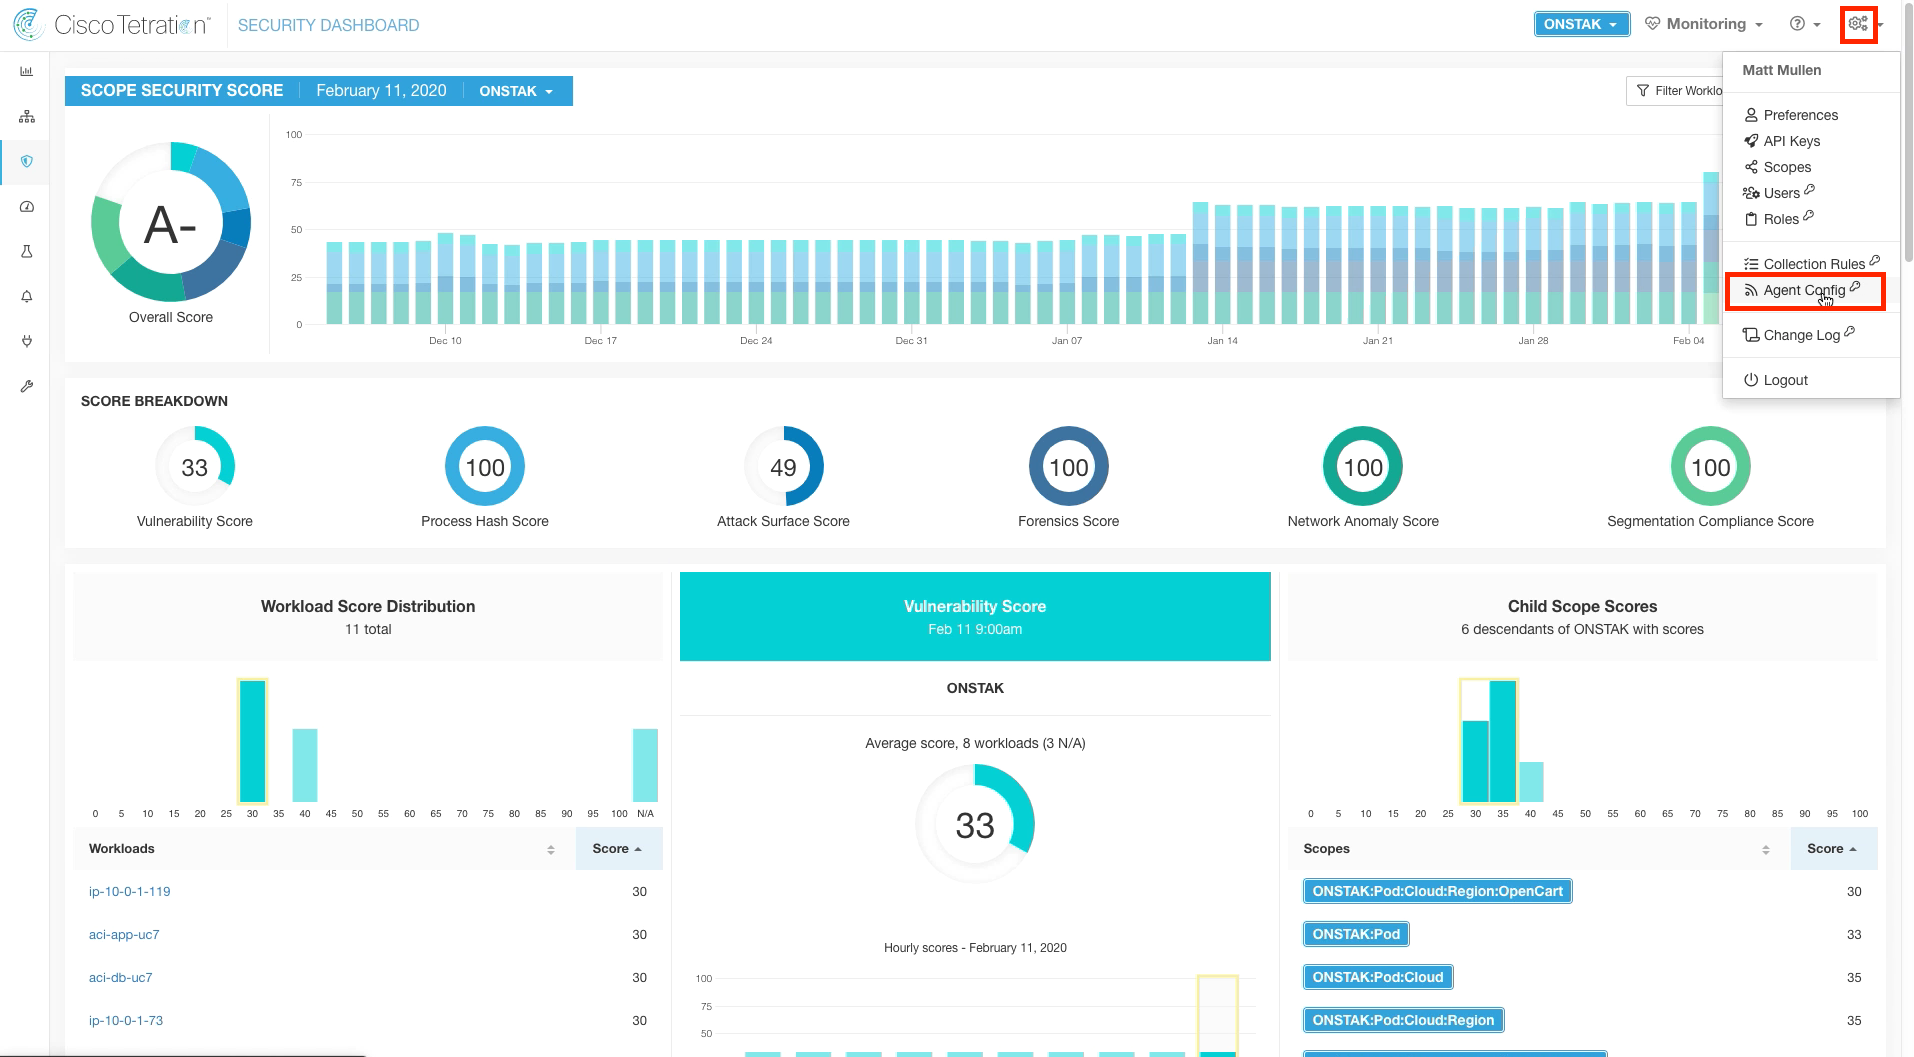
Step 001 - Navigate to Agent Config
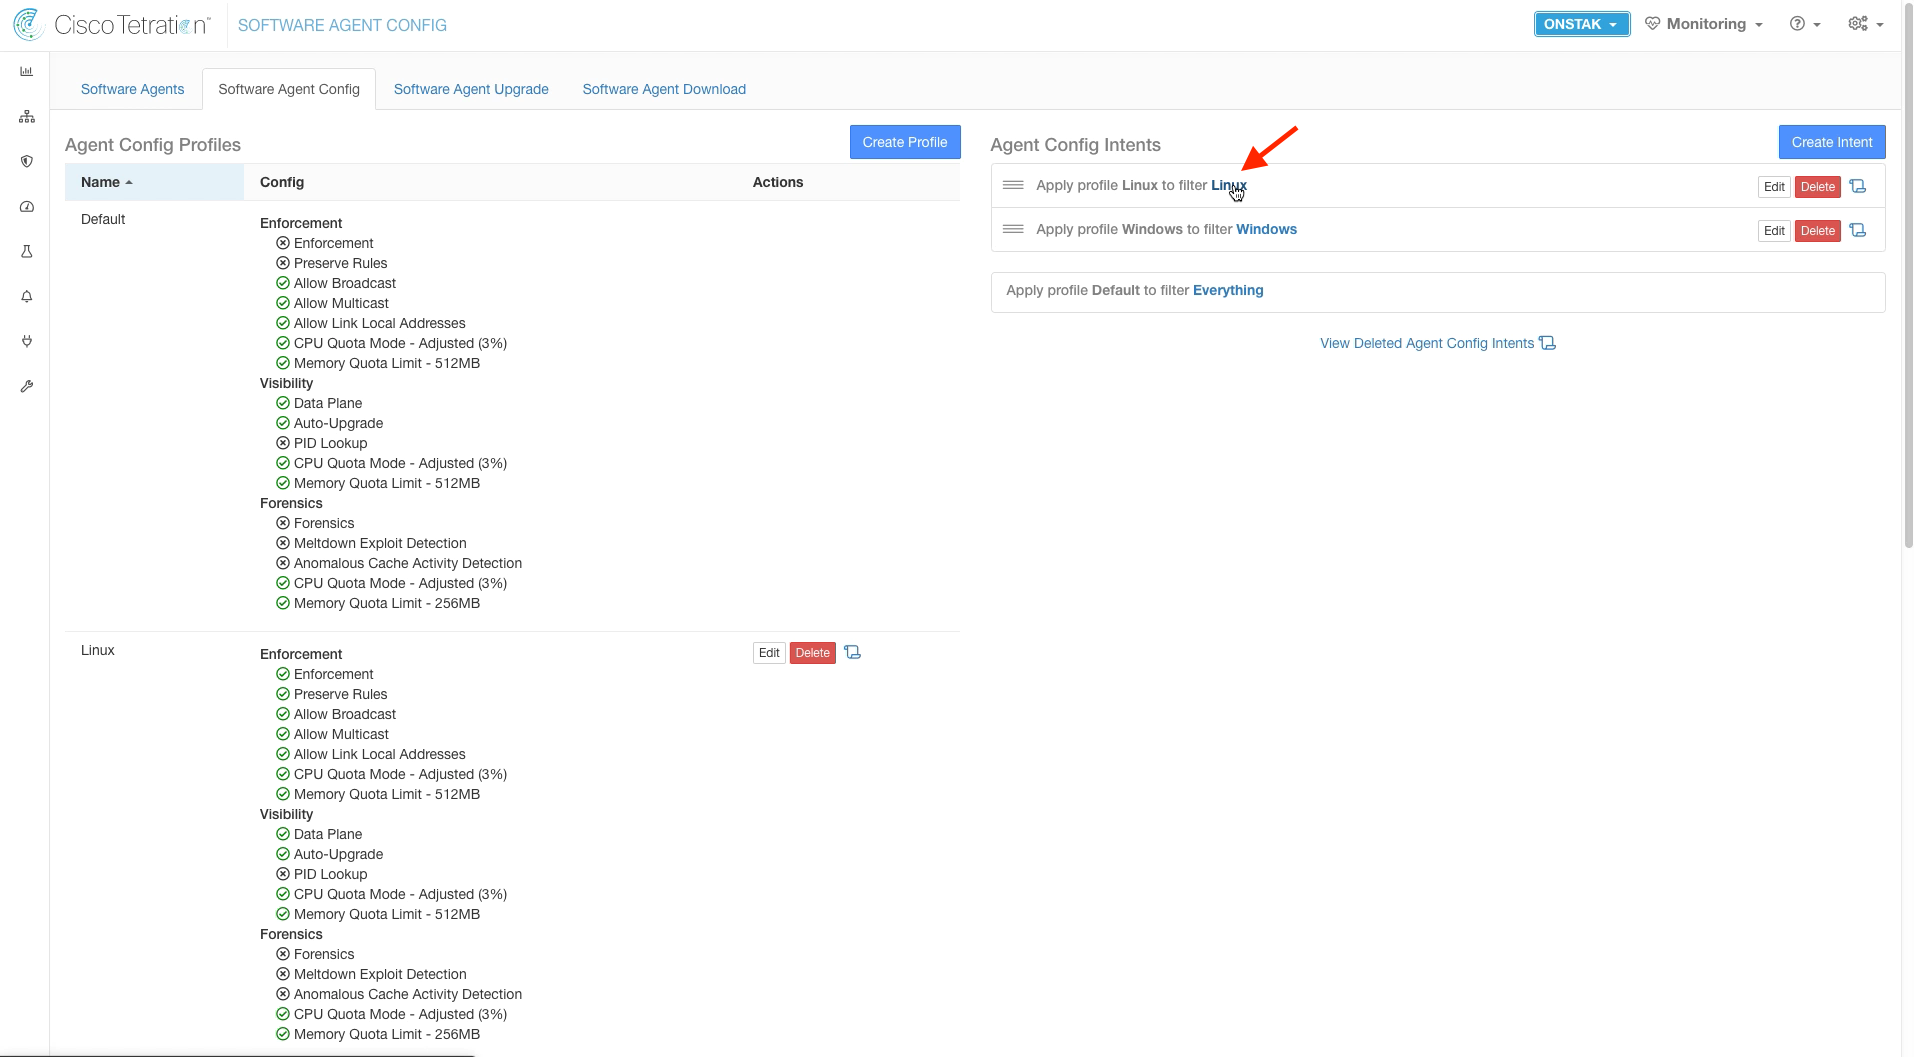
Step 002 - Click to select the Linux Inventory Filter
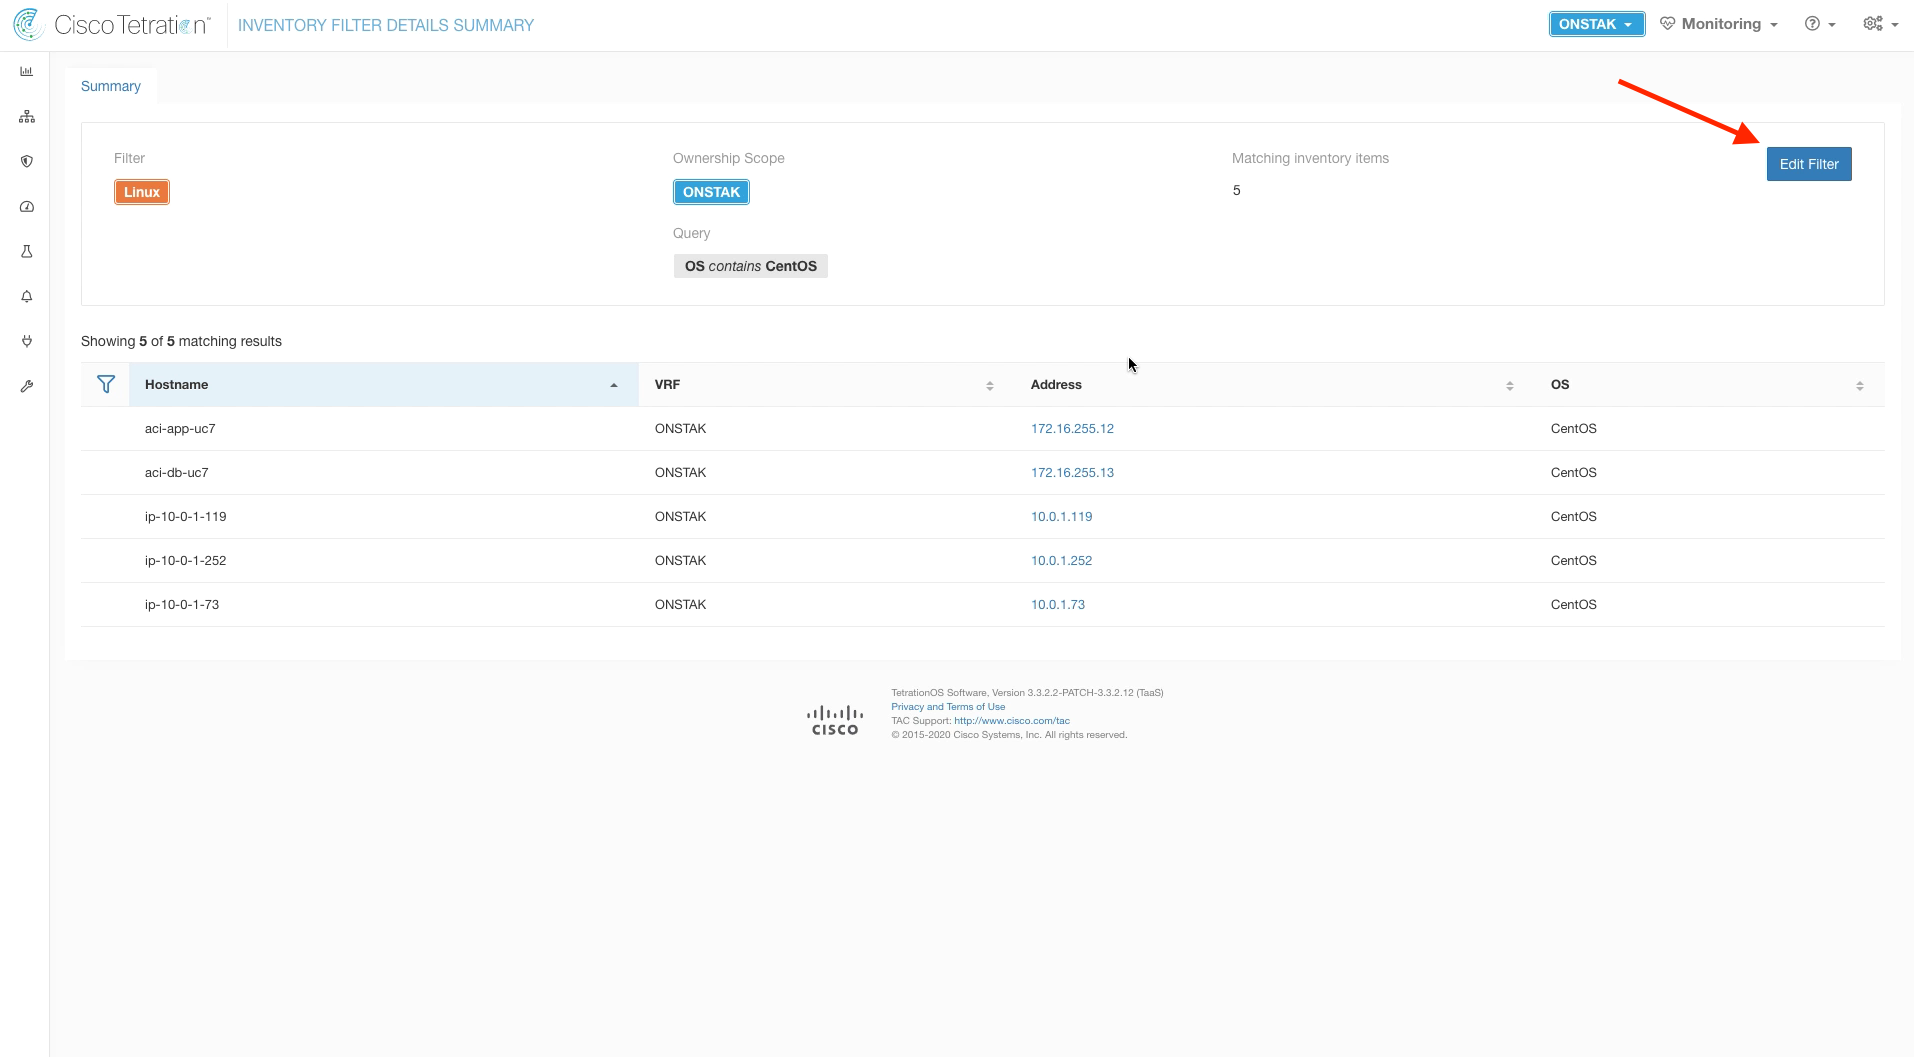
Step 003 - Edit the Inventory Filter
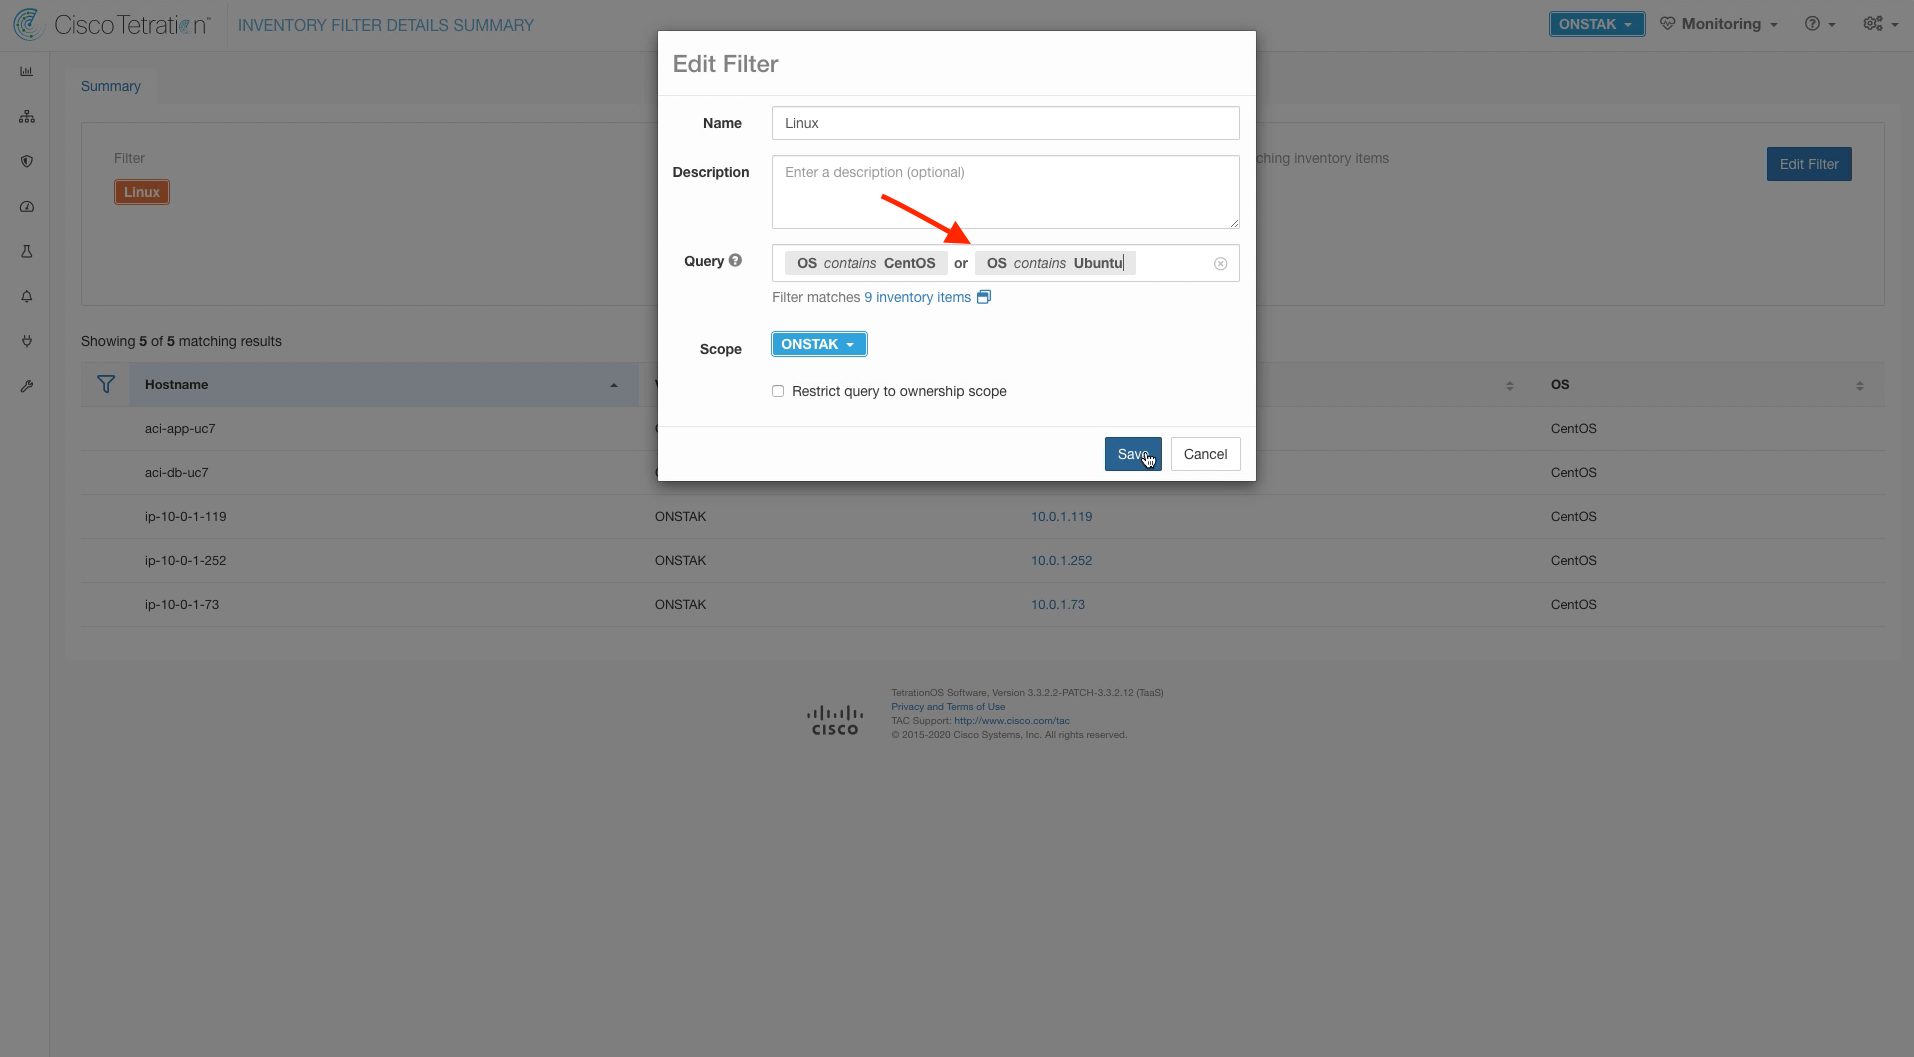
Step 004 - Modify the Query to include Ubuntu
Step 005 - Create a new application workspace
Step 006 - Create the Sock Shop workspace
Step 007 - Create Cluster
Step 008 - Edit the Cluster details
Step 009 - Create the first cluster
Step 010 - Create the additional clusters
Step 011 - Add a manual policy
Step 012 - Add all policies
Step 013 - Test access to the Sock Shop application
Step 014 - Navigate to Inventory Search
Step 015 - Filter for OS contains Ubuntu
Step 016 - Examine Container Policies
Step 017 - Navigate to the Sock Shop application
Step 018 - Click on Policy Analysis
Step 019 - Start Policy Analysis
Step 020 - Analyze policies
Step 021 - Move the application into enforcement
Step 022 - Enforce the latest policy
Step 023 - Navigate to Inventory Search
Step 024 - Click the link to the EKS worker node
Step 025 - Examine the message regarding policies
Step 026 - Review Container Policies
Step 027 - Filter Container Policies
Step 028 - Filter Container Policies
Step 029 - Test the application
Rules will be implemented on the EKS worker node that is running Ubuntu. Previously when we set up the Linux Inventory Filter, we set it up to match on the CentOS operating system. We must now modify the filter to include the Ubuntu operating system.
Navigate to Agent Config.
Click on the Linux Inventory Filter.
Edit the Inventory Filter.
Edit the query by adding the criteria or OS contains Ubuntu.
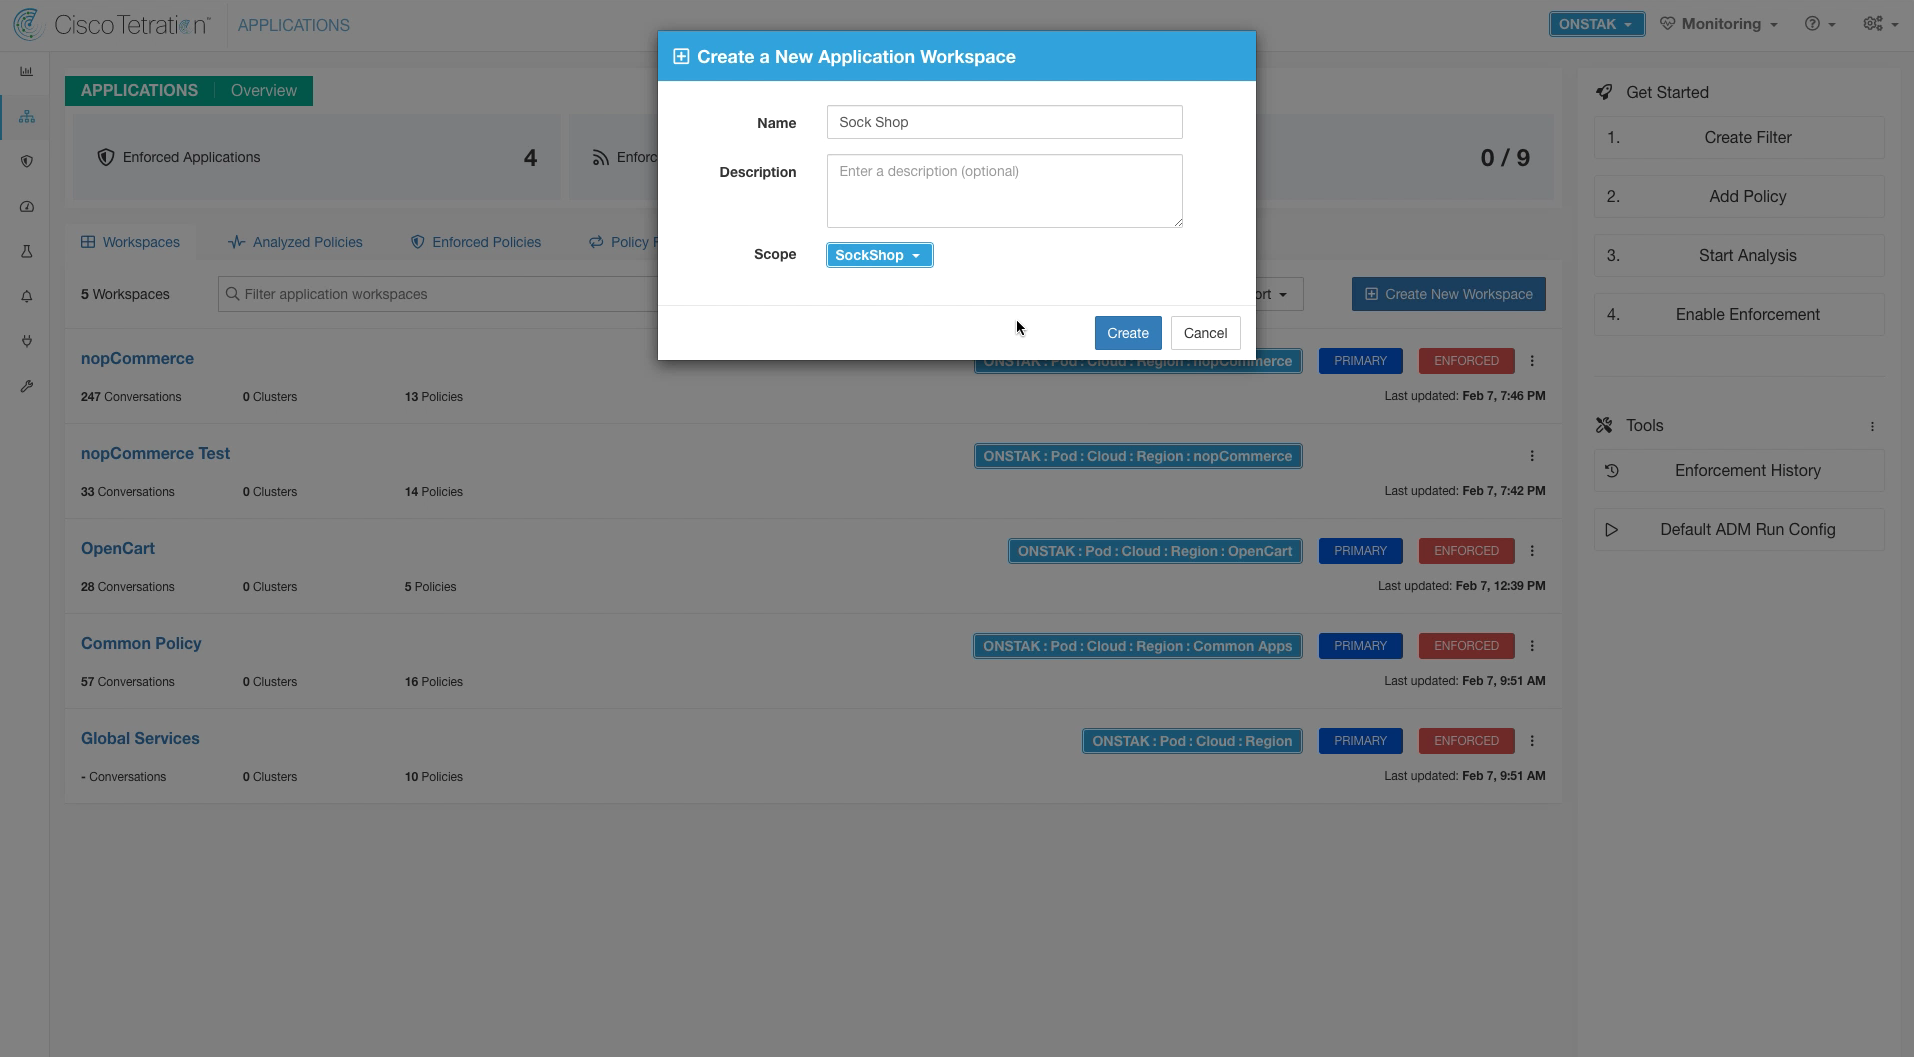
Navigate to Applications and create a new Application Workspace.

Enter Sock Shop for the name of the workspace, and select the SockShop scope.
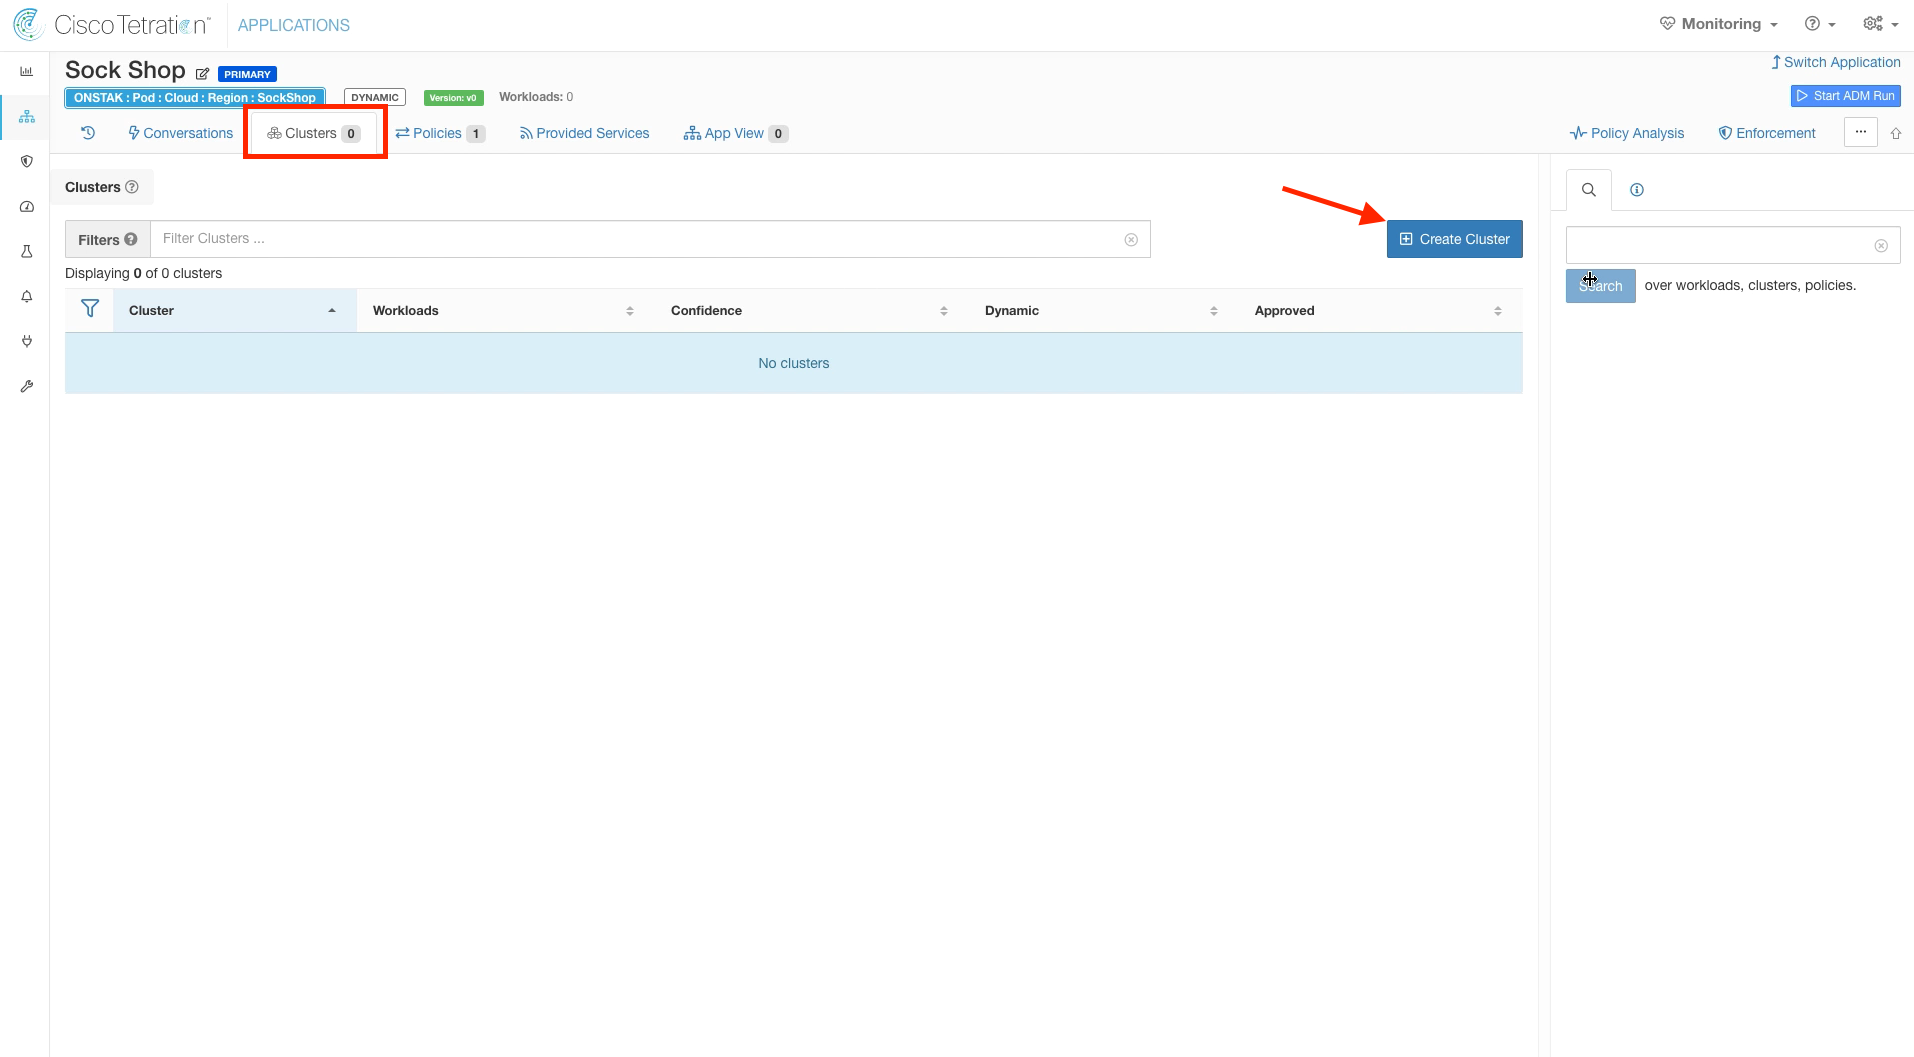
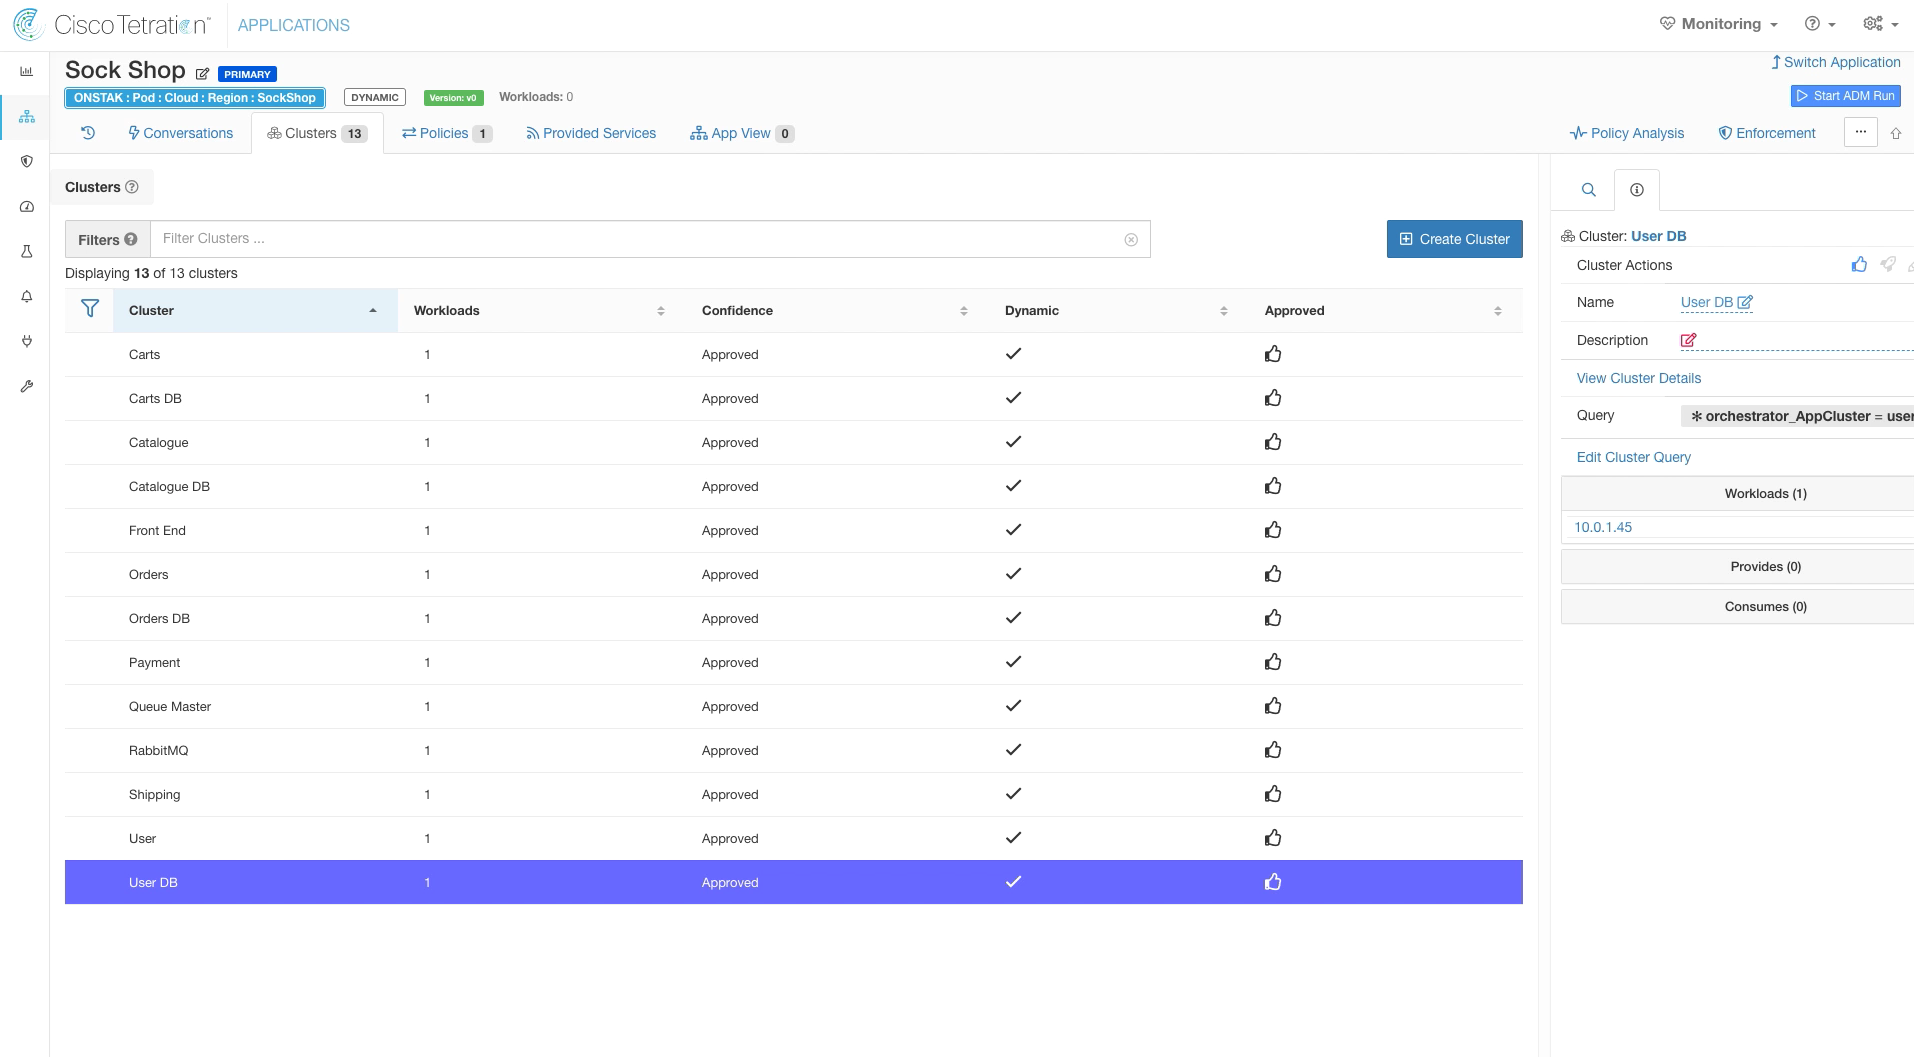
Click on the Clusters tab and then add a new cluster.
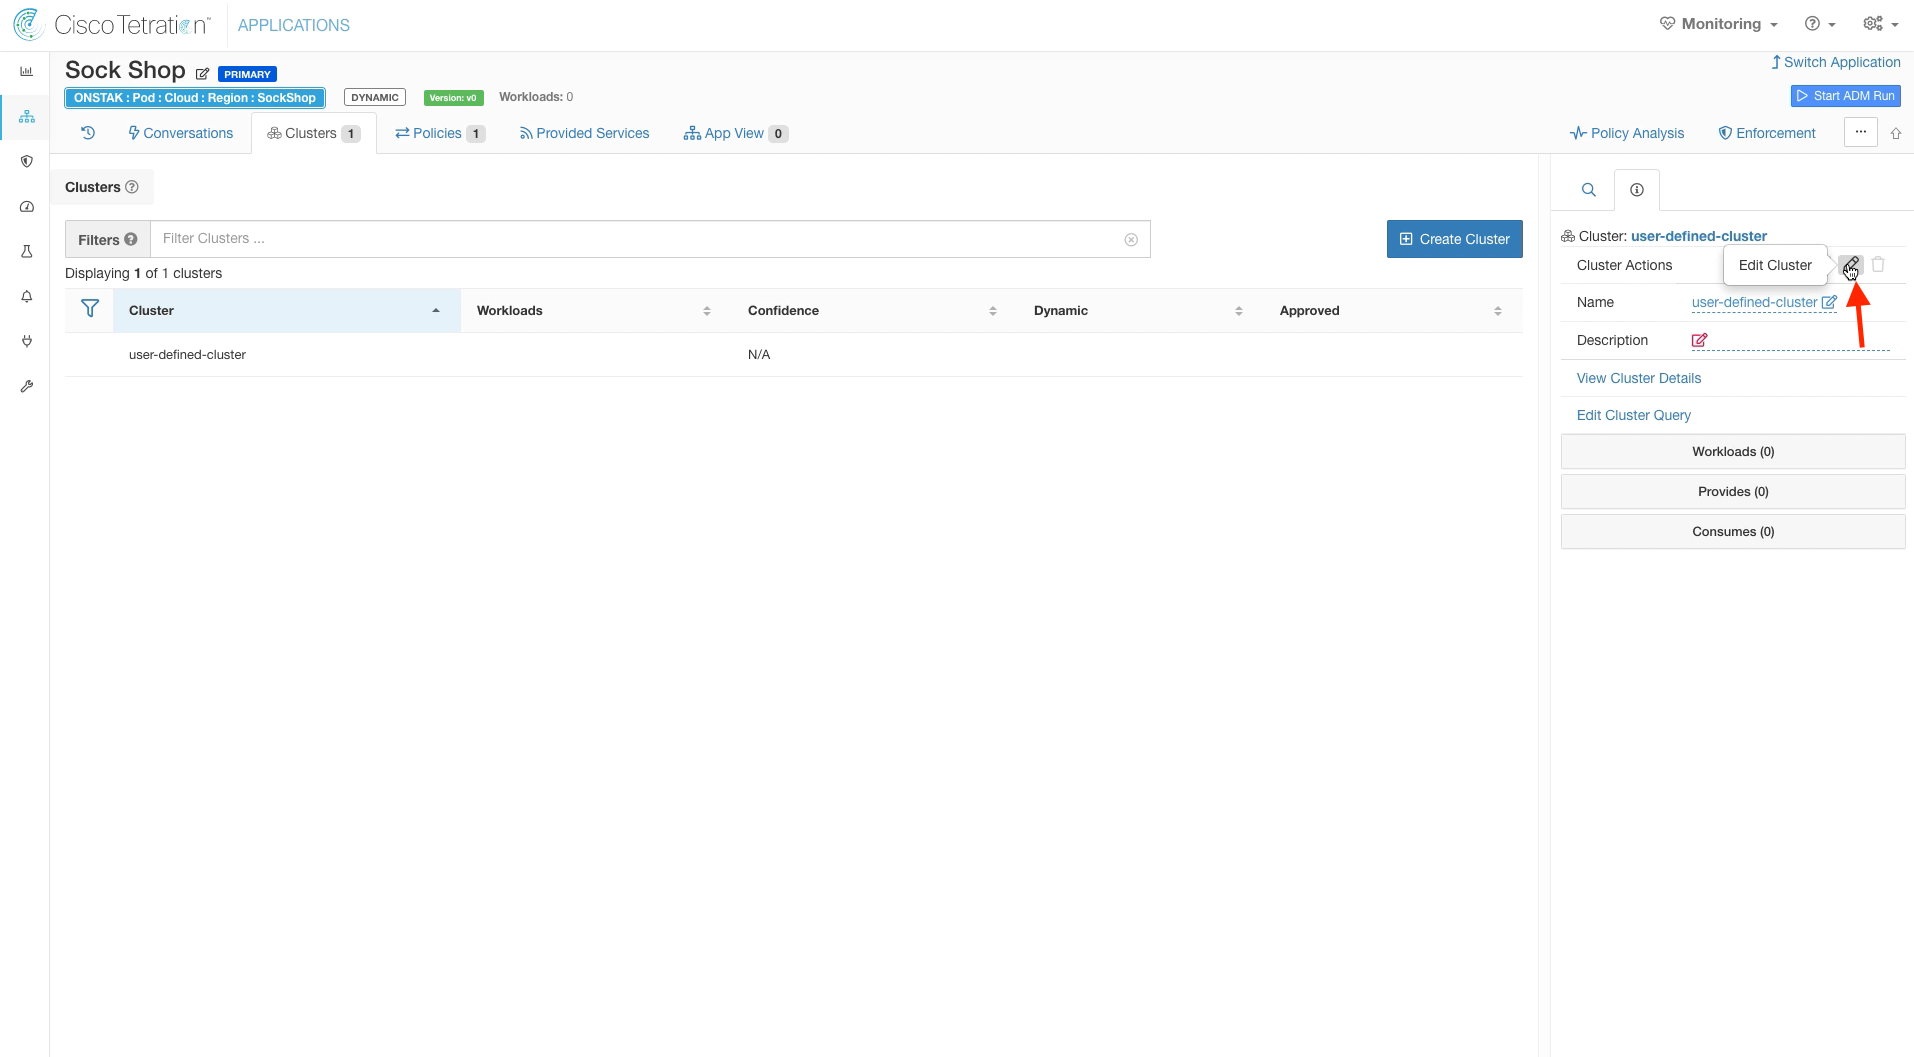
Edit the created cluster.
Enter the name Carts and query * orchestrator_AppCluster = carts.
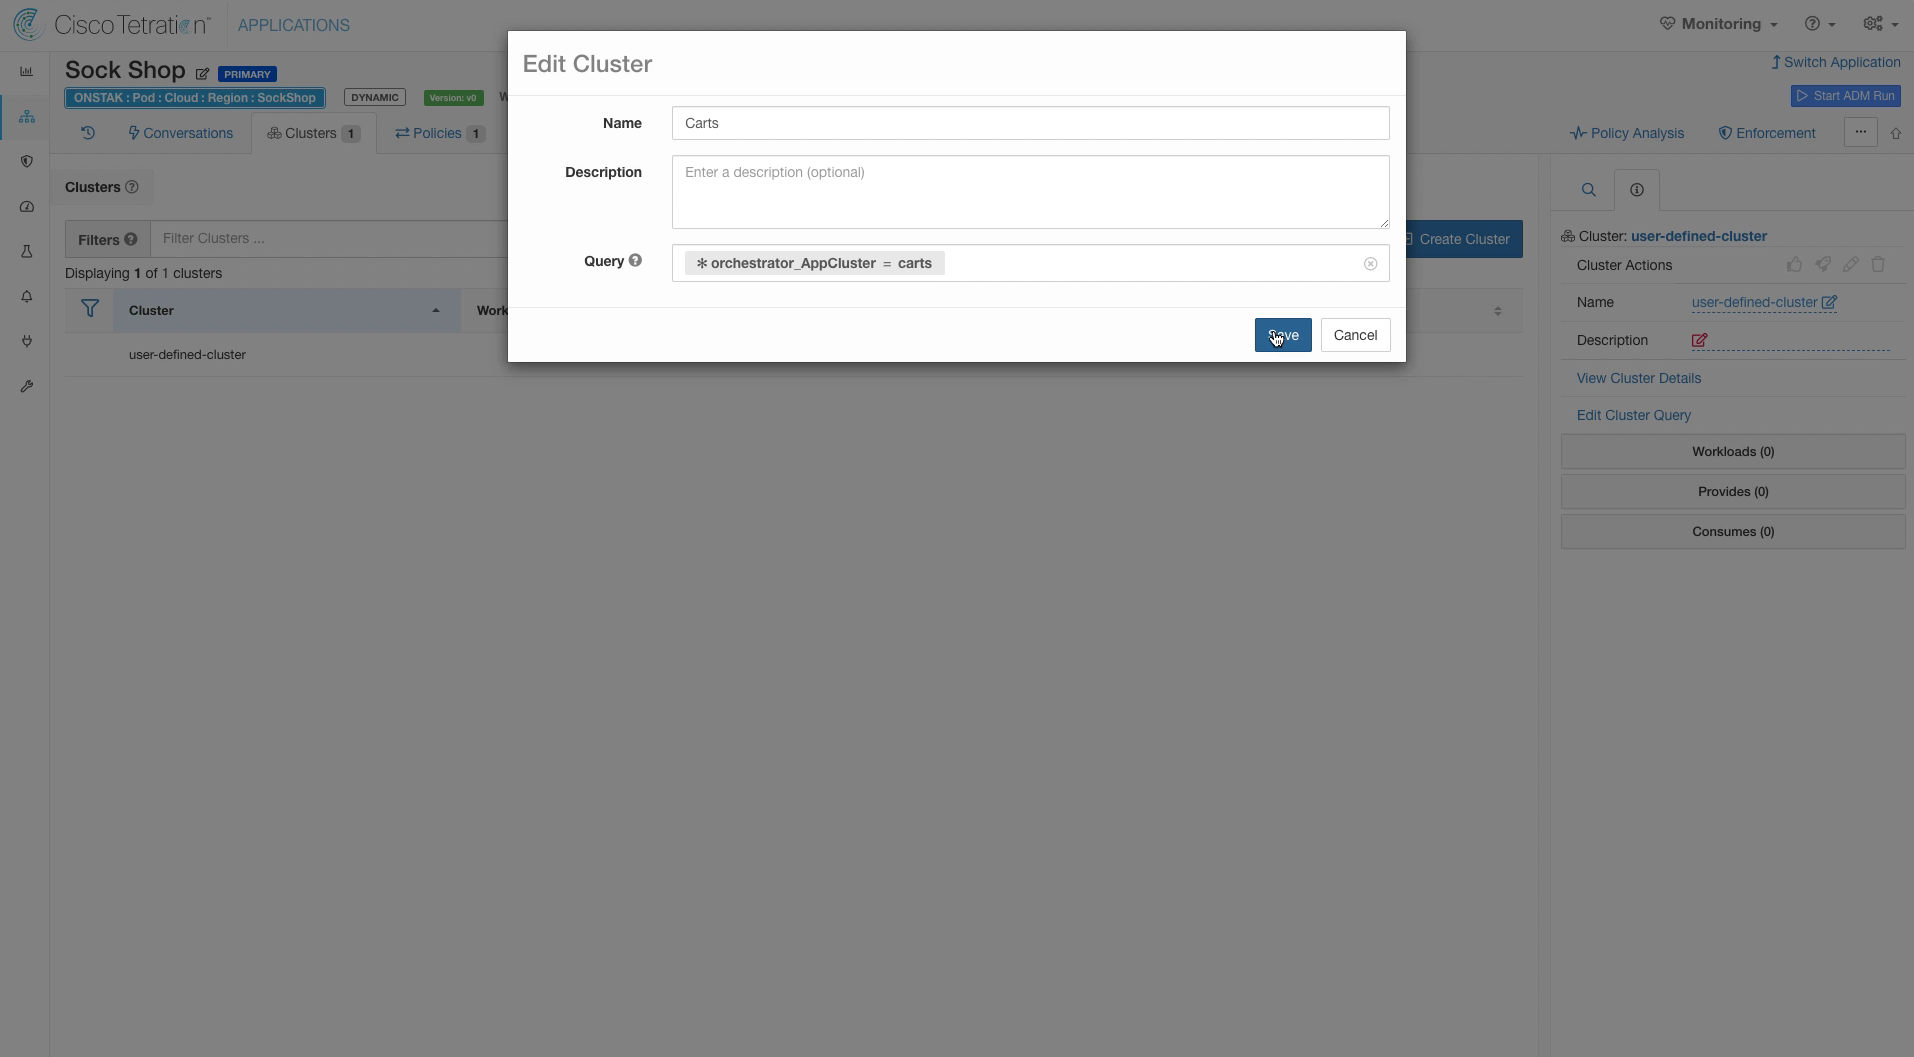
Create the rest of the clusters as shown below.
Name: Carts DB, Query: orchestrator_AppCluster = carts-db
Name: Catalogue, Query: orchestrator_AppCluster = catalogue
Name: Catalogue DB, Query: orchestrator_AppCluster = catalogue-db
Name: Front End, Query: orchestrator_AppCluster = front-end
Name: Orders, Query: orchestrator_AppCluster = orders
Name: Orders DB, Query: orchestrator_AppCluster = orders-db
Name: Payment, Query: orchestrator_AppCluster = payment
Name: Queue Master, Query: orchestrator_AppCluster = queue-master
Name: RabbitMQ, Query: orchestrator_AppCluster = rabbitmq
Name: Shipping, Query: orchestrator_AppCluster = shipping
Name: User, Query: orchestrator_AppCluster = user
Name: User DB, Query: orchestrator_AppCluster = user-db
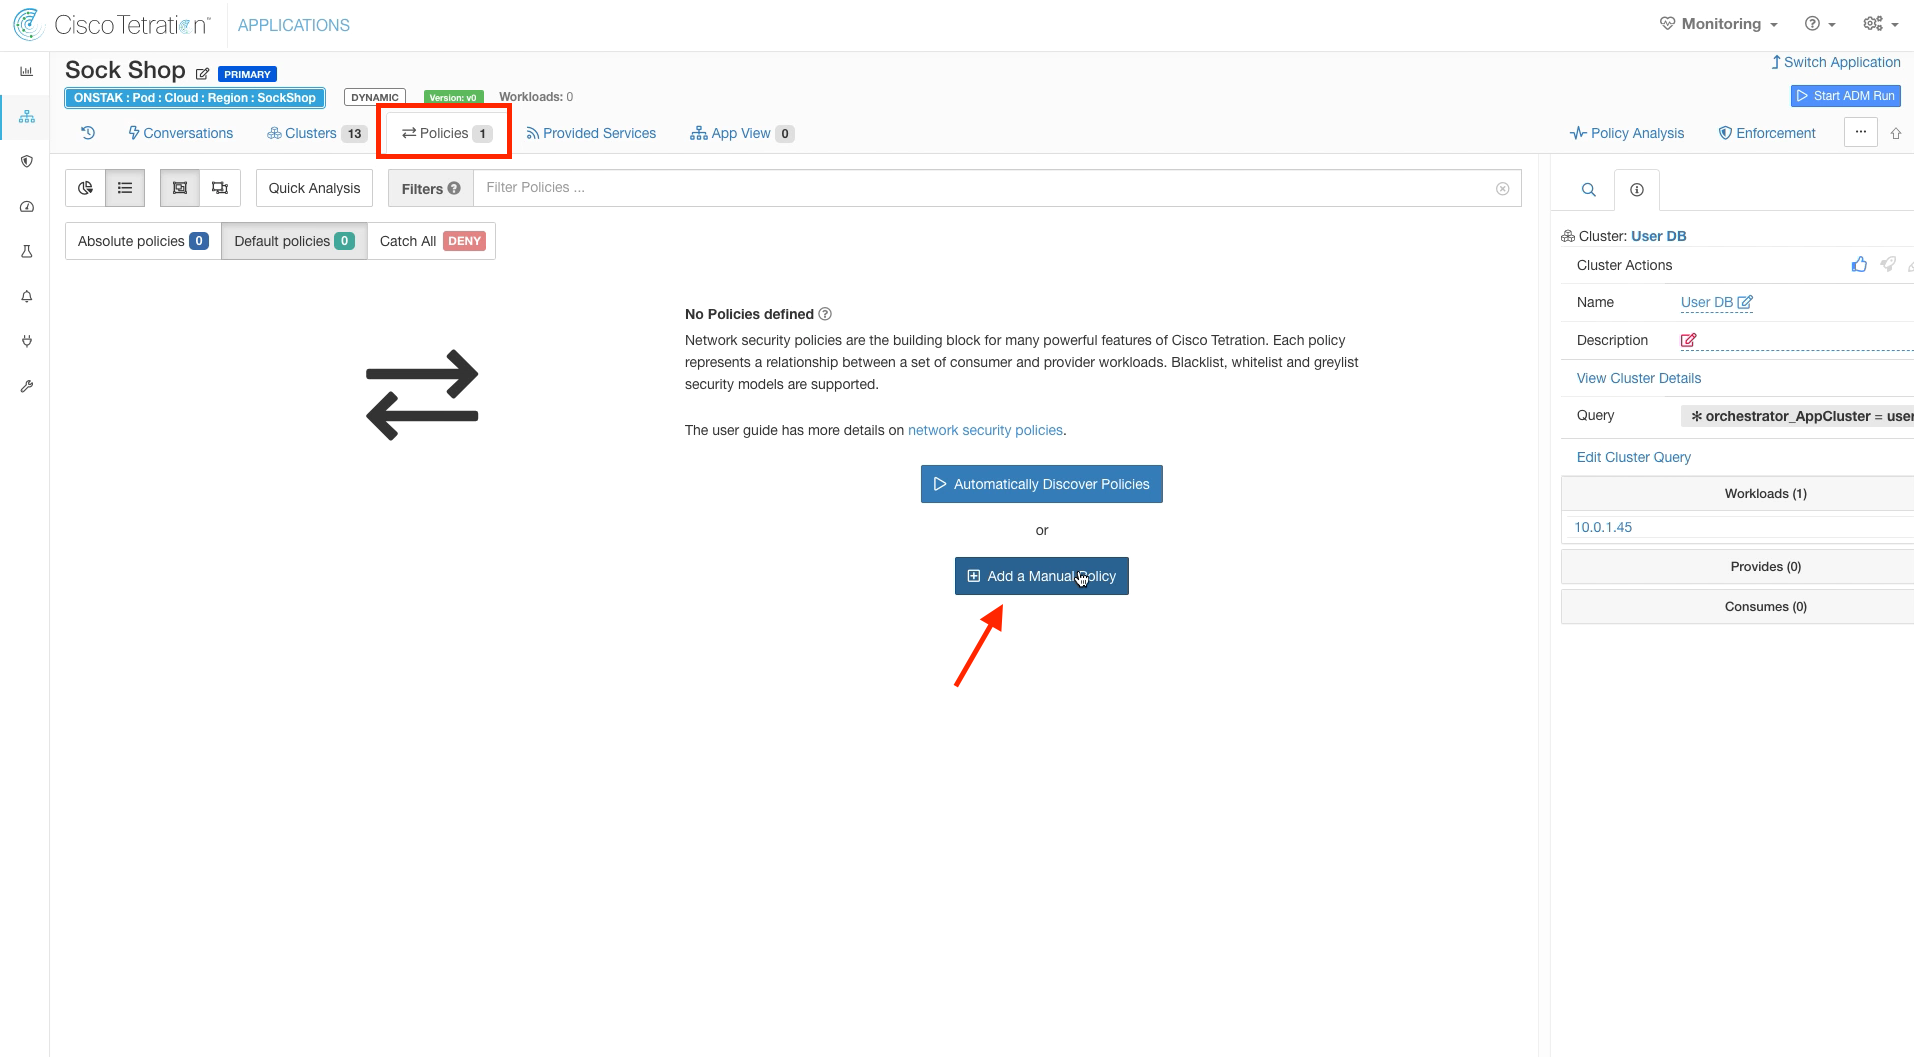
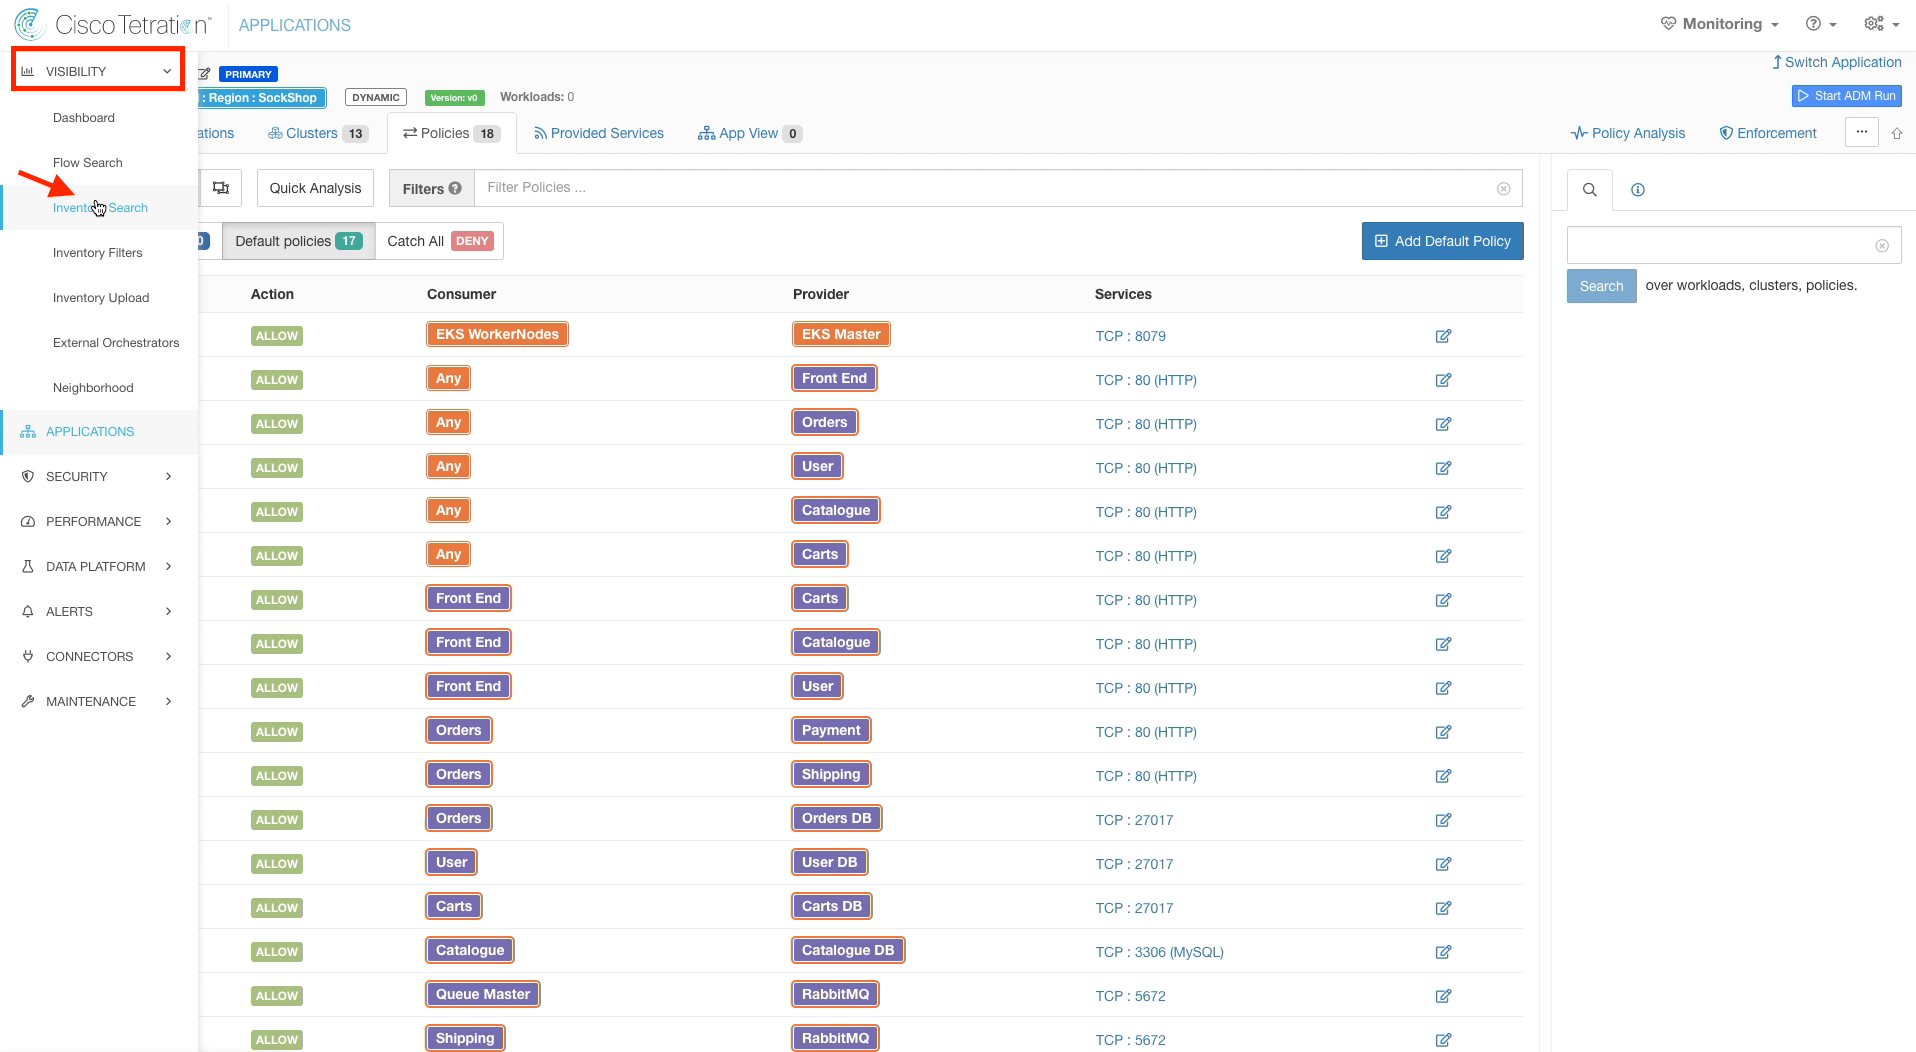
Click on Policies and Add a Manual Policy.
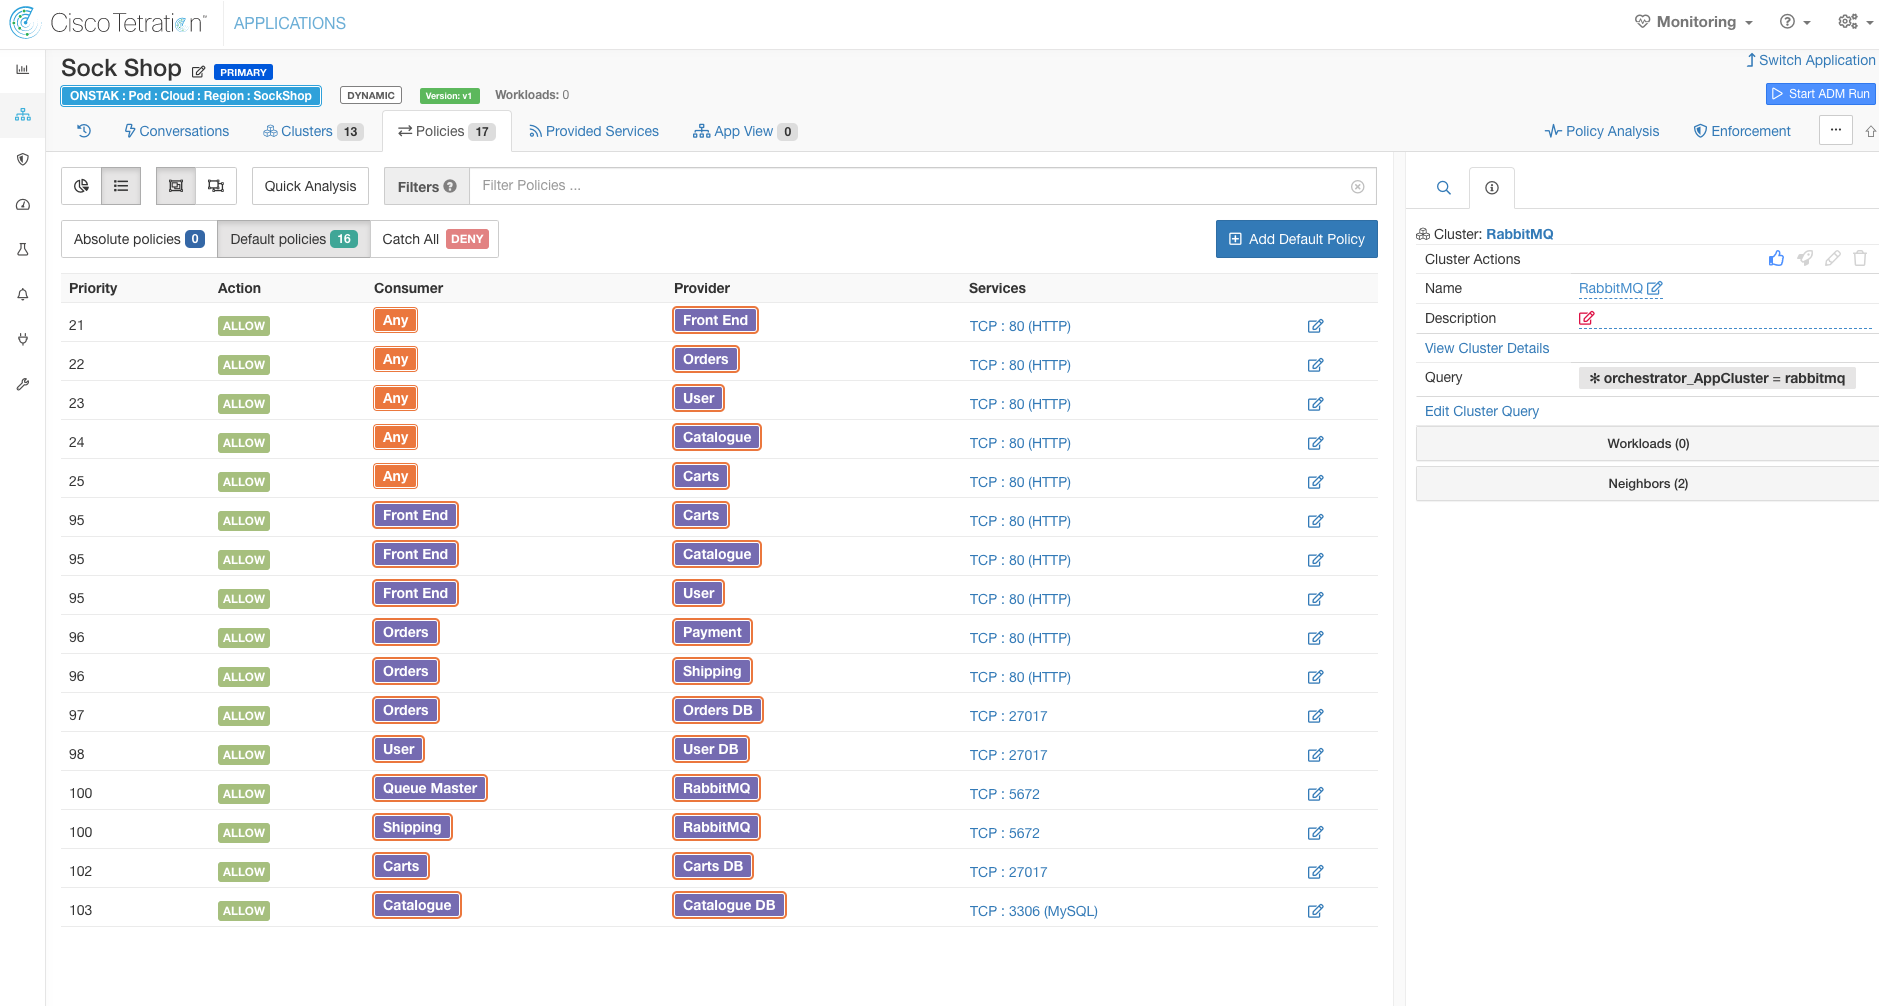
Enter the policies as shown in the image below.
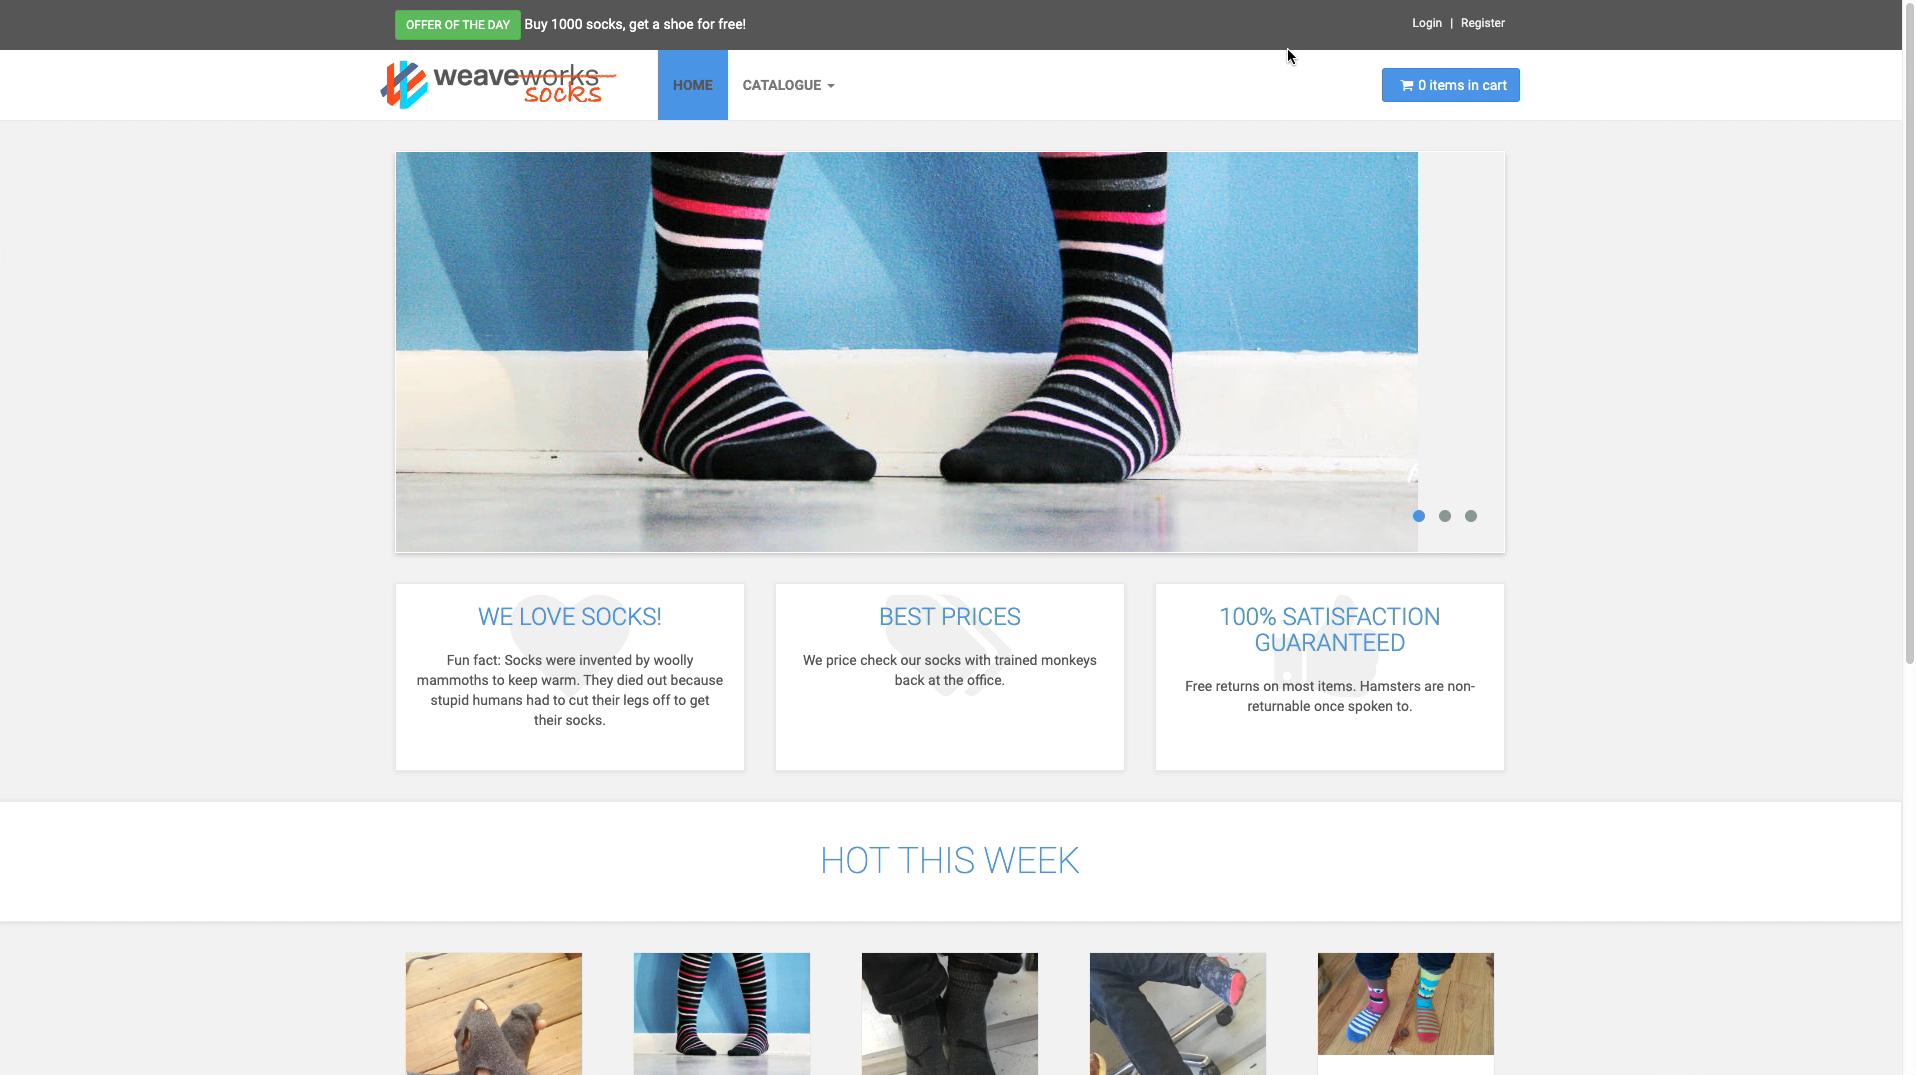
Open a web browser to the EKS Sock Shop public URL as listed in the student workbook. This is a microservices application that is deployed into Kubernetes. Navigate around the site to ensure all is working properly before we go into enforcement. Register as a new user, and go through the process of buying some socks.
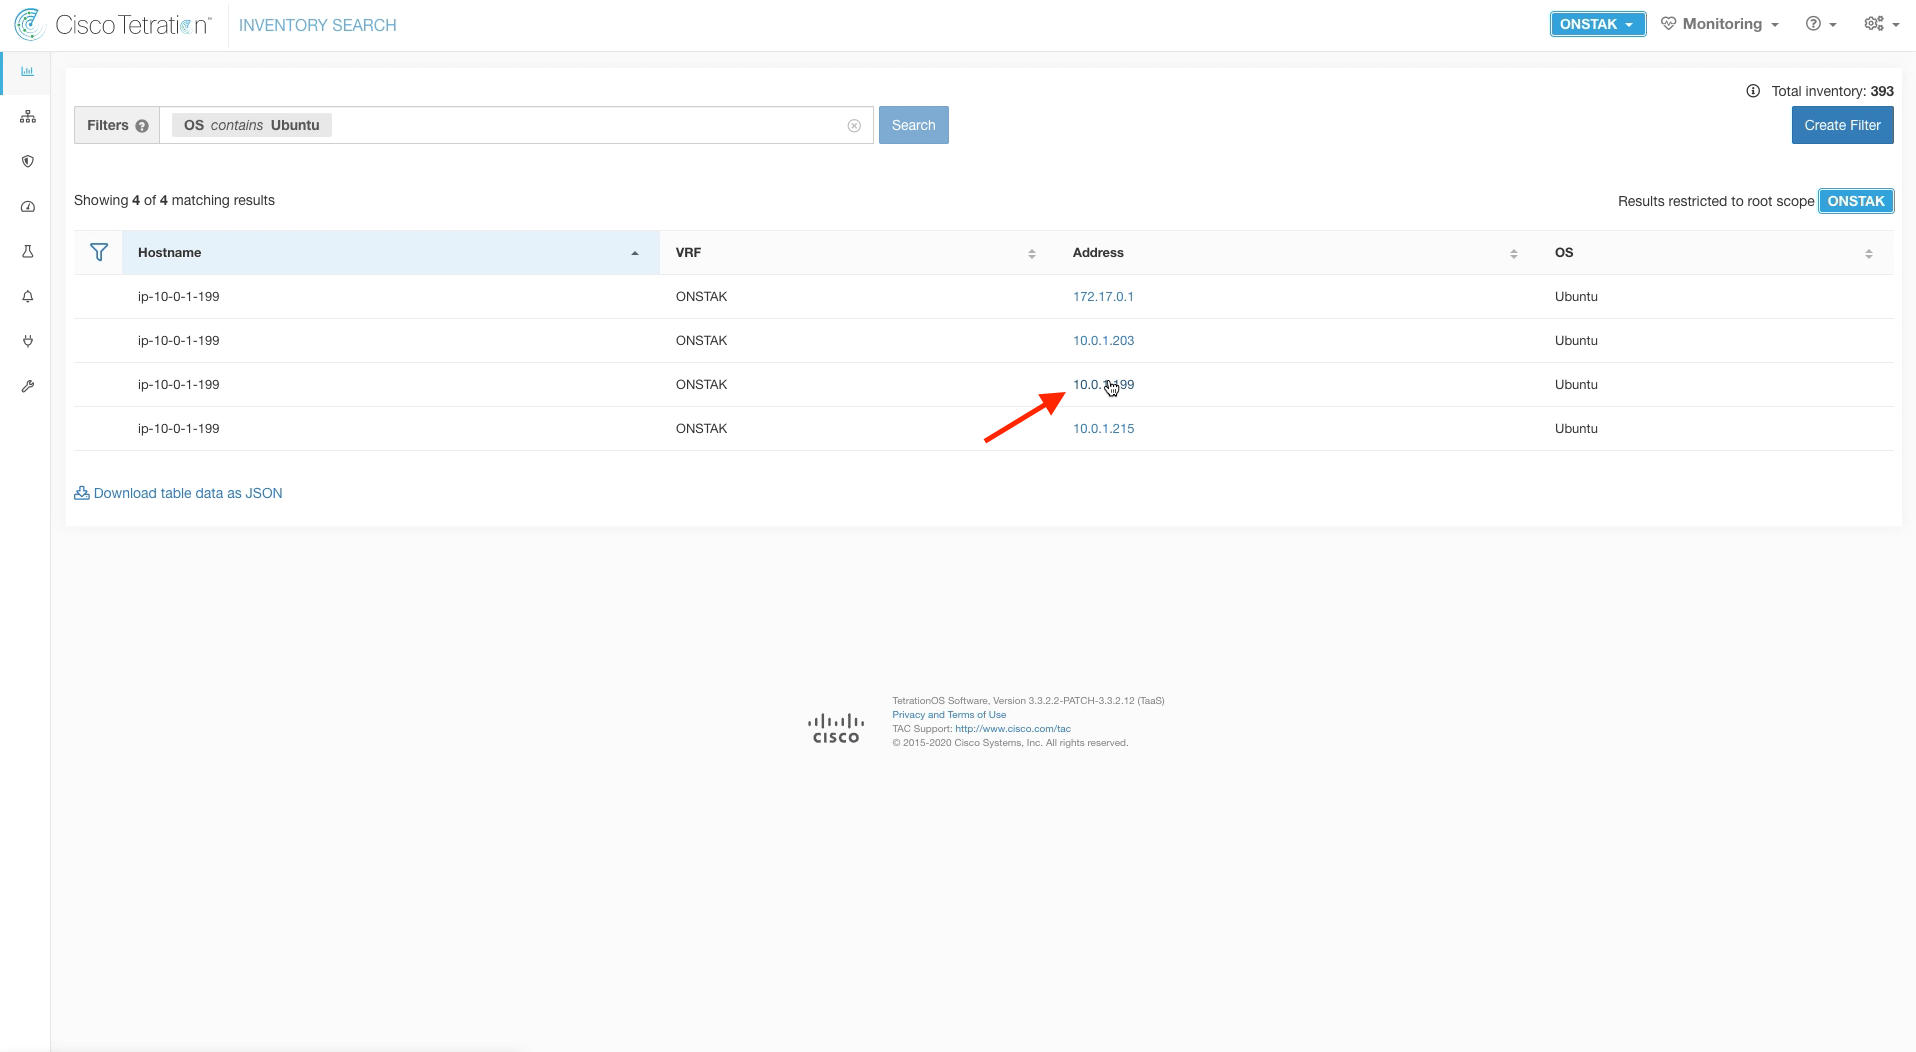
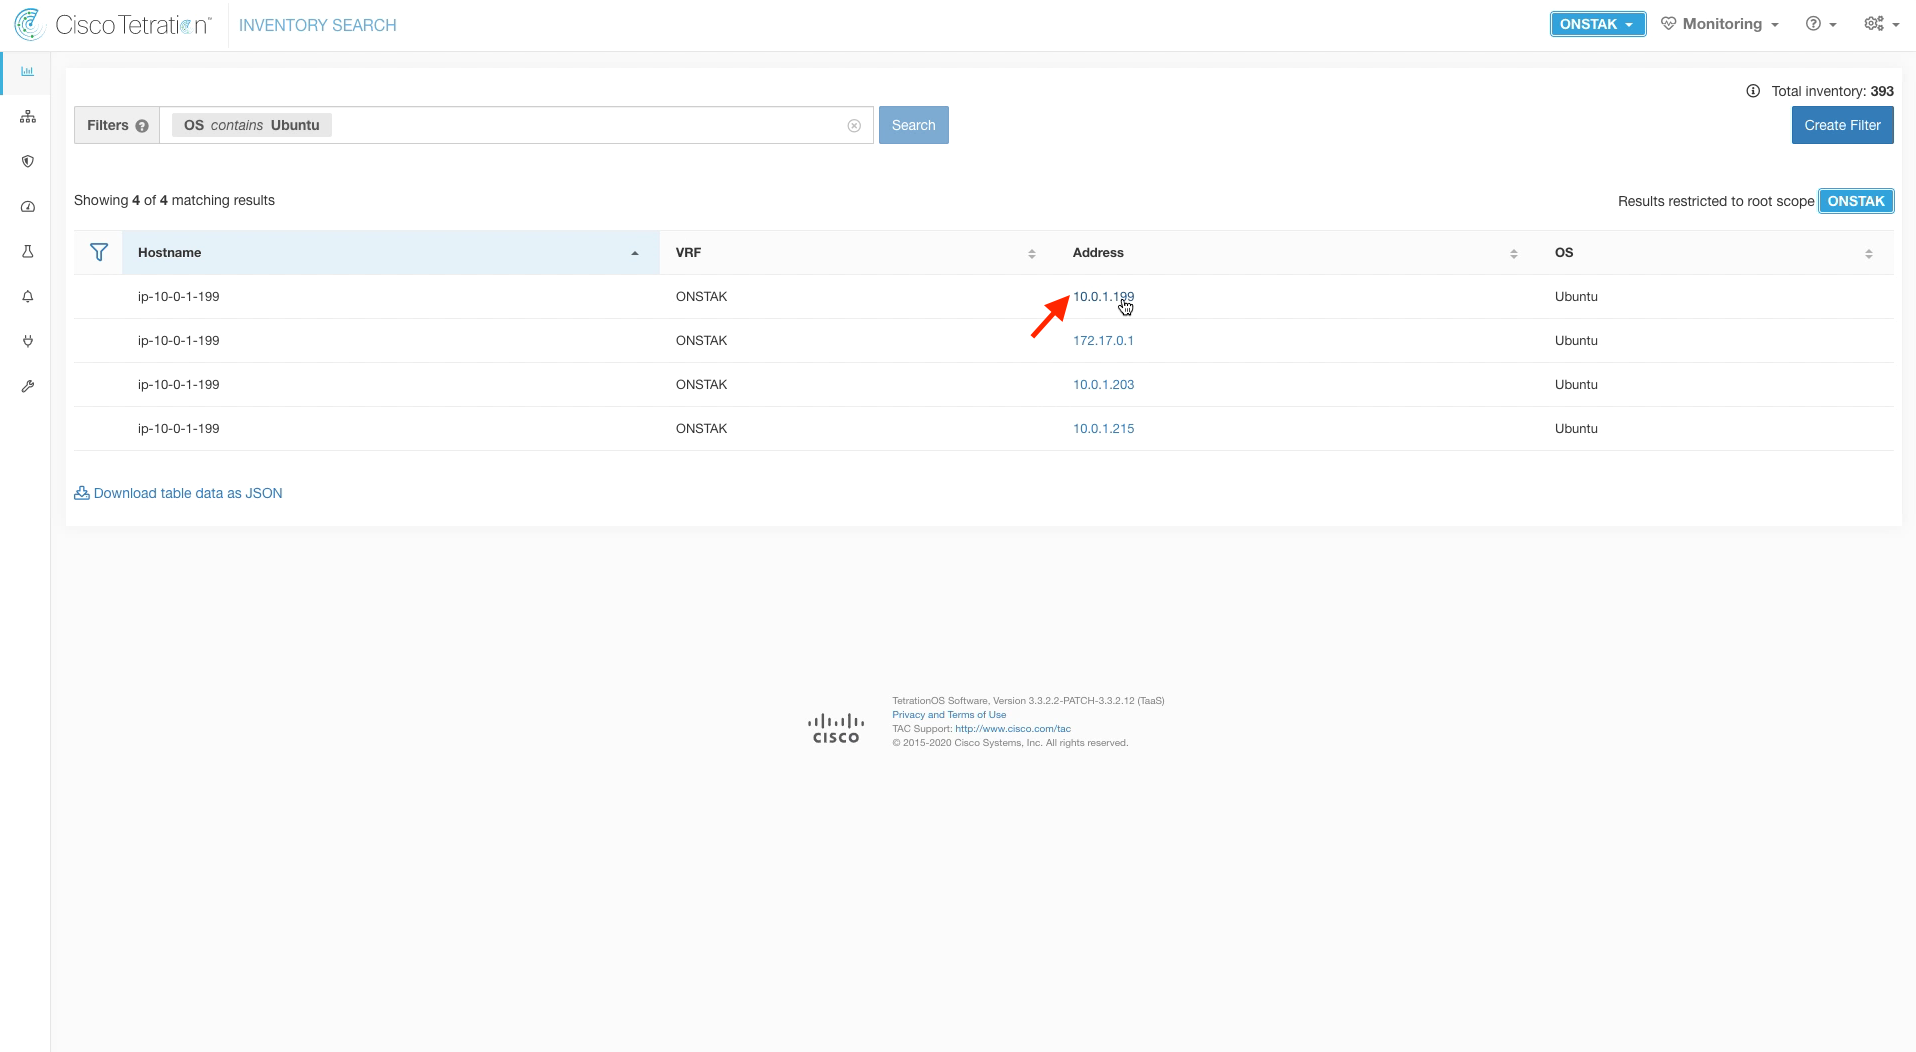
Navigate to Inventory Search.
Search for OS contains Ubuntu. Your EKS worker node should be listed. Click on the IP address to enter the Workload Profile.
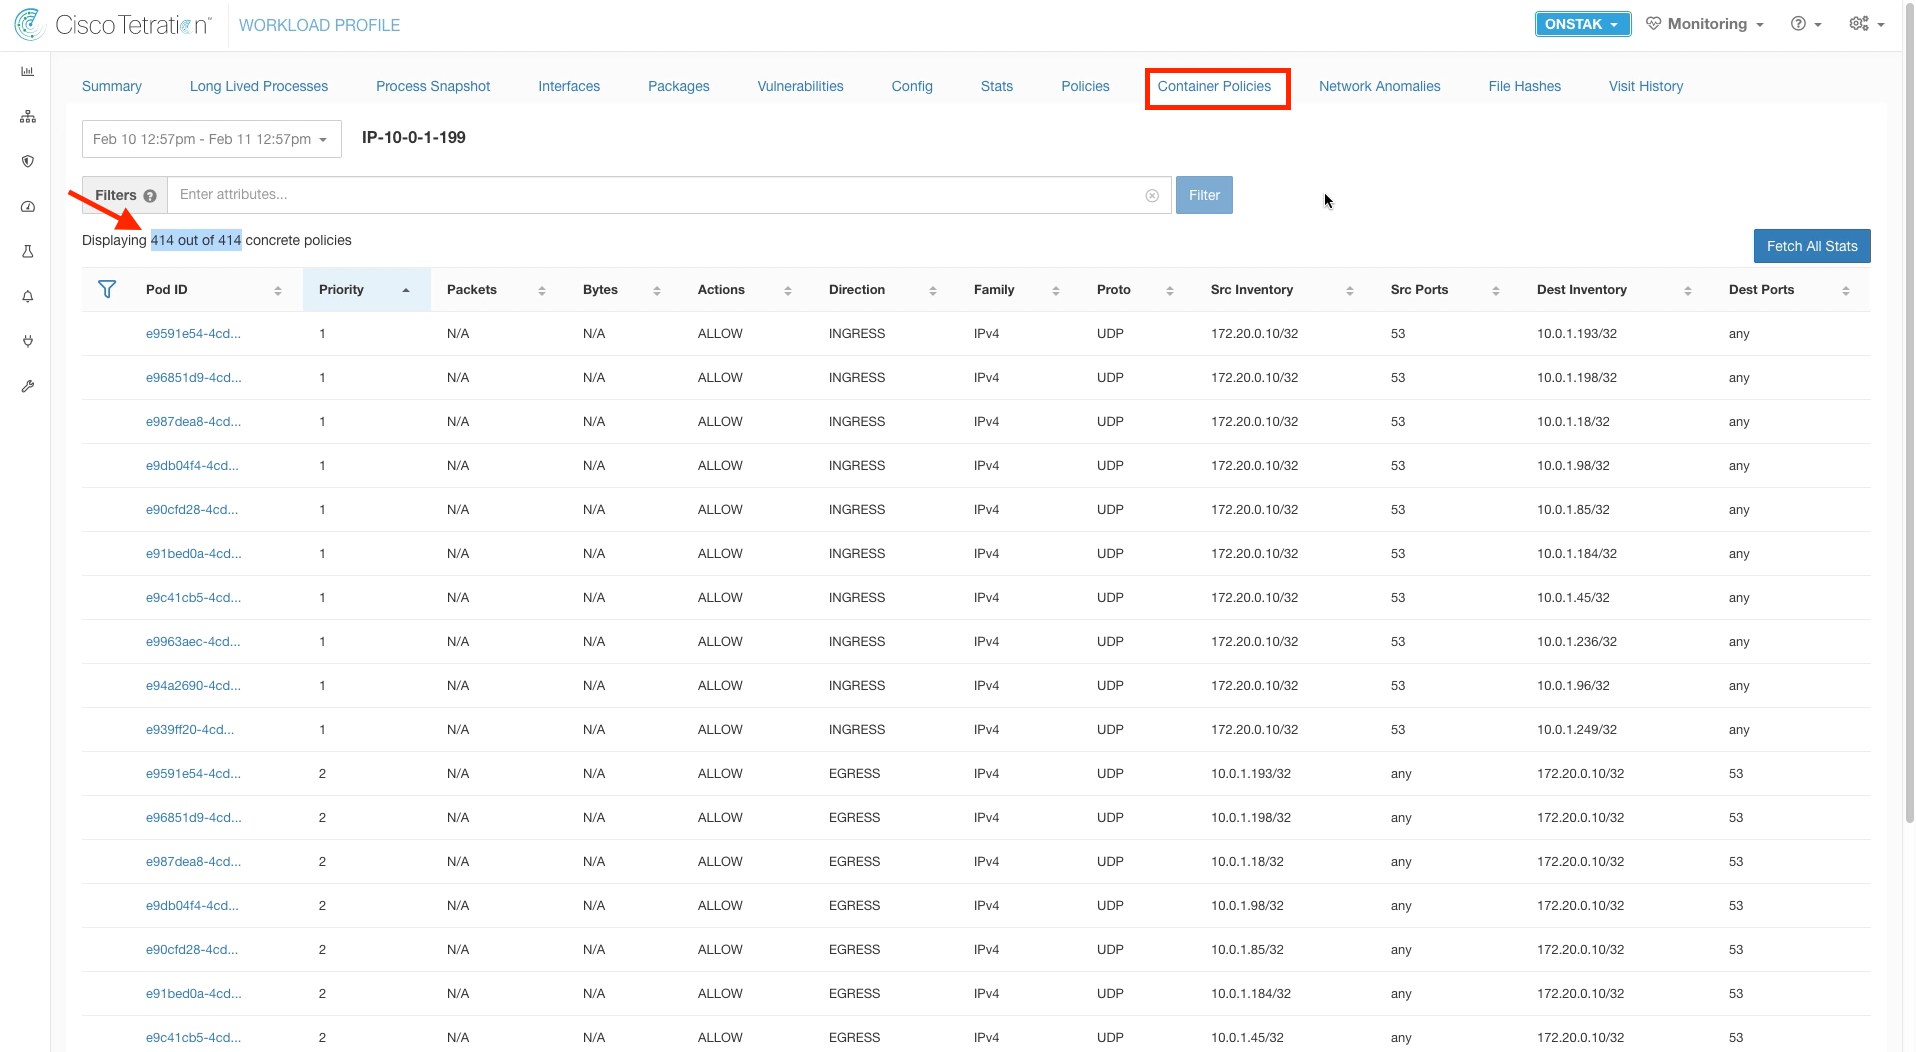
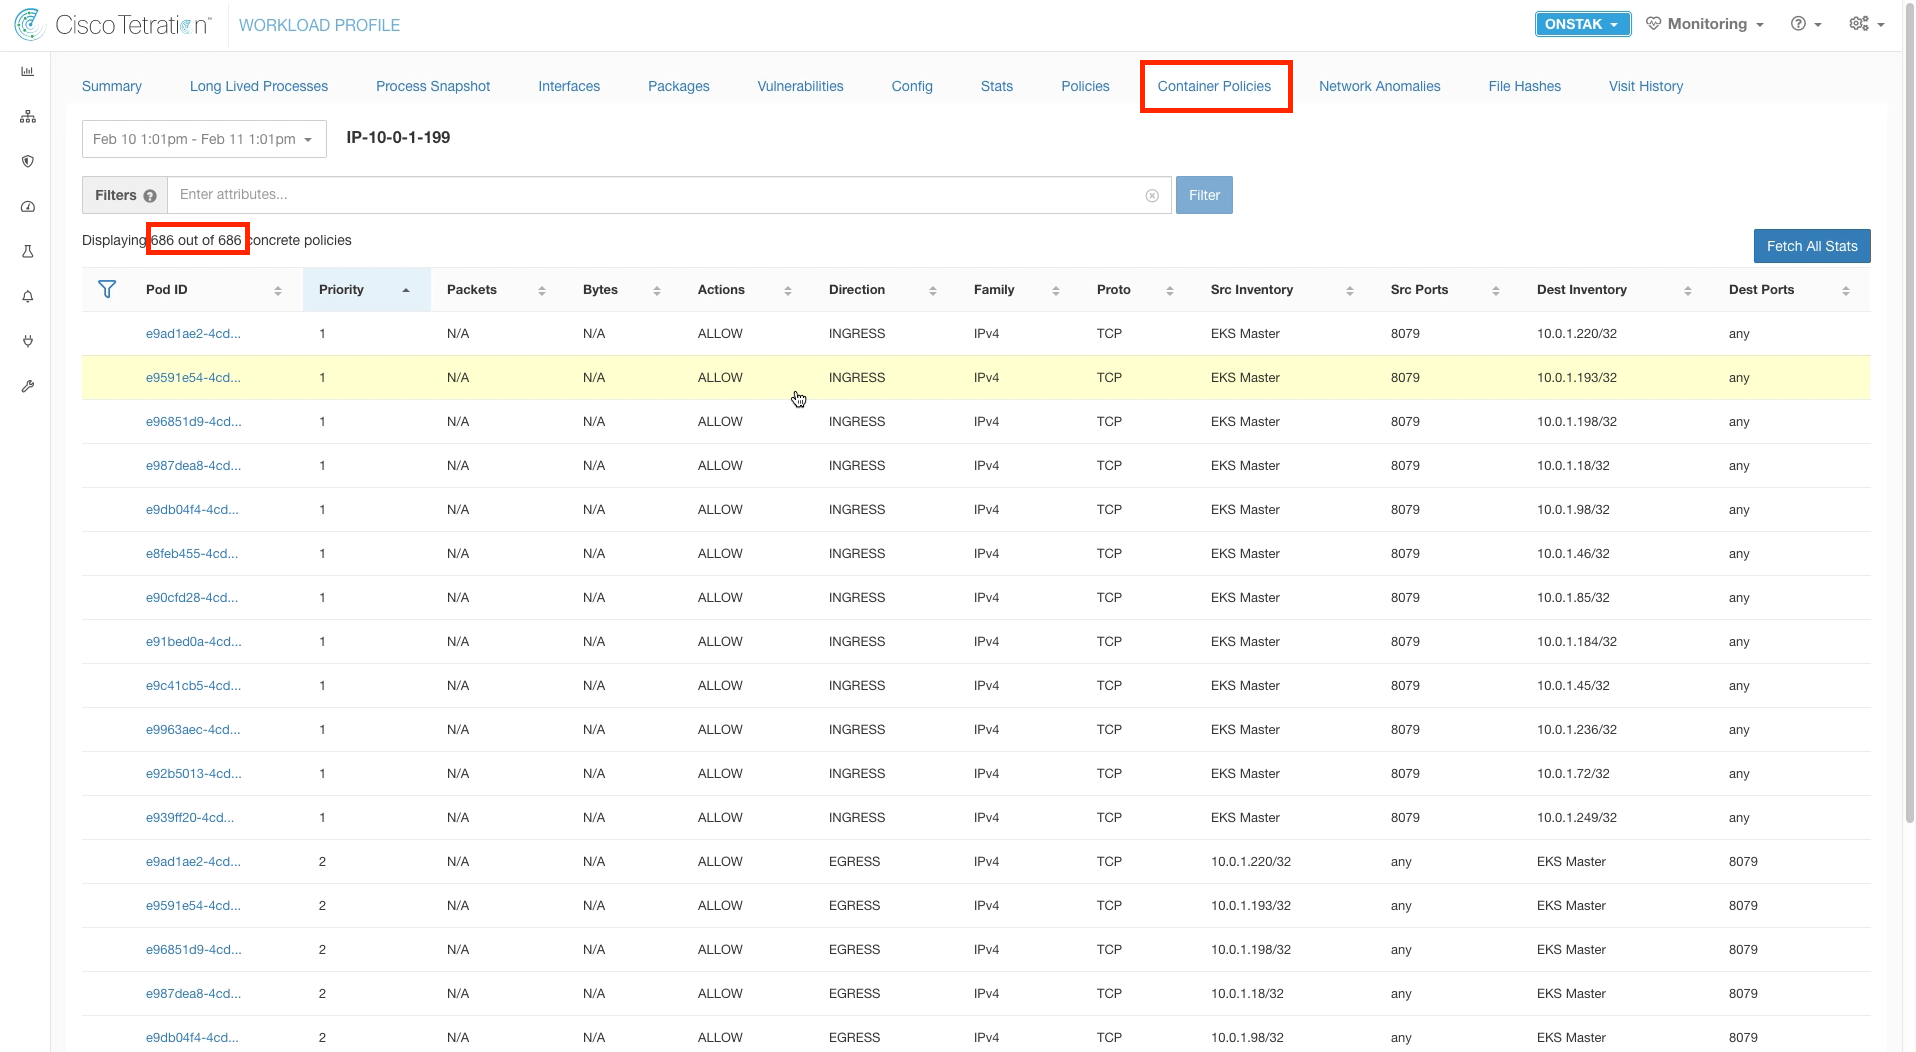
Click on Container Policies, and note the number of displayed policies. Kubernetes heavily leverages iptables rules, hence the large number of rules already present.
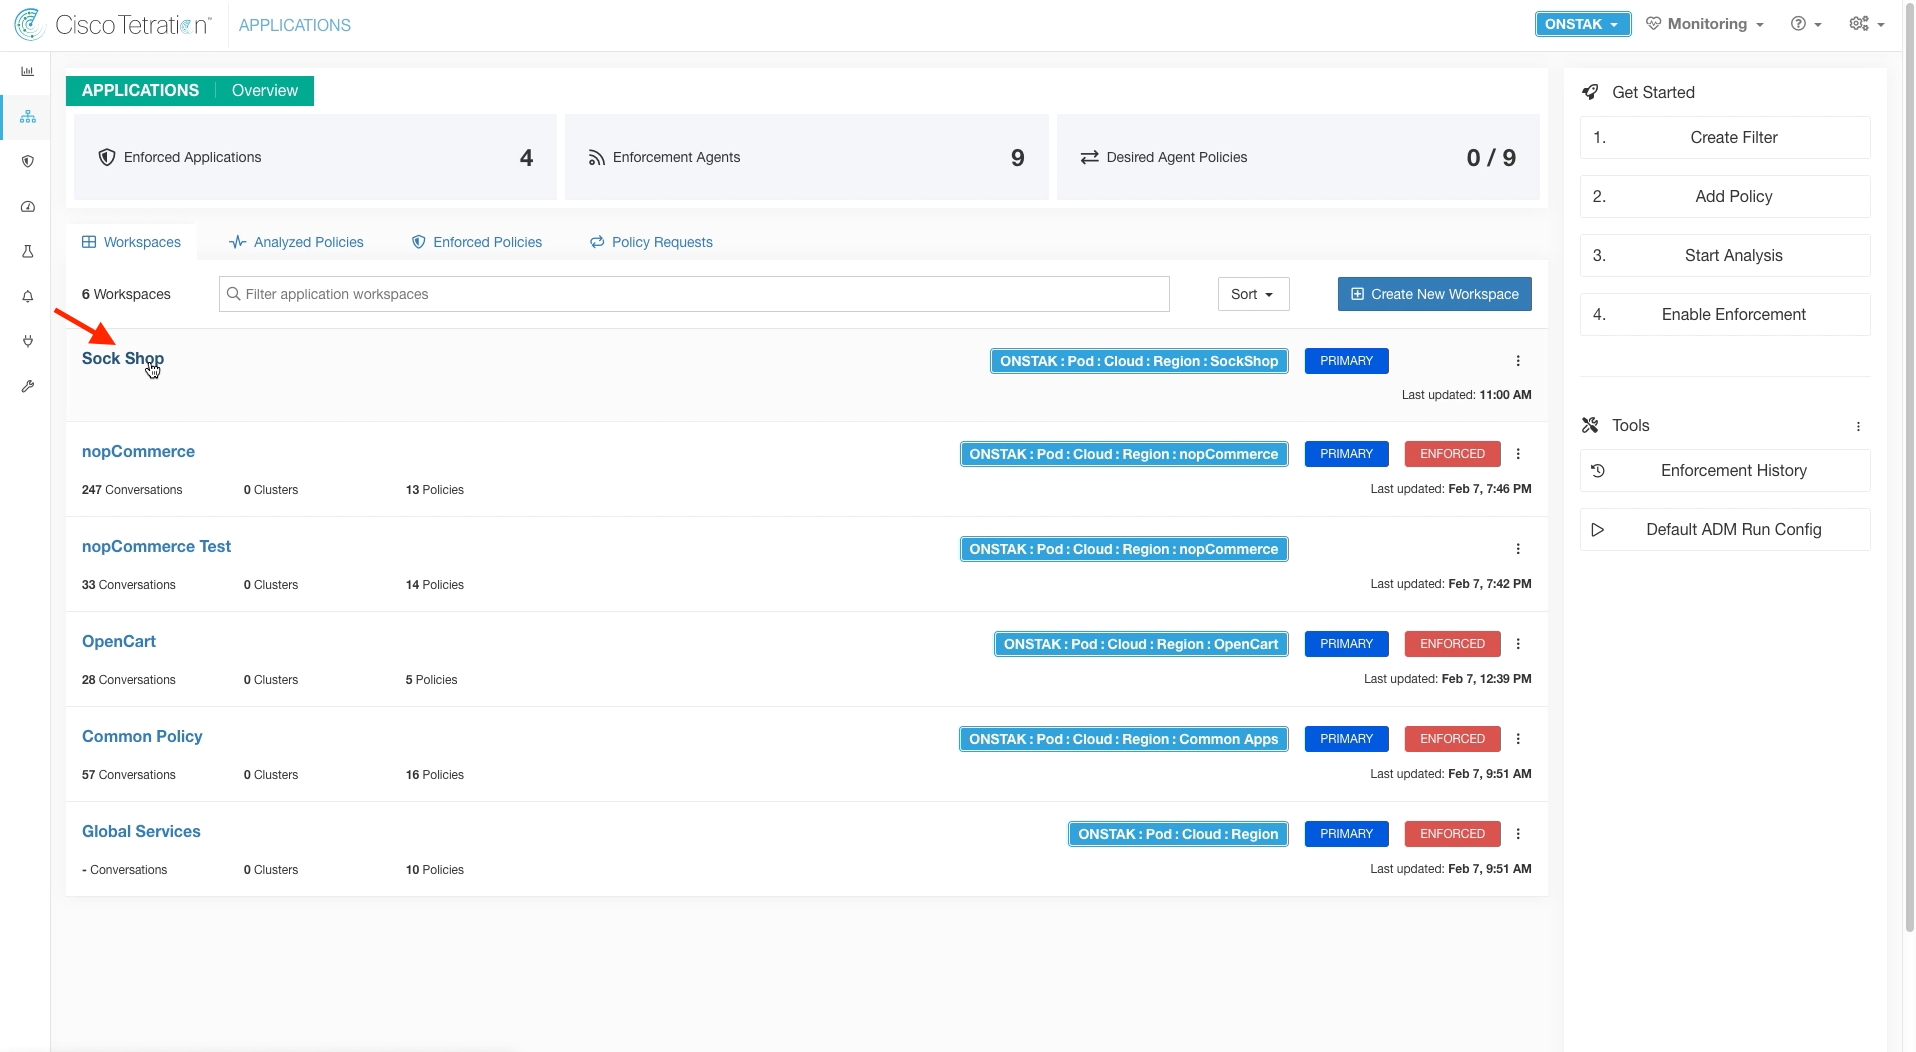
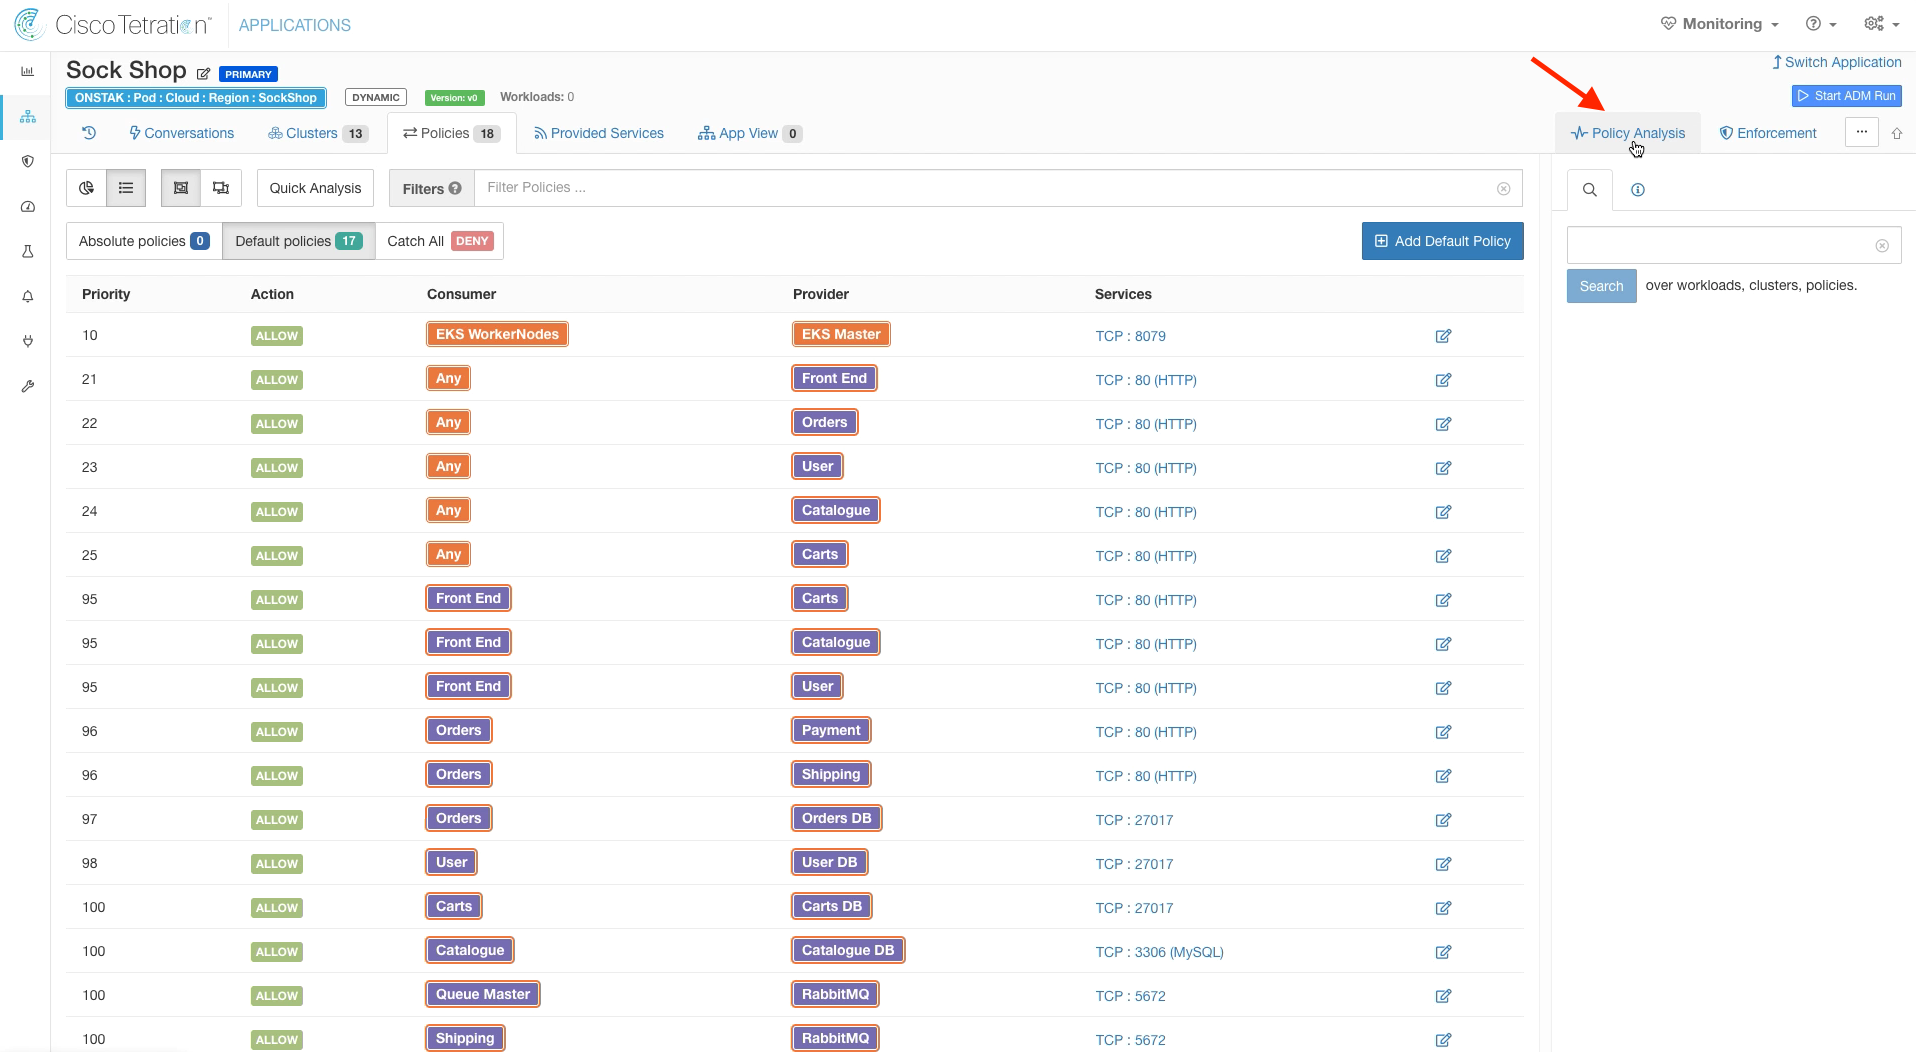
Navigate to the Sock Shop application workspace.
Click on the Policy Analysis tab.
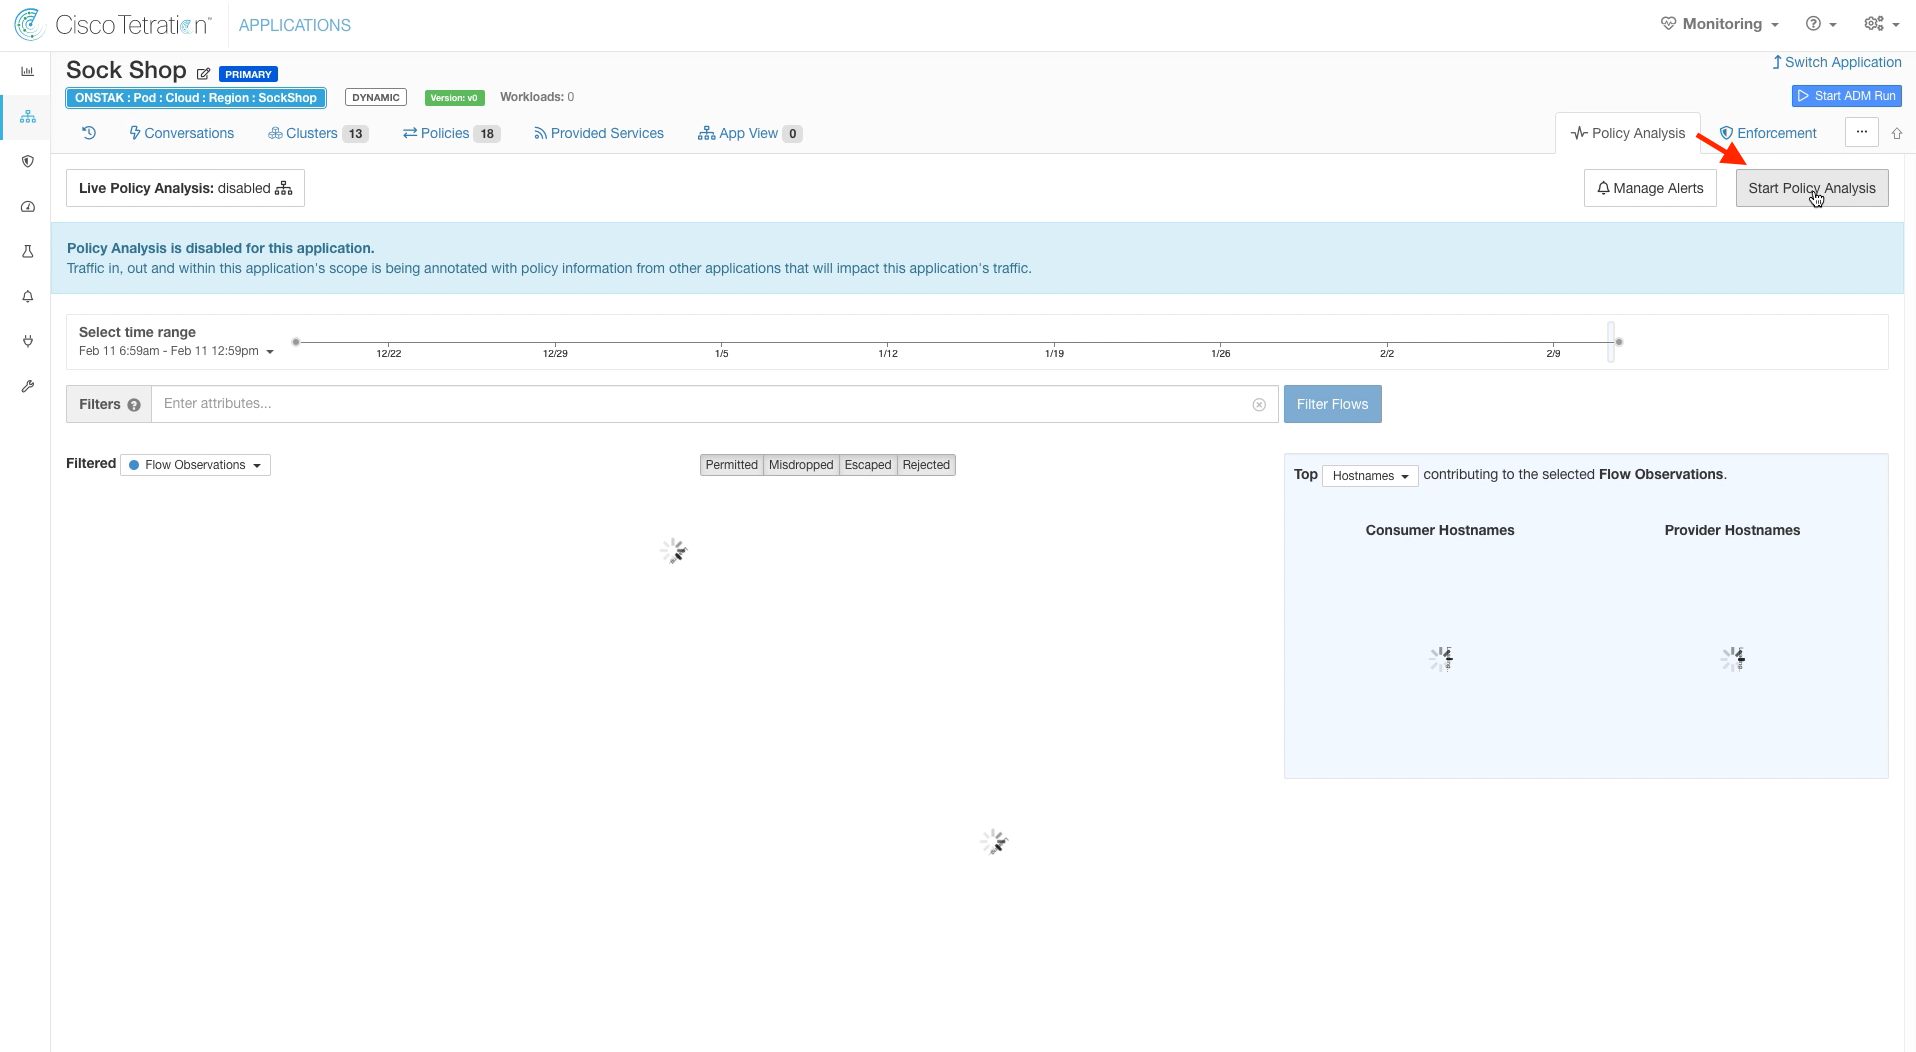
Start Policy Analysis.
We can’t actually do Policy Analysis for the Sock Shop application because Tetration does not currently have the ability to see traffic between pods of a containerized application. We could have enforced the latest policies without enabling Policy Analysis, however it is best practice to always analyze the latest policies prior to enforcing a new revision of policies.
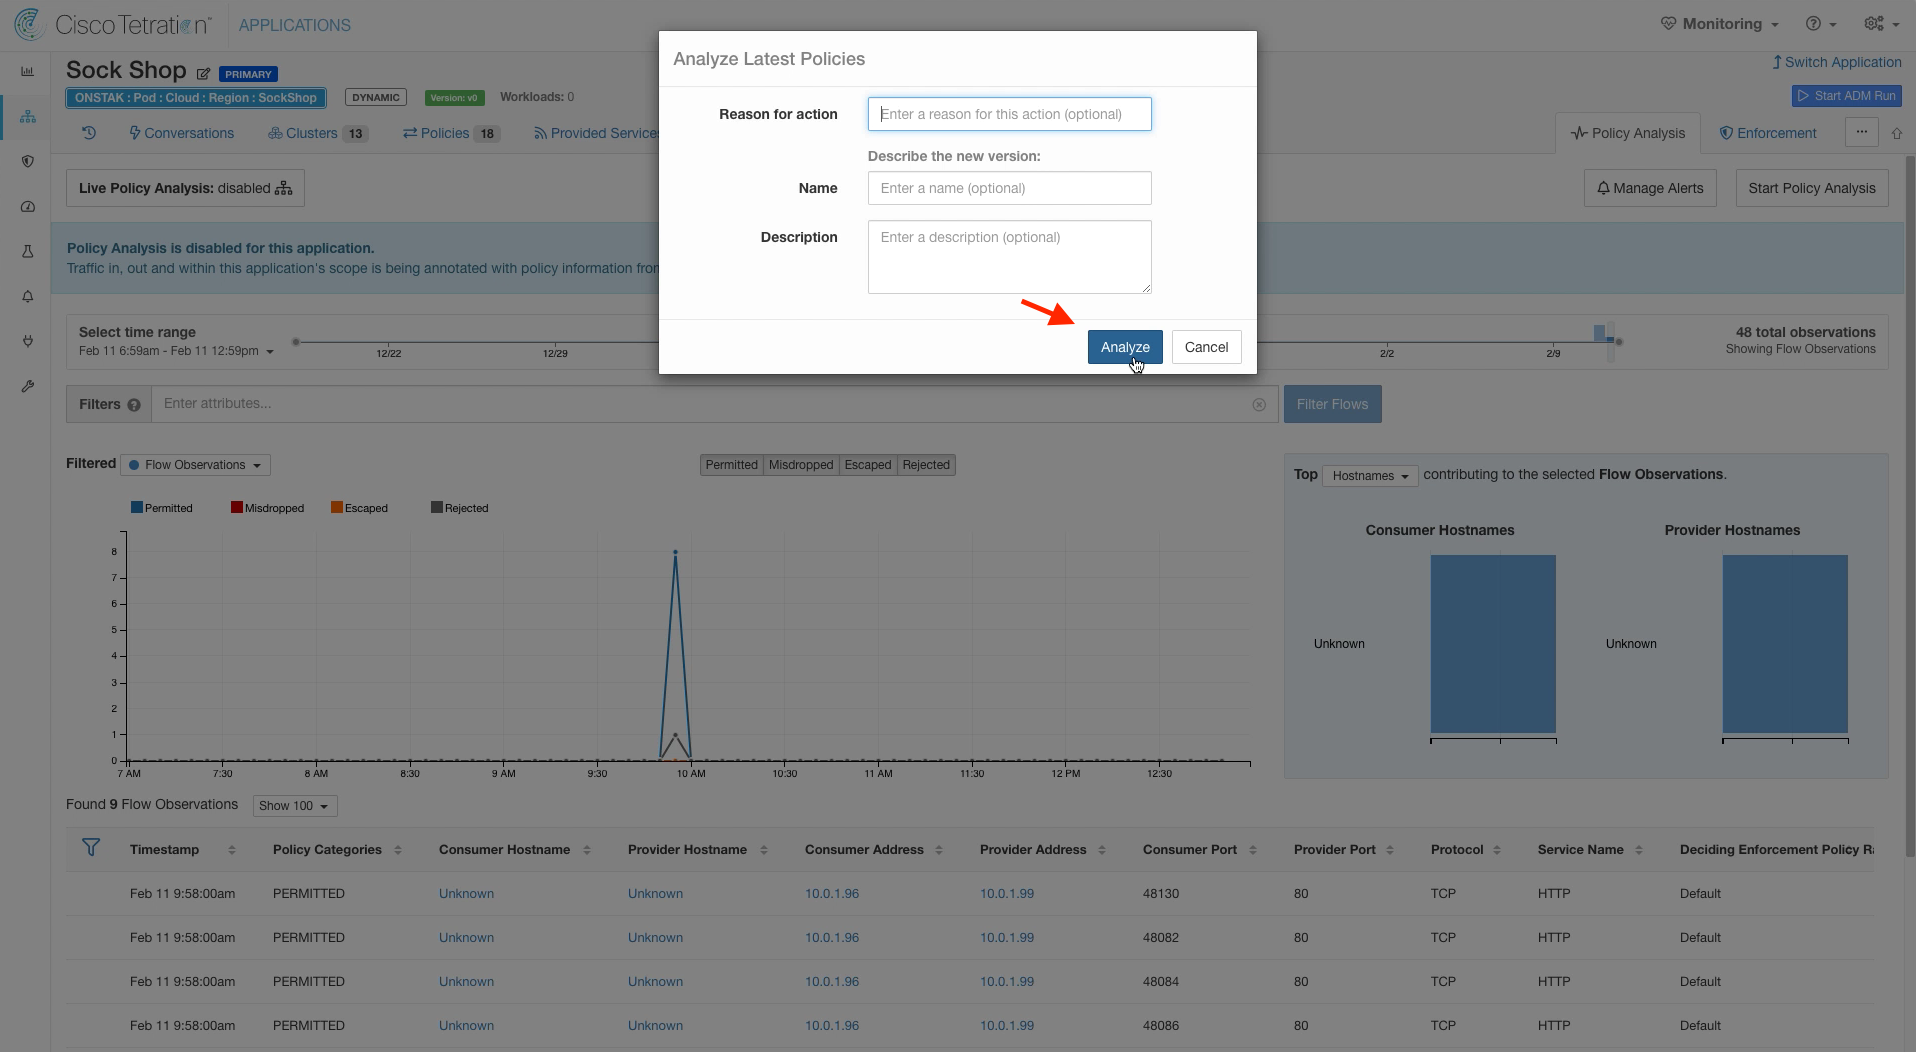
Click on Analyze.
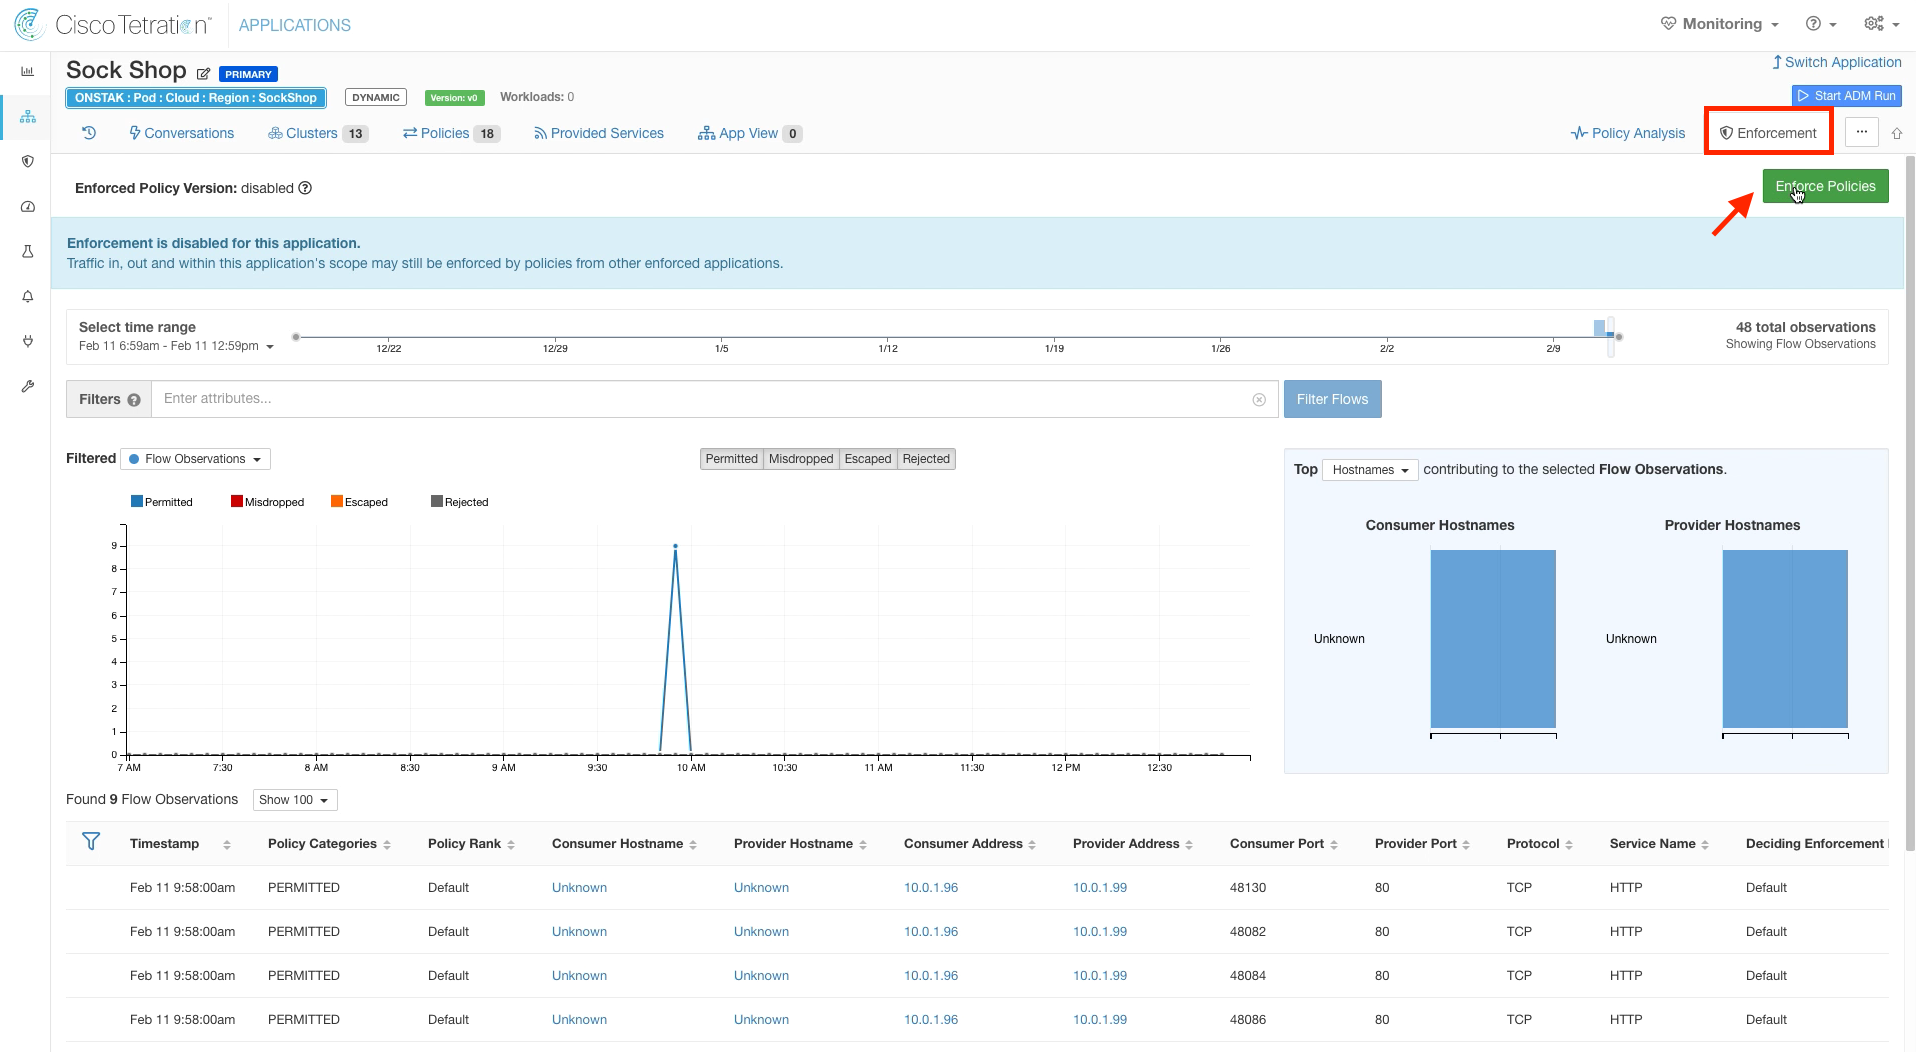
Click on the Enforcement tab, and select Enforce Policies.
Click Accept and Enforce.

Navigate to Inventory Search.

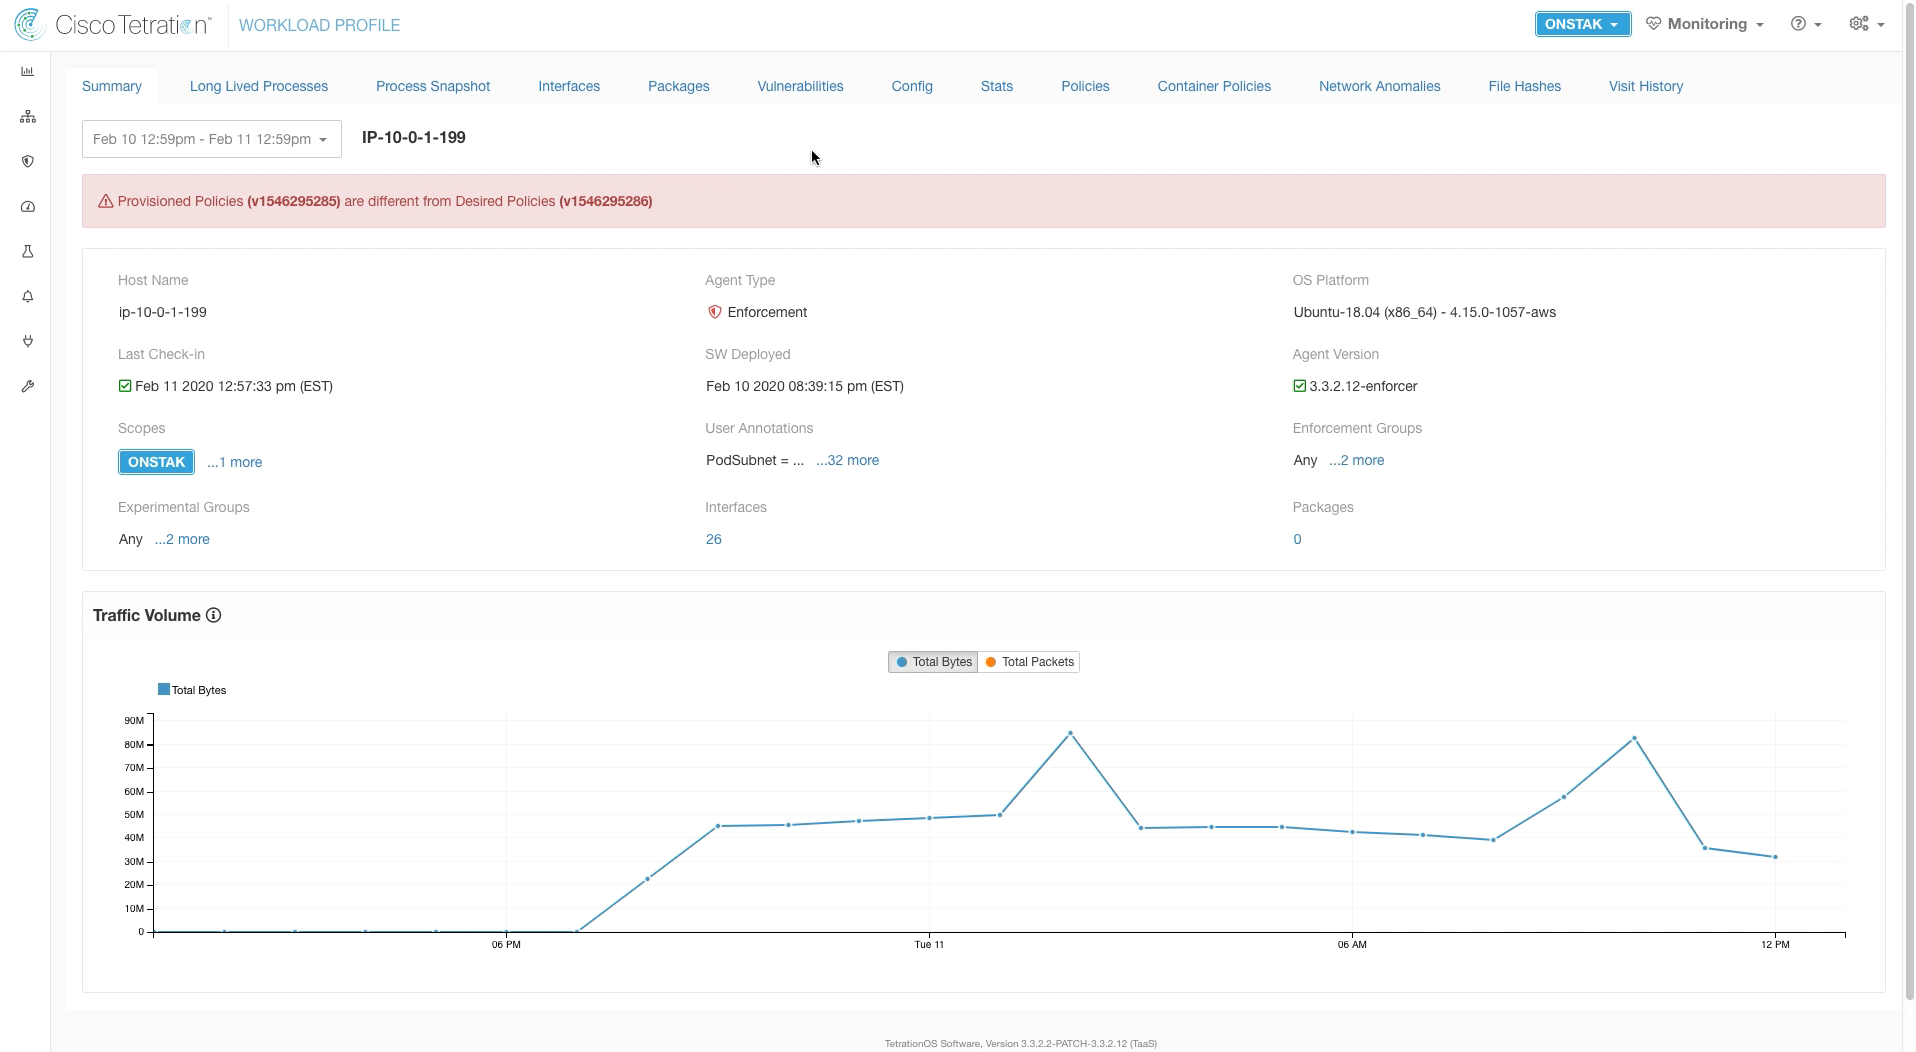
Filter for OS contains Ubuntu and click on the Kubernetes worker node IP address.
The message “Provisioned Policies are different from Desired Policies”. This is a transient condition that occurs when new policies have been enforced, but they have not yet been implemented on the workload iptables or Windows Firewall rules. This usually occurs within 60 seconds of enforcement.
Click on Container Policies. In a few minutes, the number of displayed policies should have increased from the number we saw earlier.
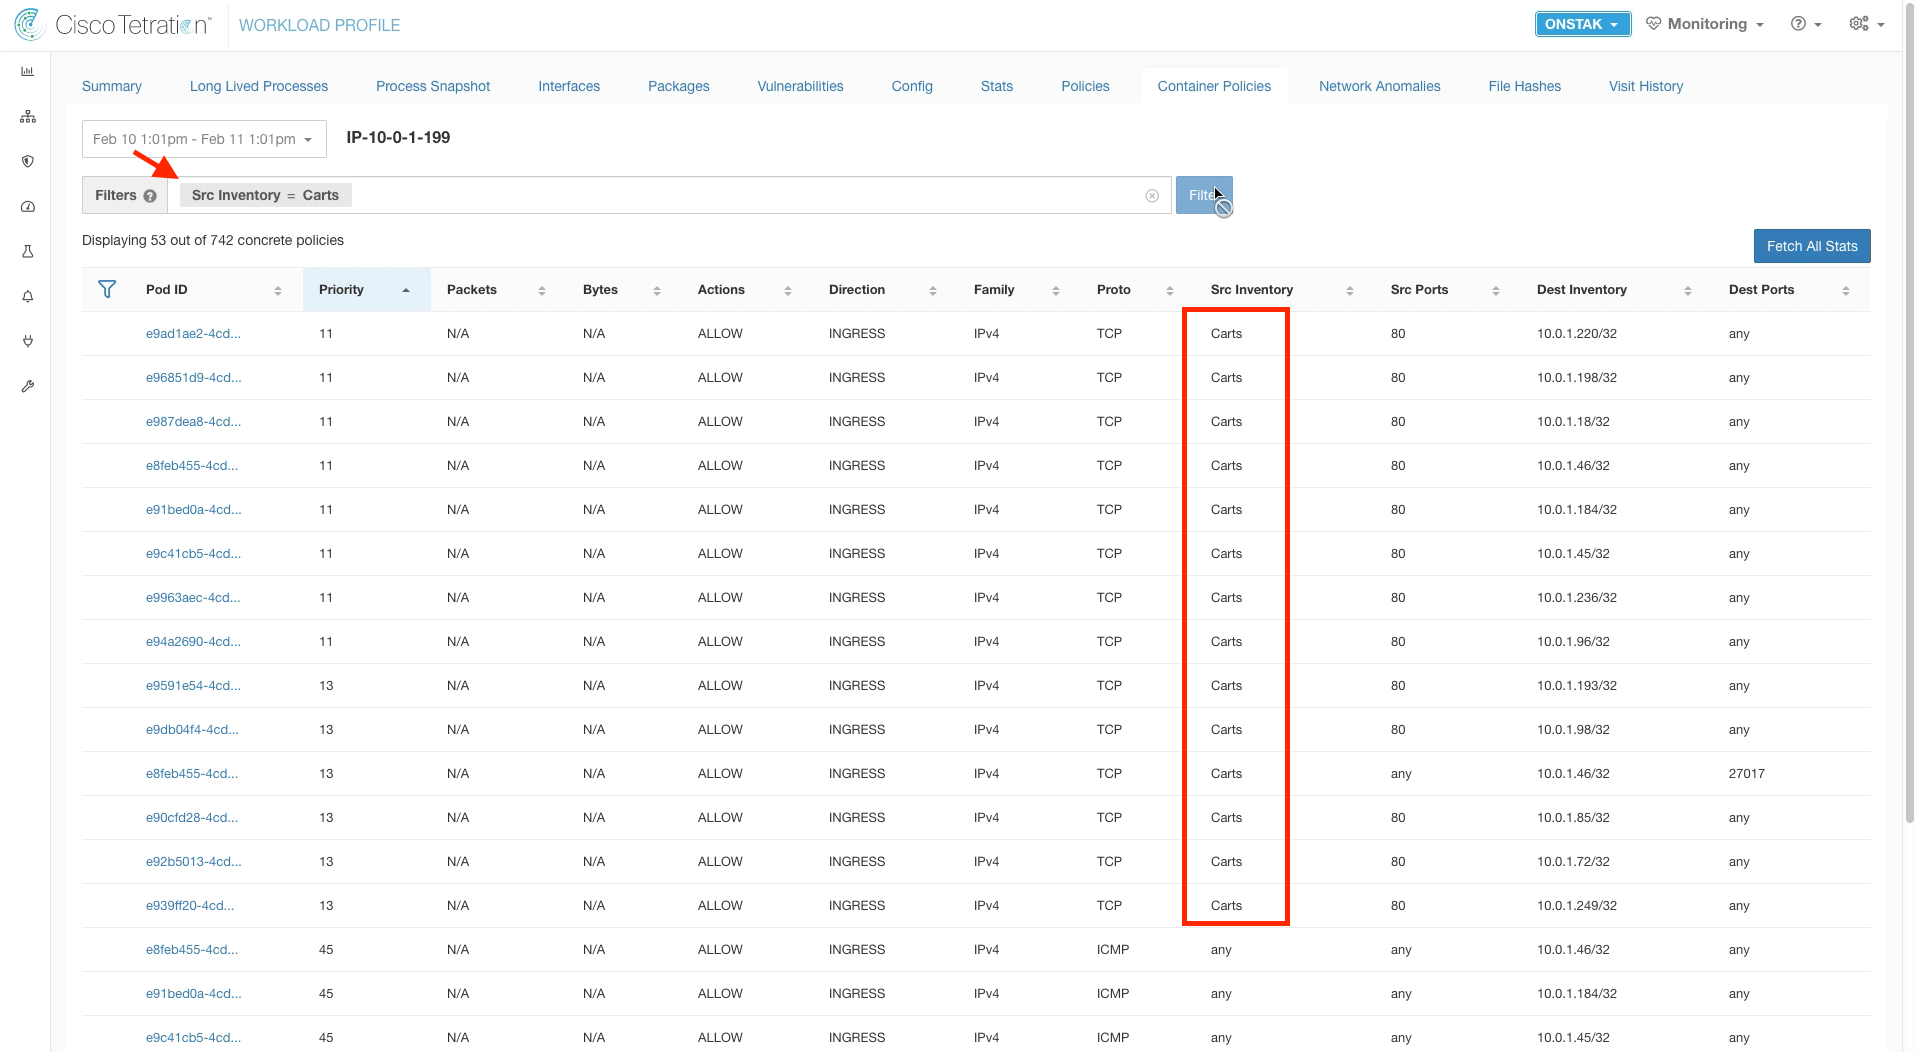
Filter for the Carts pod by entering the filter Src Inventory = Carts. This displays rules where the Carts cluster is the source.
Enter another filter Src Inventory = Front End. This filters for rules that are associated with the Front End web interface of the application.

Open a web browser once again to the Sock Shop public URL and refresh the page. Walk through the same tests done previously to ensure the site is still working. Create a user, and order some socks. Tetration is now managing the security between the different tiers of this microservices application.
YOU HAVE COMPLETED THIS MODULE
| Return to Table of Contents | Go to Top of the Page | Continue to the Next Module |