Cisco Tetration - Hands-On Lab
Module21: Policy Enforcement - Pre-Enforcement Checks
In this module we will test access to the applications and workloads prior to enabling enforcement to ensure that everything worked as expected prior to enforcement. Later when we enable enforcement we will re-run these same tests to ensure that the desired intent was achieved.
Steps for this Module
Step 001 - Test public access to the IIS web server
Step 002 - Test public access to the Apache web server
Step 003 - Open a session to the IIS web server
Step 004 - Test outbound access to the Internet
Step 005 - Open a browser to the Apache web server
Step 006 - Continue opening a browser to the Apache web server
Step 007 - Browser loaded to the Apache web server
Step 008 - Open a session to the Apache web server
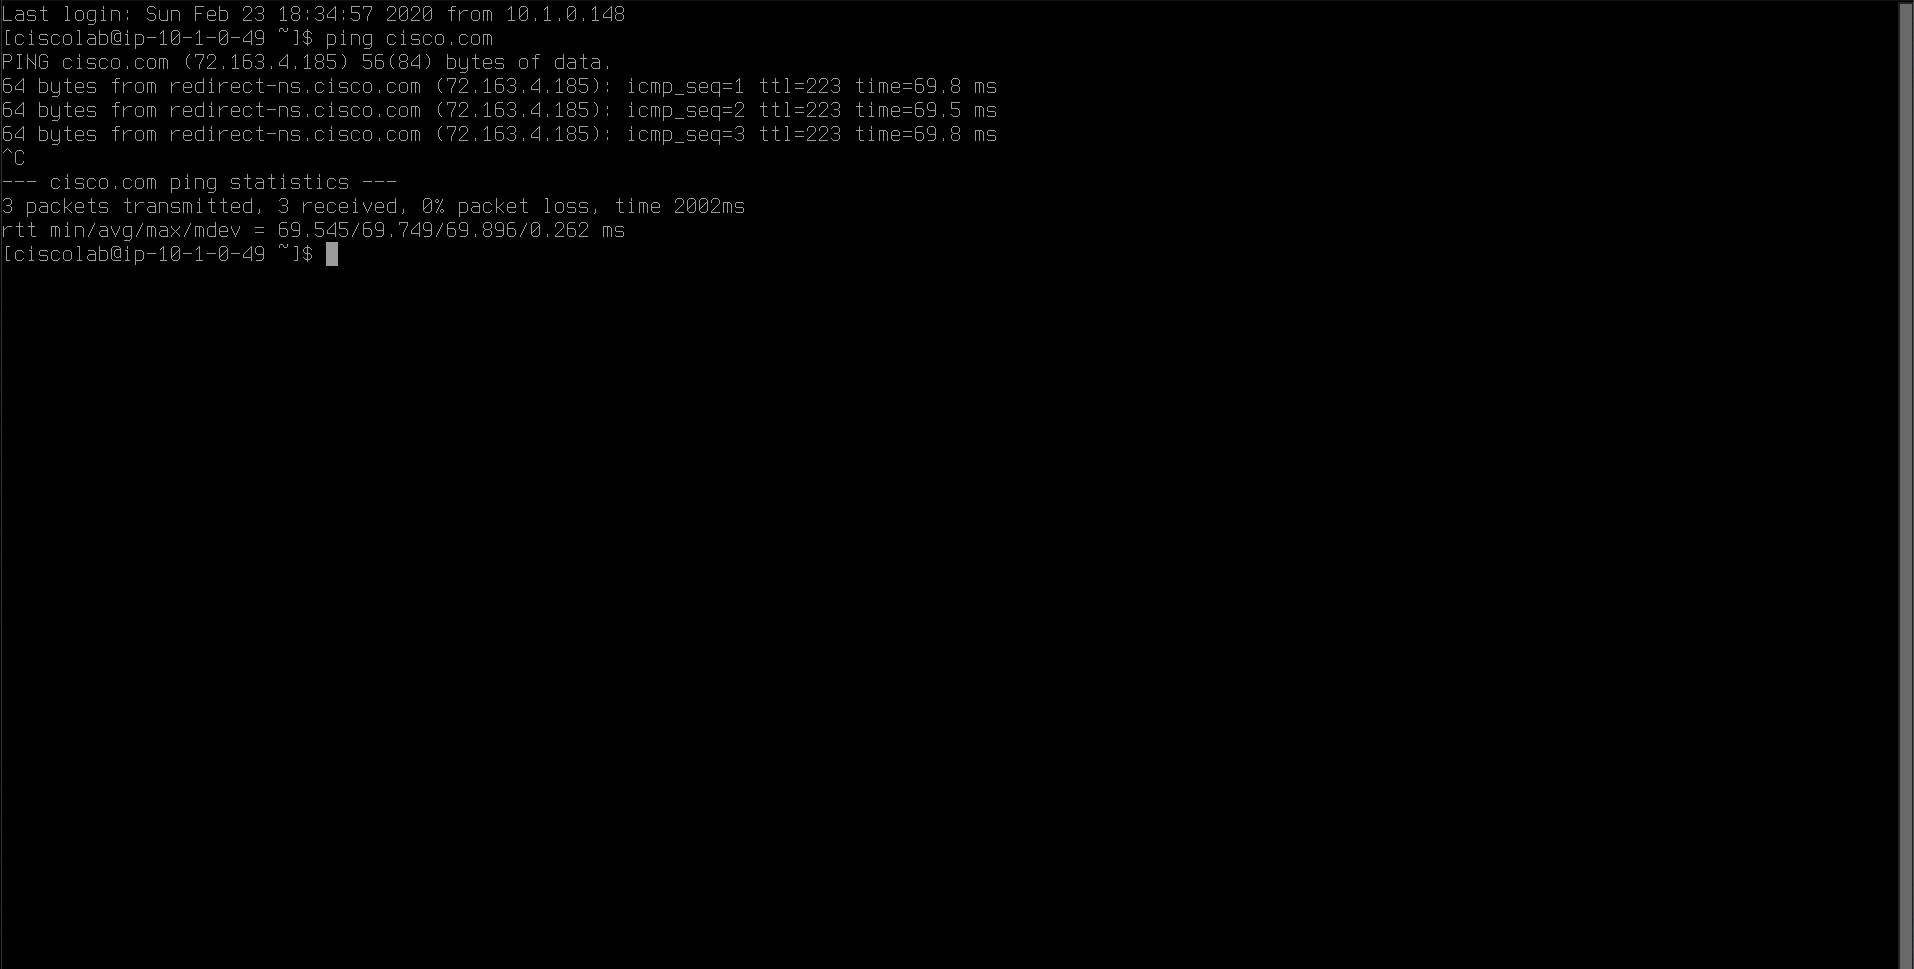
Step 009 - Test outbound access to the Internet via ping
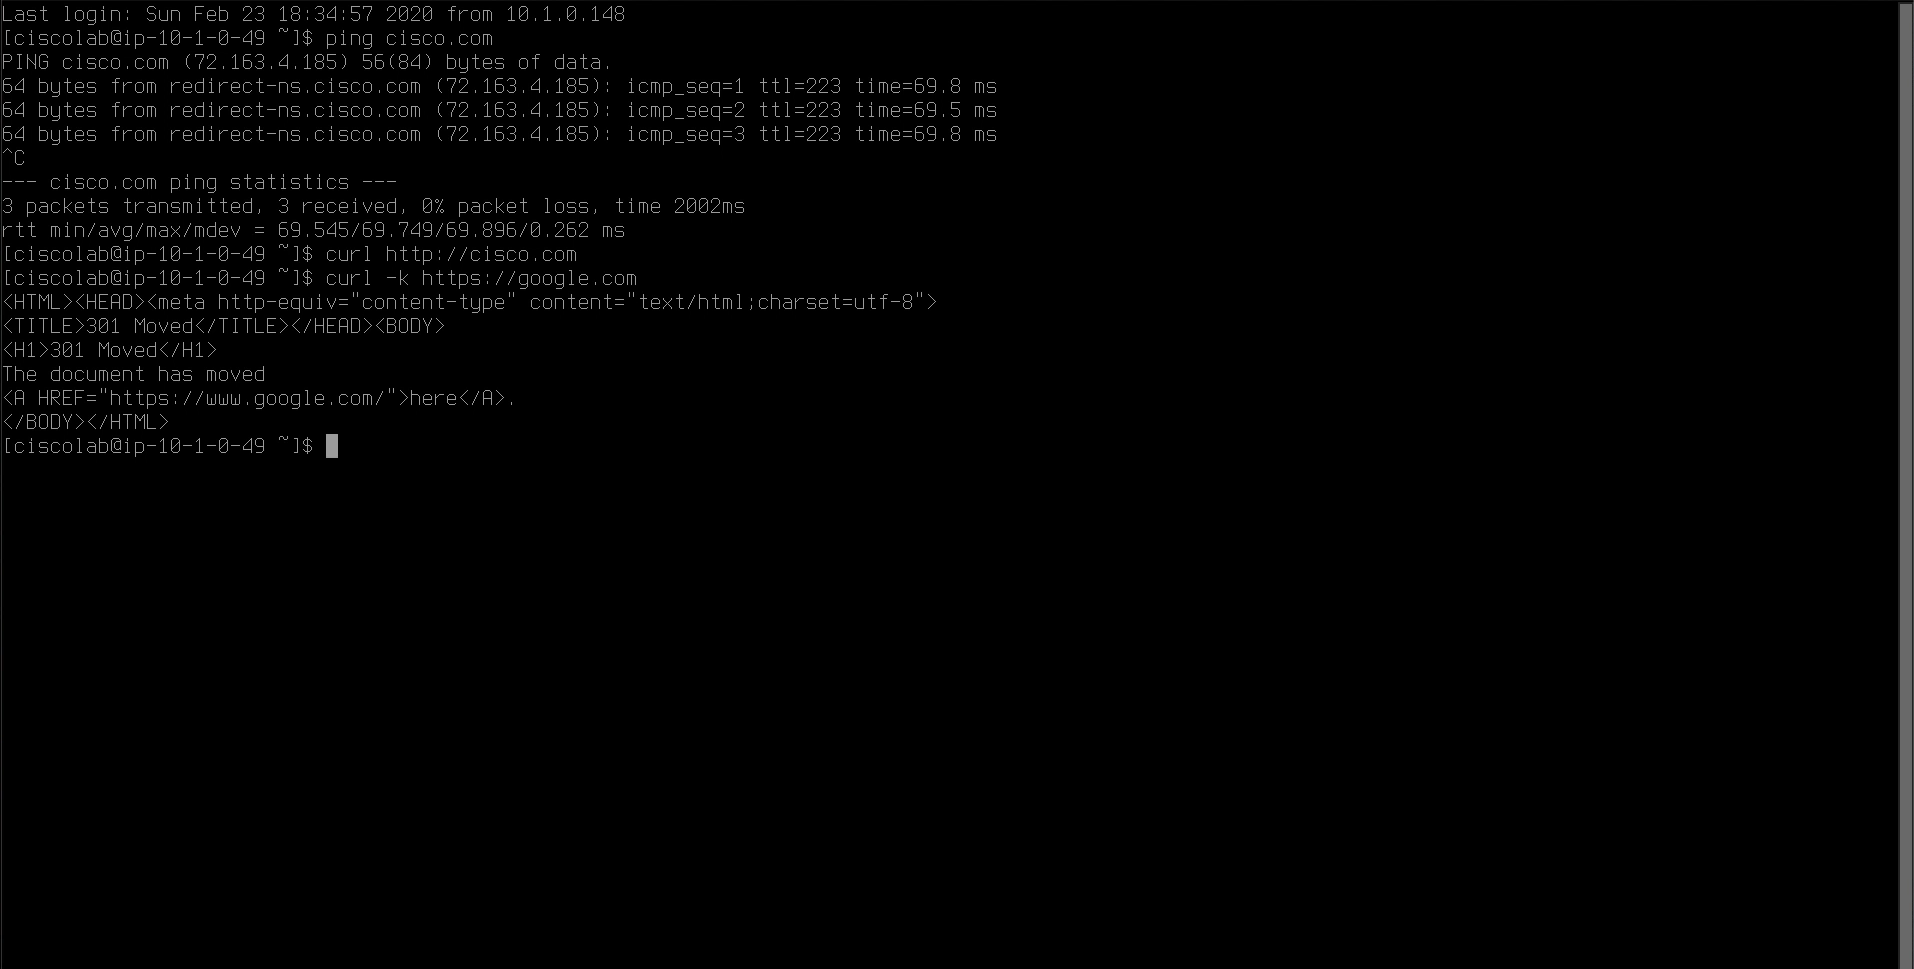
Step 010 - Test outbound access to the Internet using HTTP
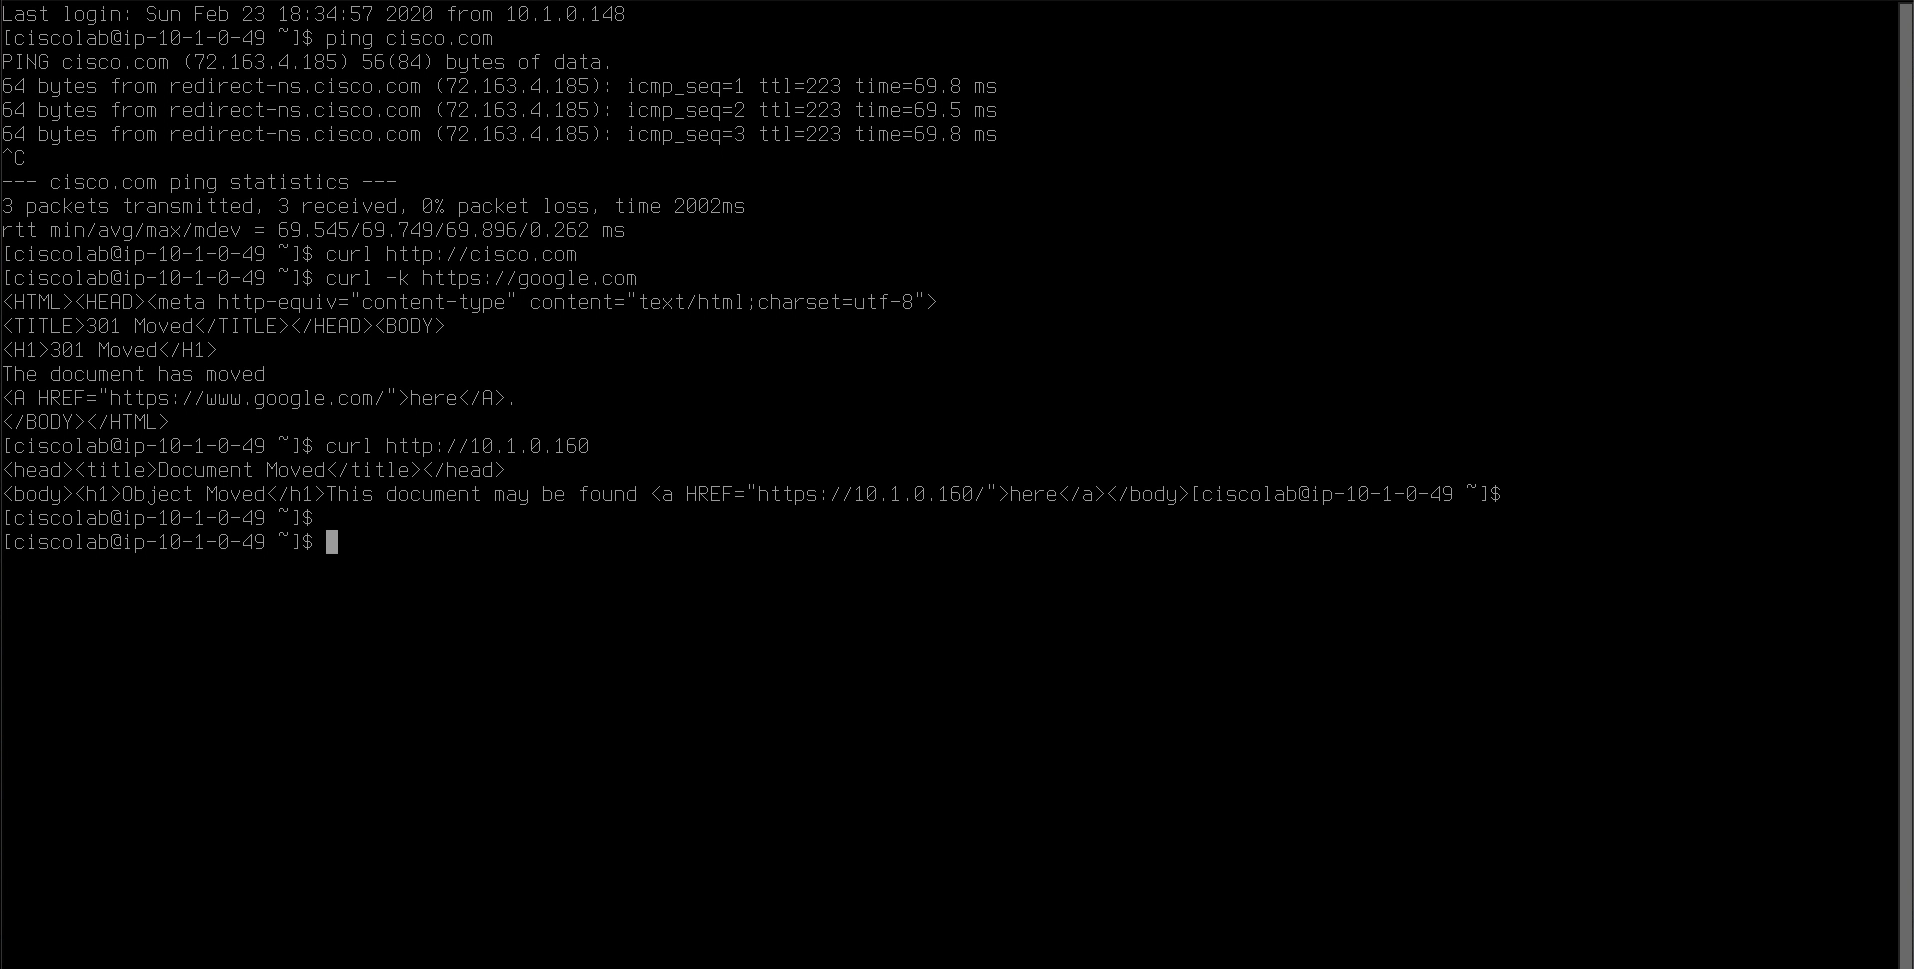
Step 011 - Test HTTP connection to the IIS web server
Step 012 - Open a session to the Employee desktop
Step 013 - Open the Cisco Anyconnect client
Step 014 - Connect to VPN
Step 015 - Ignore the security warning and connect
Step 016 - Enter employee credentials
Step 017 - Test access to the IIS web server via HTTP
Step 018 - Test access to the IIS web server via HTTPS
Step 019 - View HTTPS output
Step 020 - Test connectivity to the Apache web server via HTTP
Step 021 - Test connectivity to the Apache web server via HTTPS
Step 022 - Review the HTTPS output
Step 023 - Test SSH access to the Apache web server
Step 024 - Open the Remmina RDP application
Step 025 - Test RDP to the IIS web server
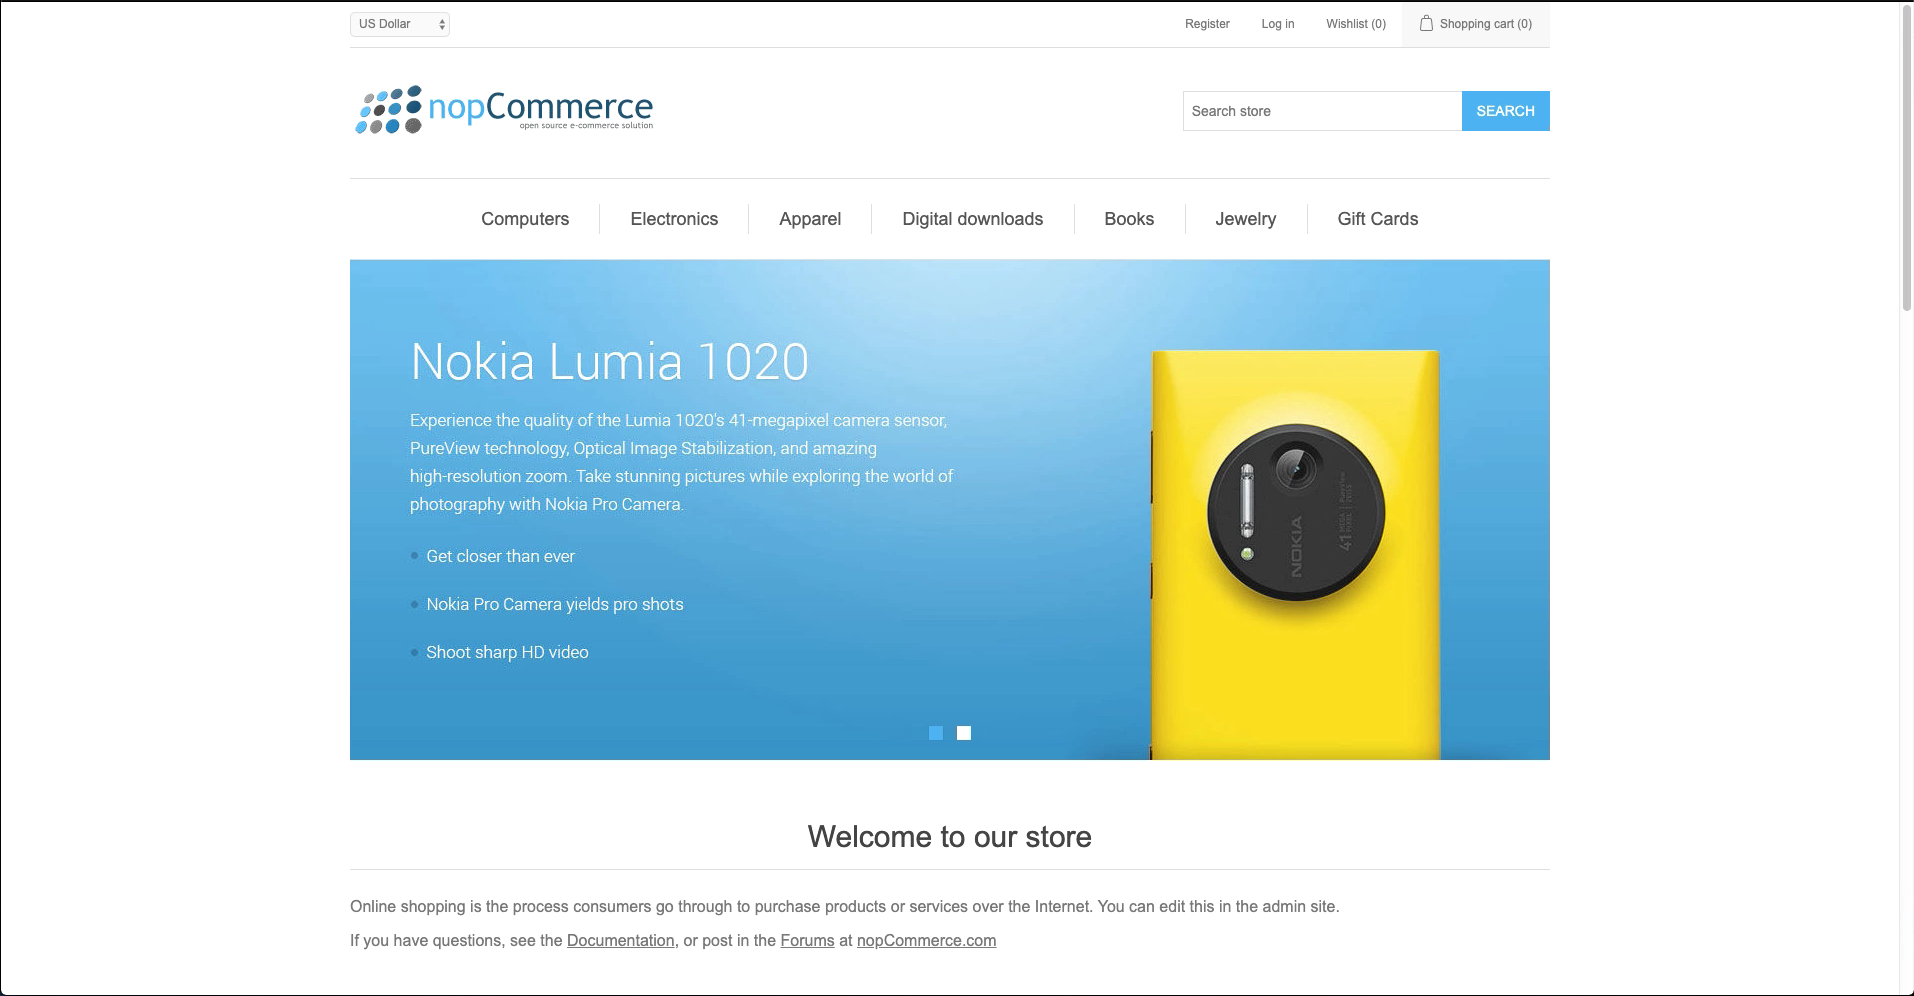
Test public access to the IIS web server.
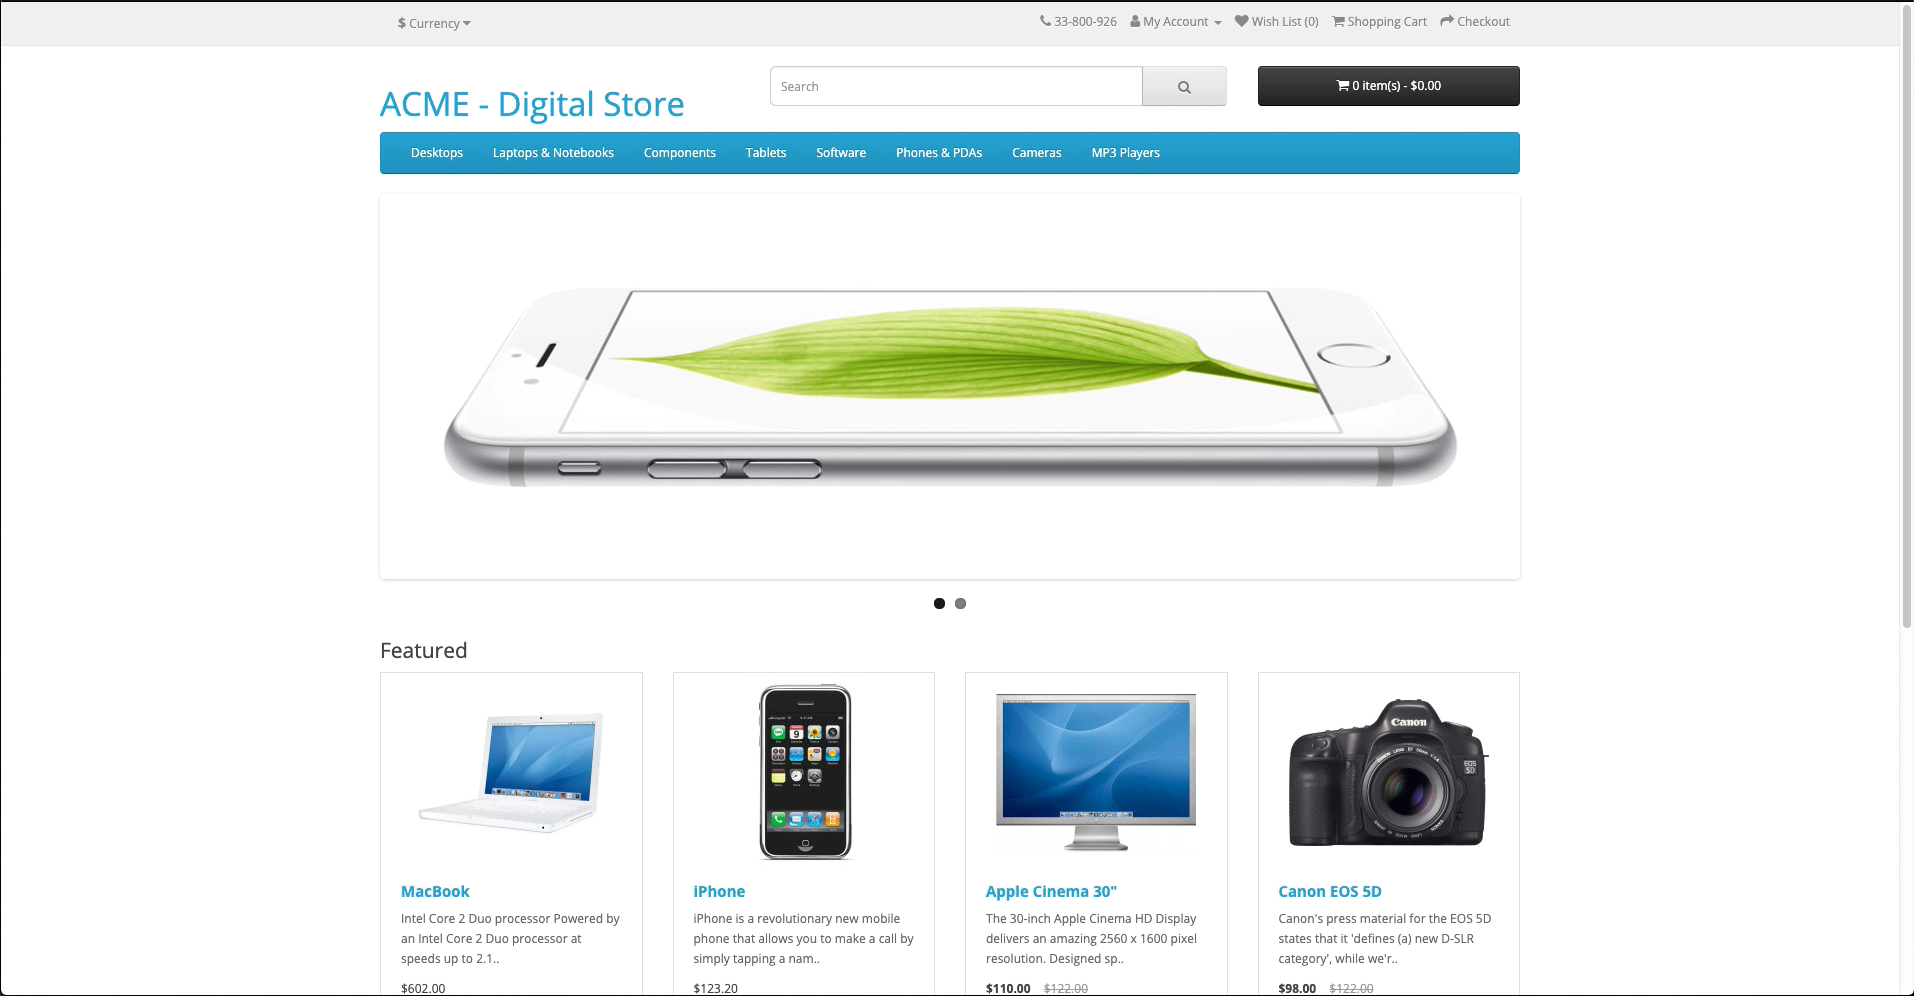
Test public access to the Apache web server.
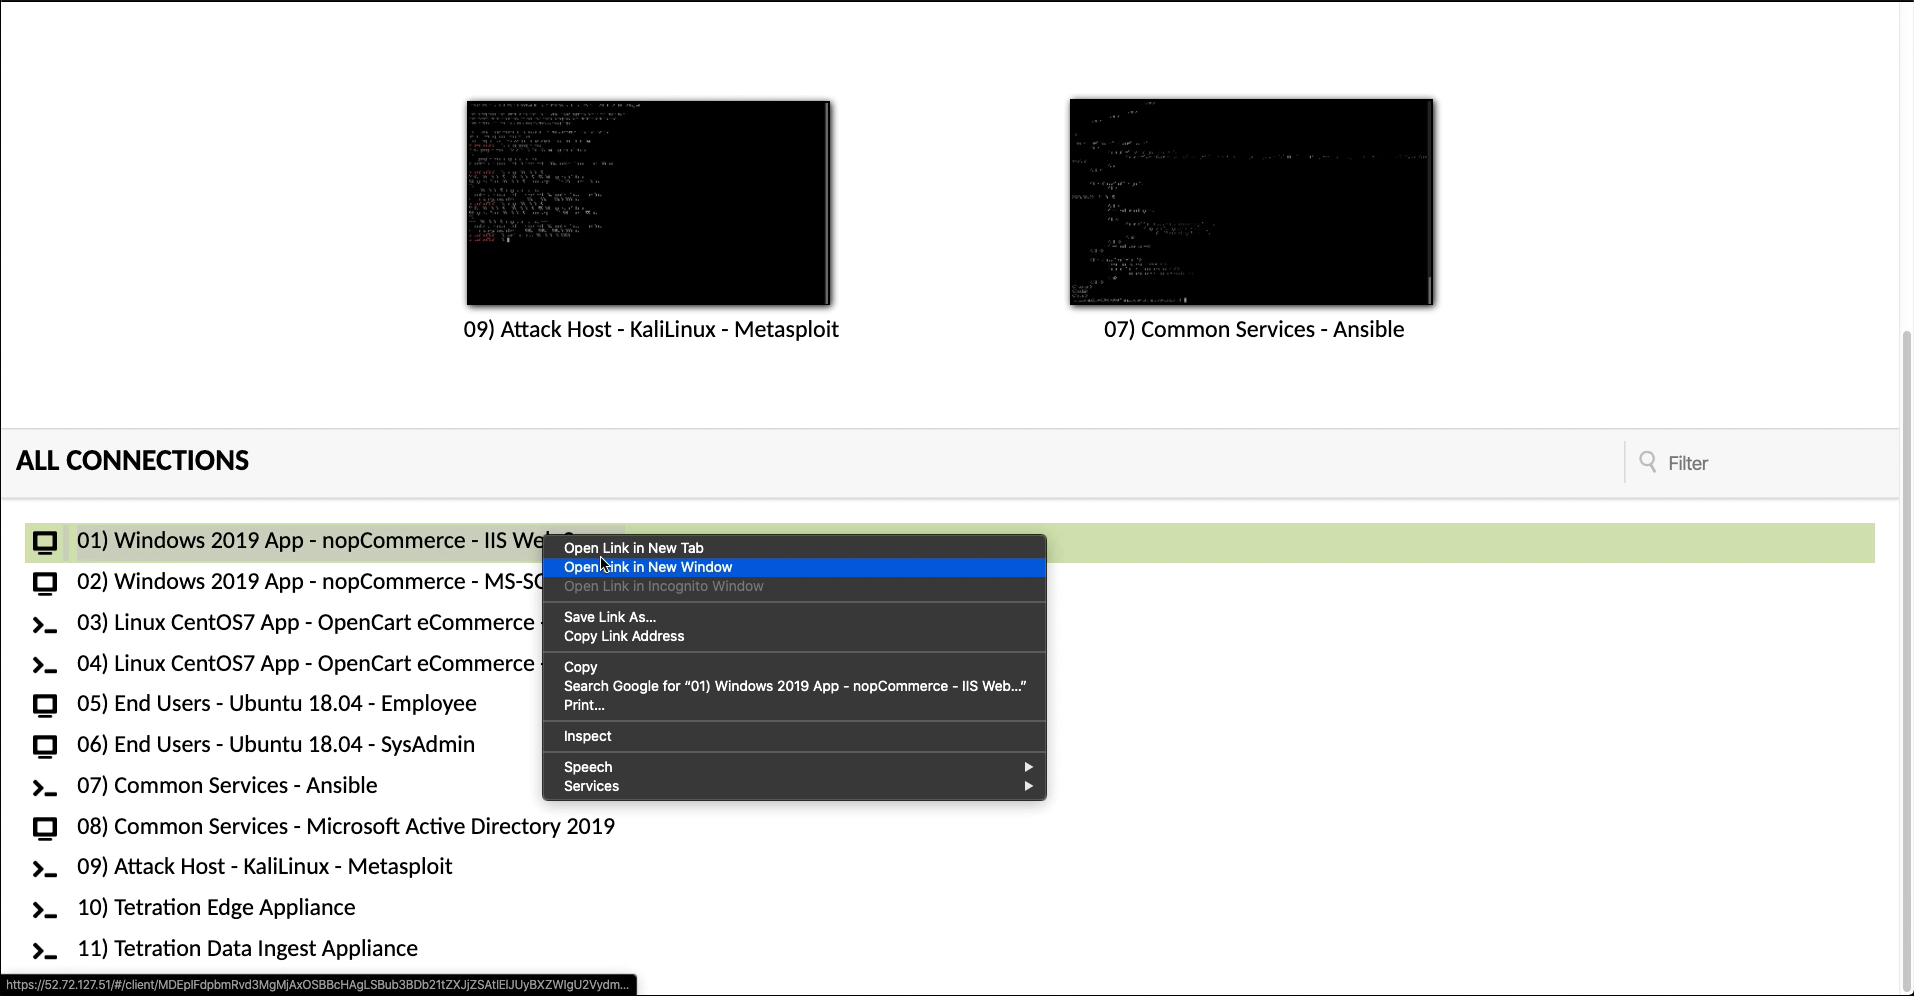
Open a session to the IIS web server.
Test outbound access to the Internet from the IIS web server.
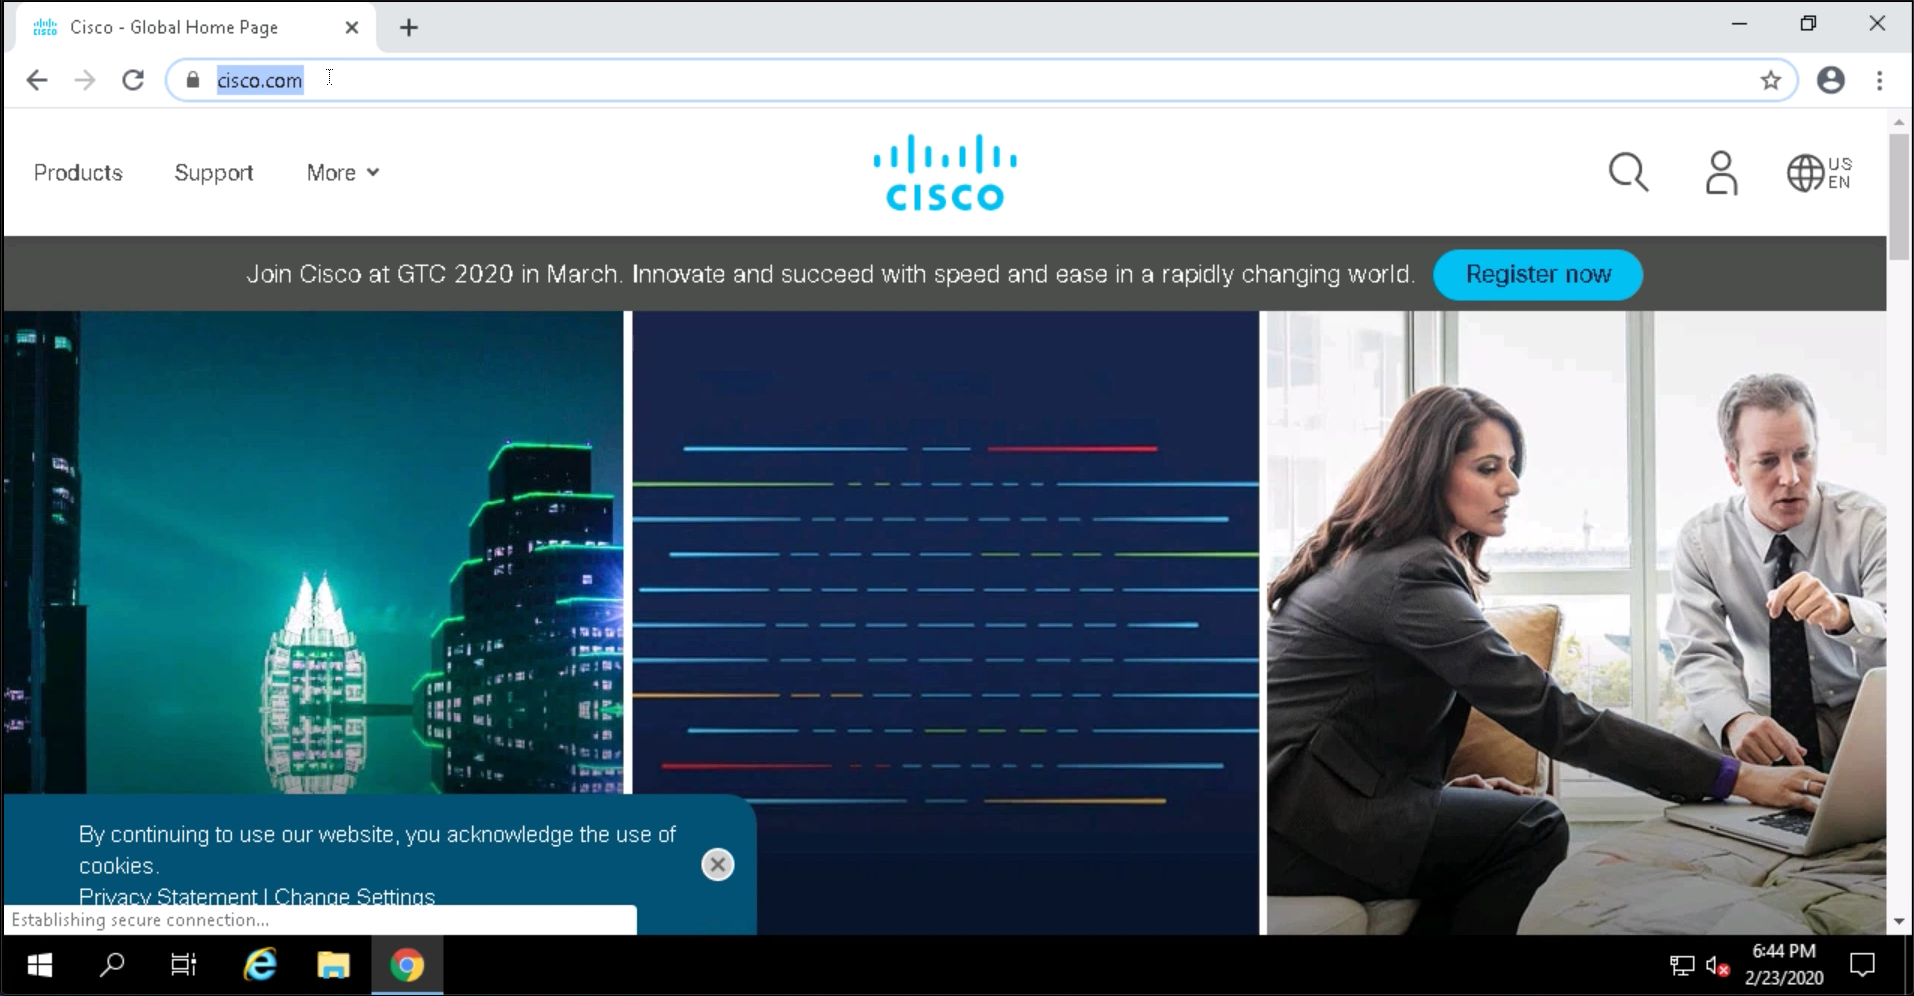
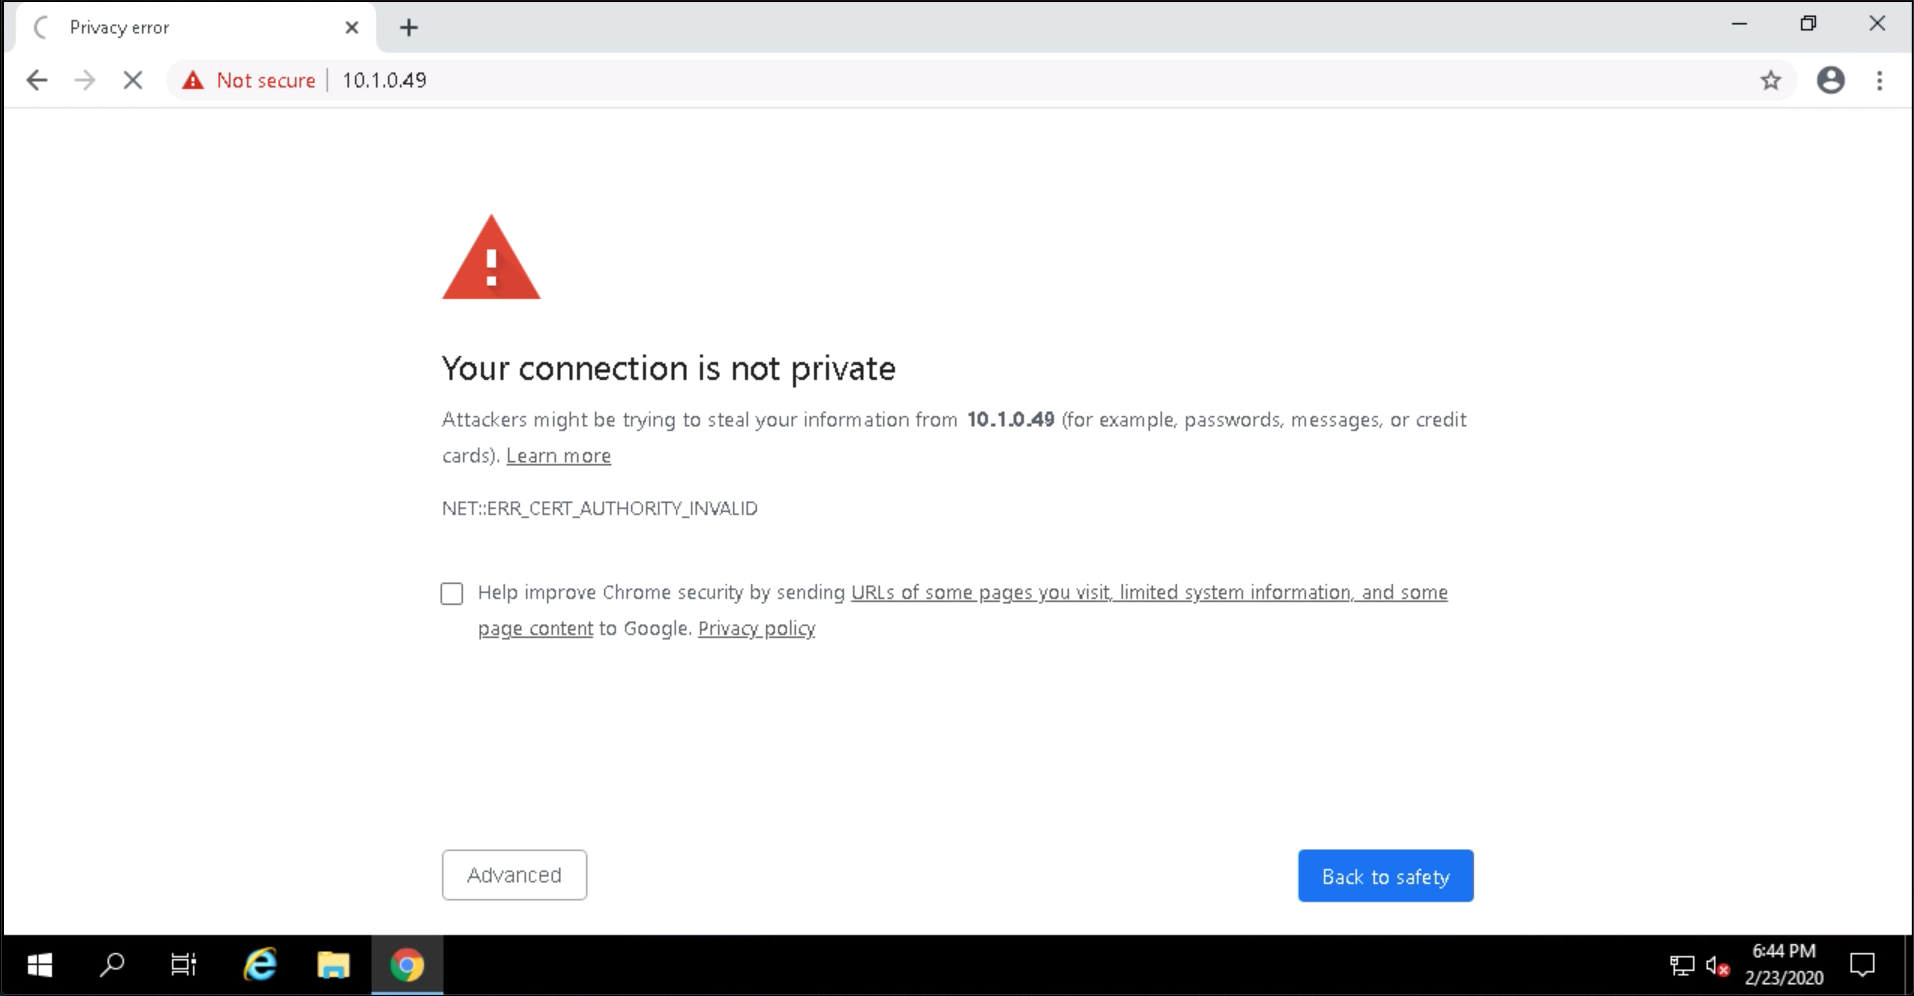
Next we will test access from the IIS web server to the Apache web server. This is traffic that should be blocked once we implement our policy. Browse to the IP address of the Apache web server. Click Advanced on the security warning.
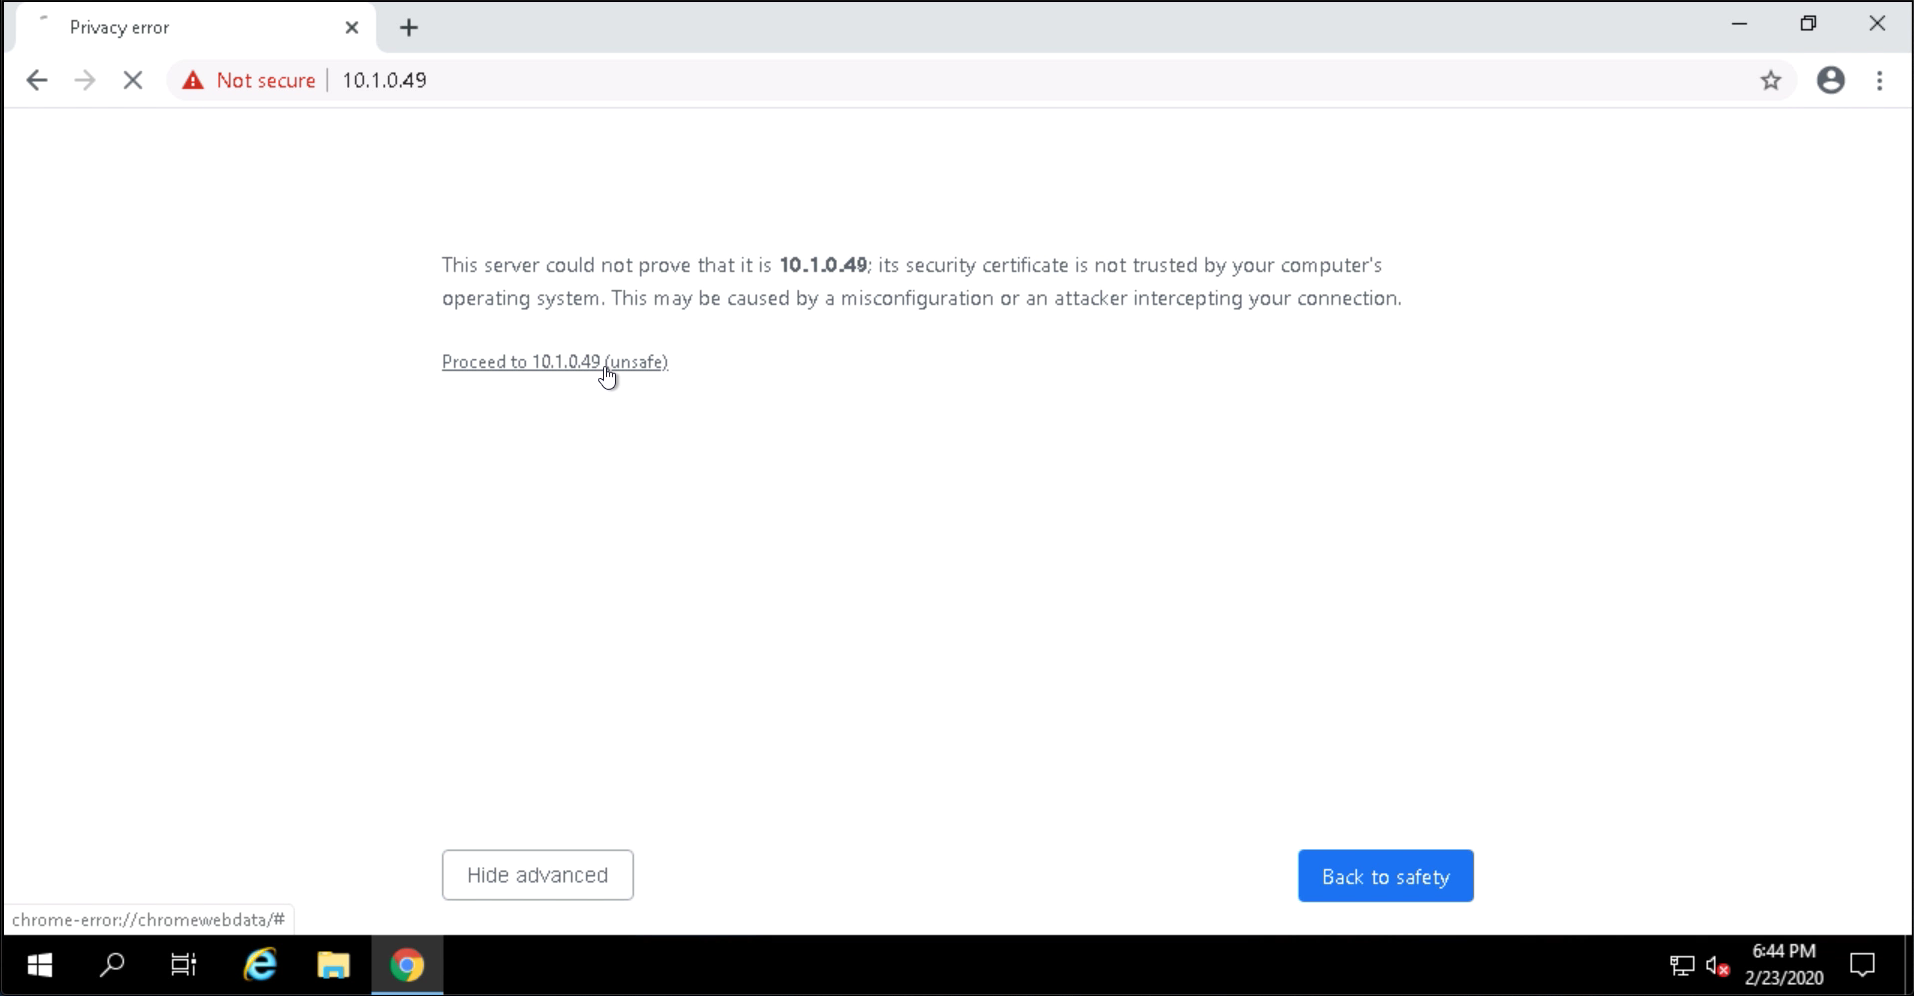
Click on Proceed to continue.
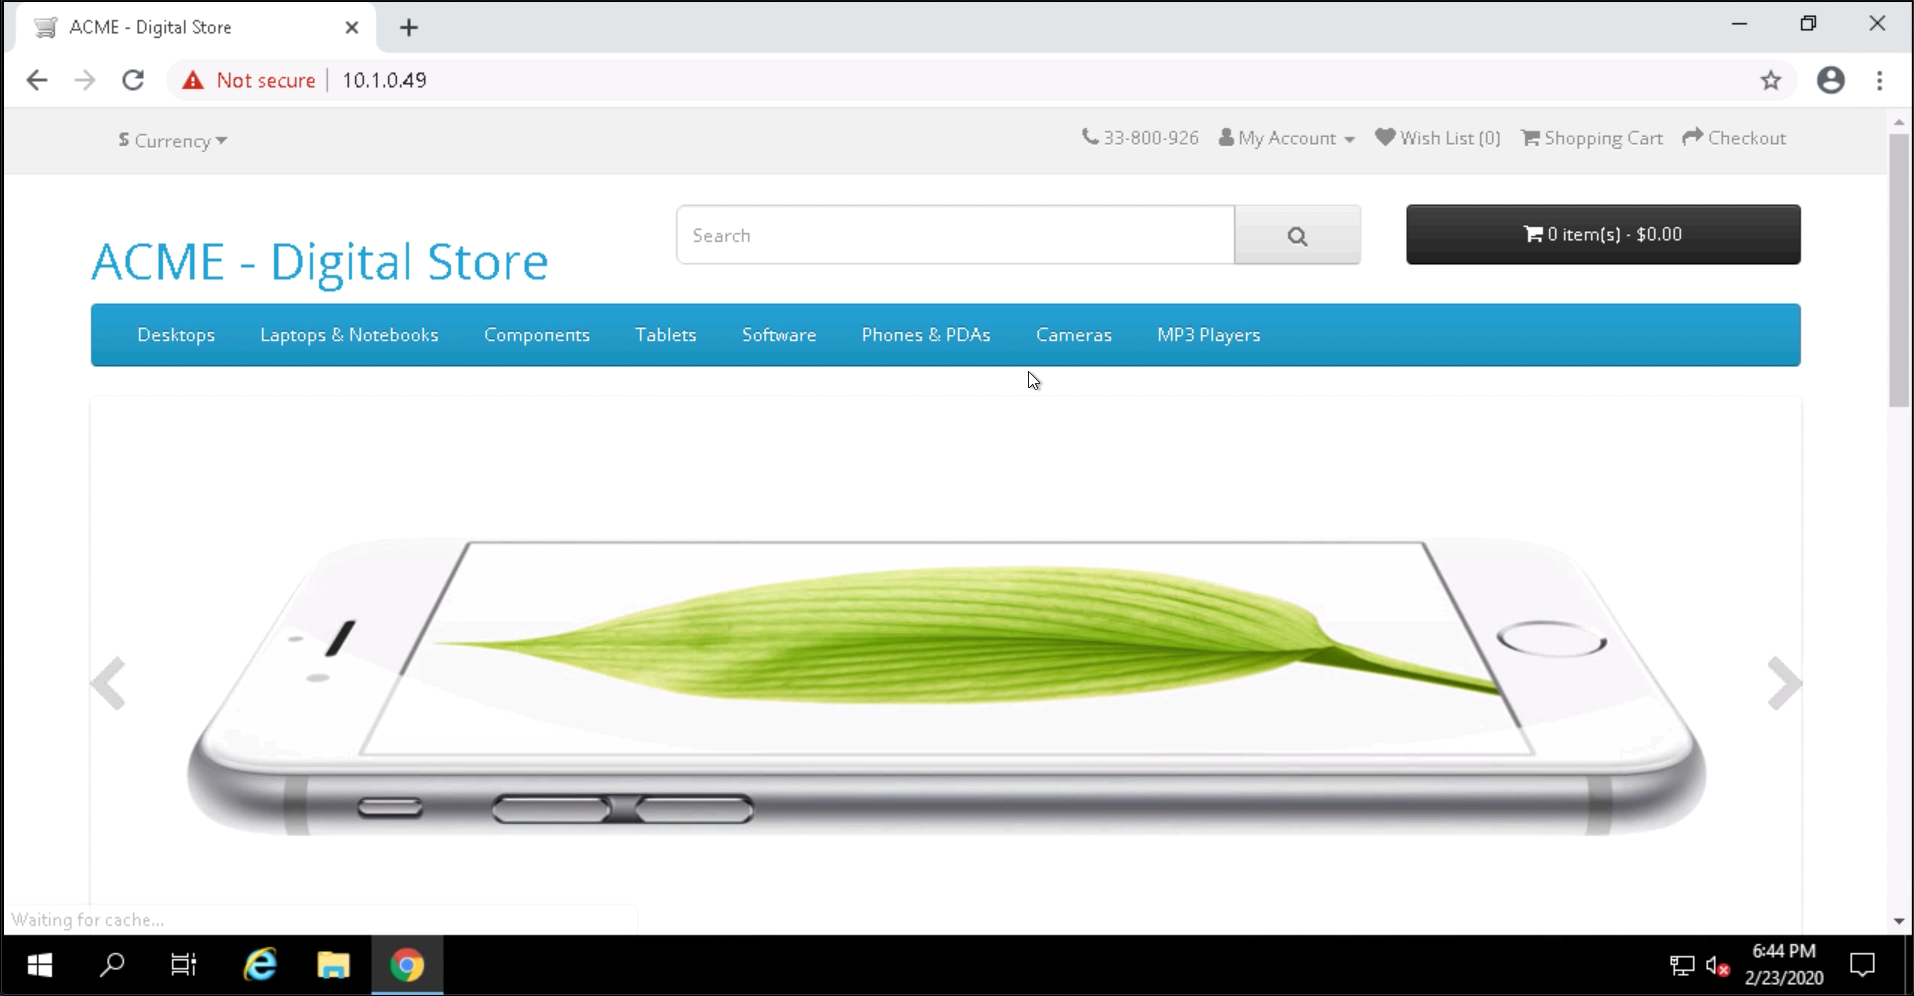
The ACME Digital Store web site should be displayed.
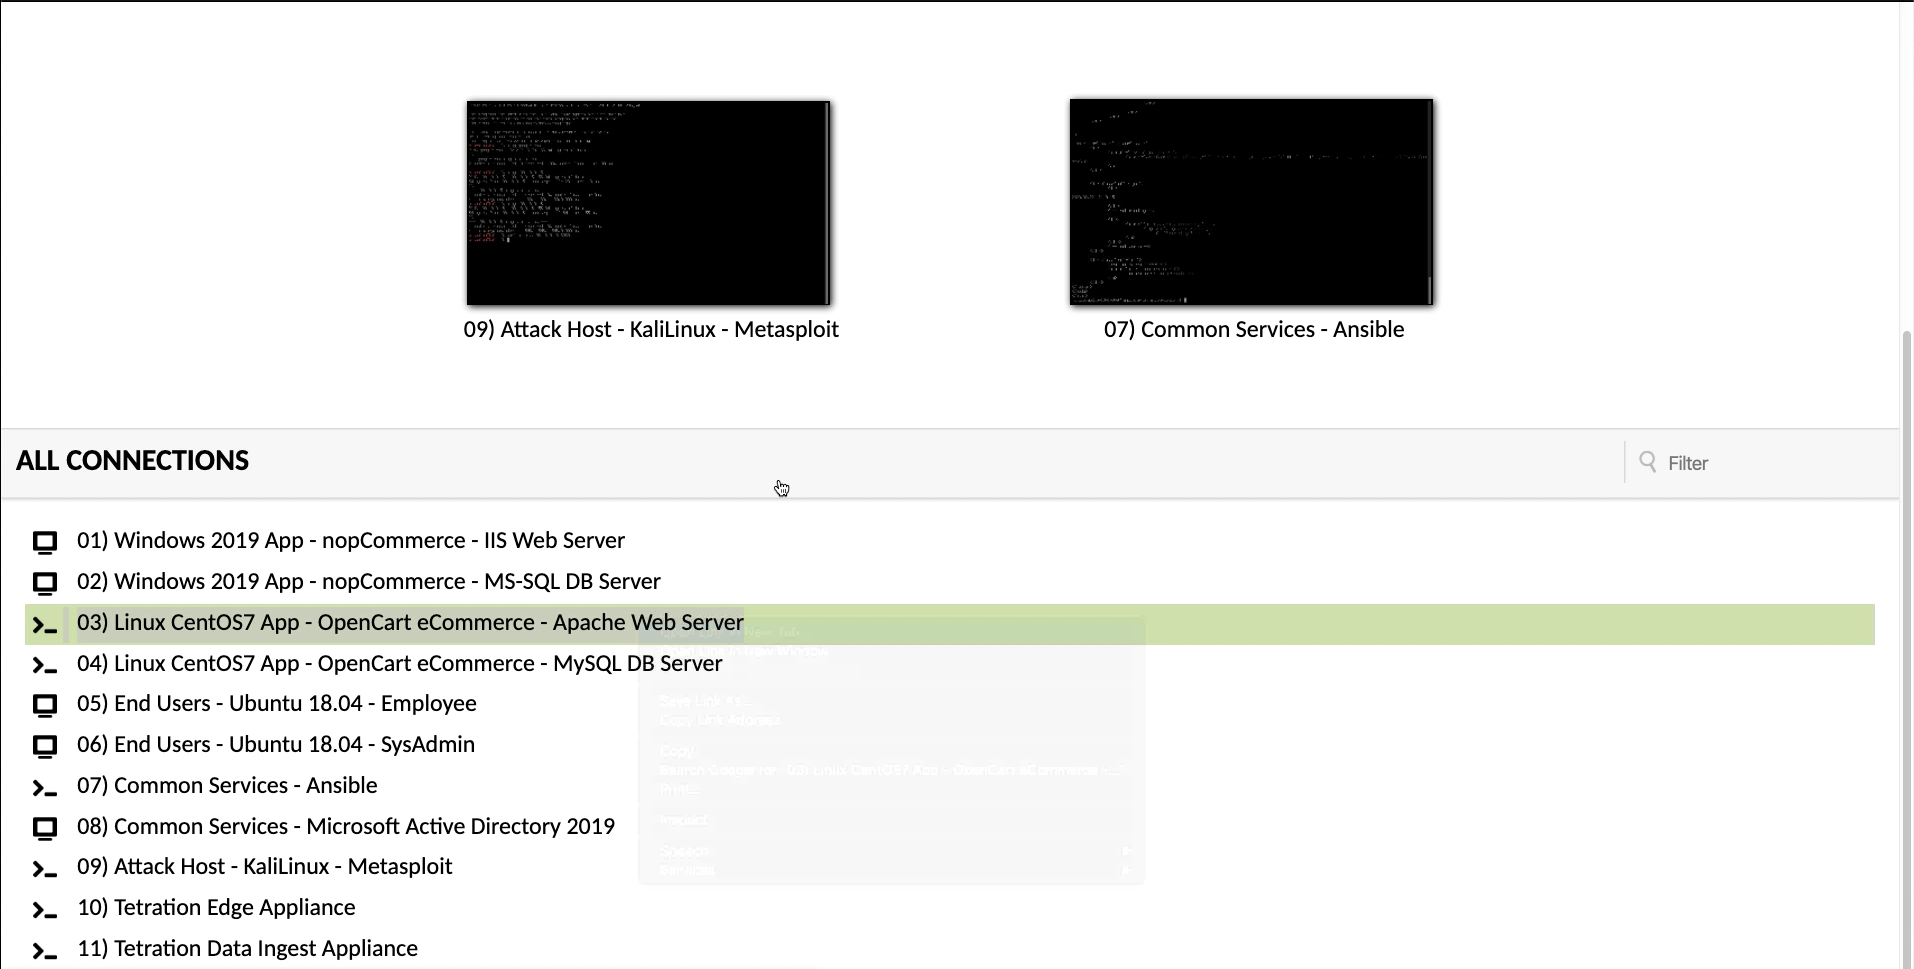
Open a session to the Apache web server.
Test outbound Internet access by issuing ping commands to well-known web sites.
Use the curl command to initiate an outbound HTTP connection to well-known web sites.
Use the curl command to create an HTTP session from the Apache web server to the IIS web server.
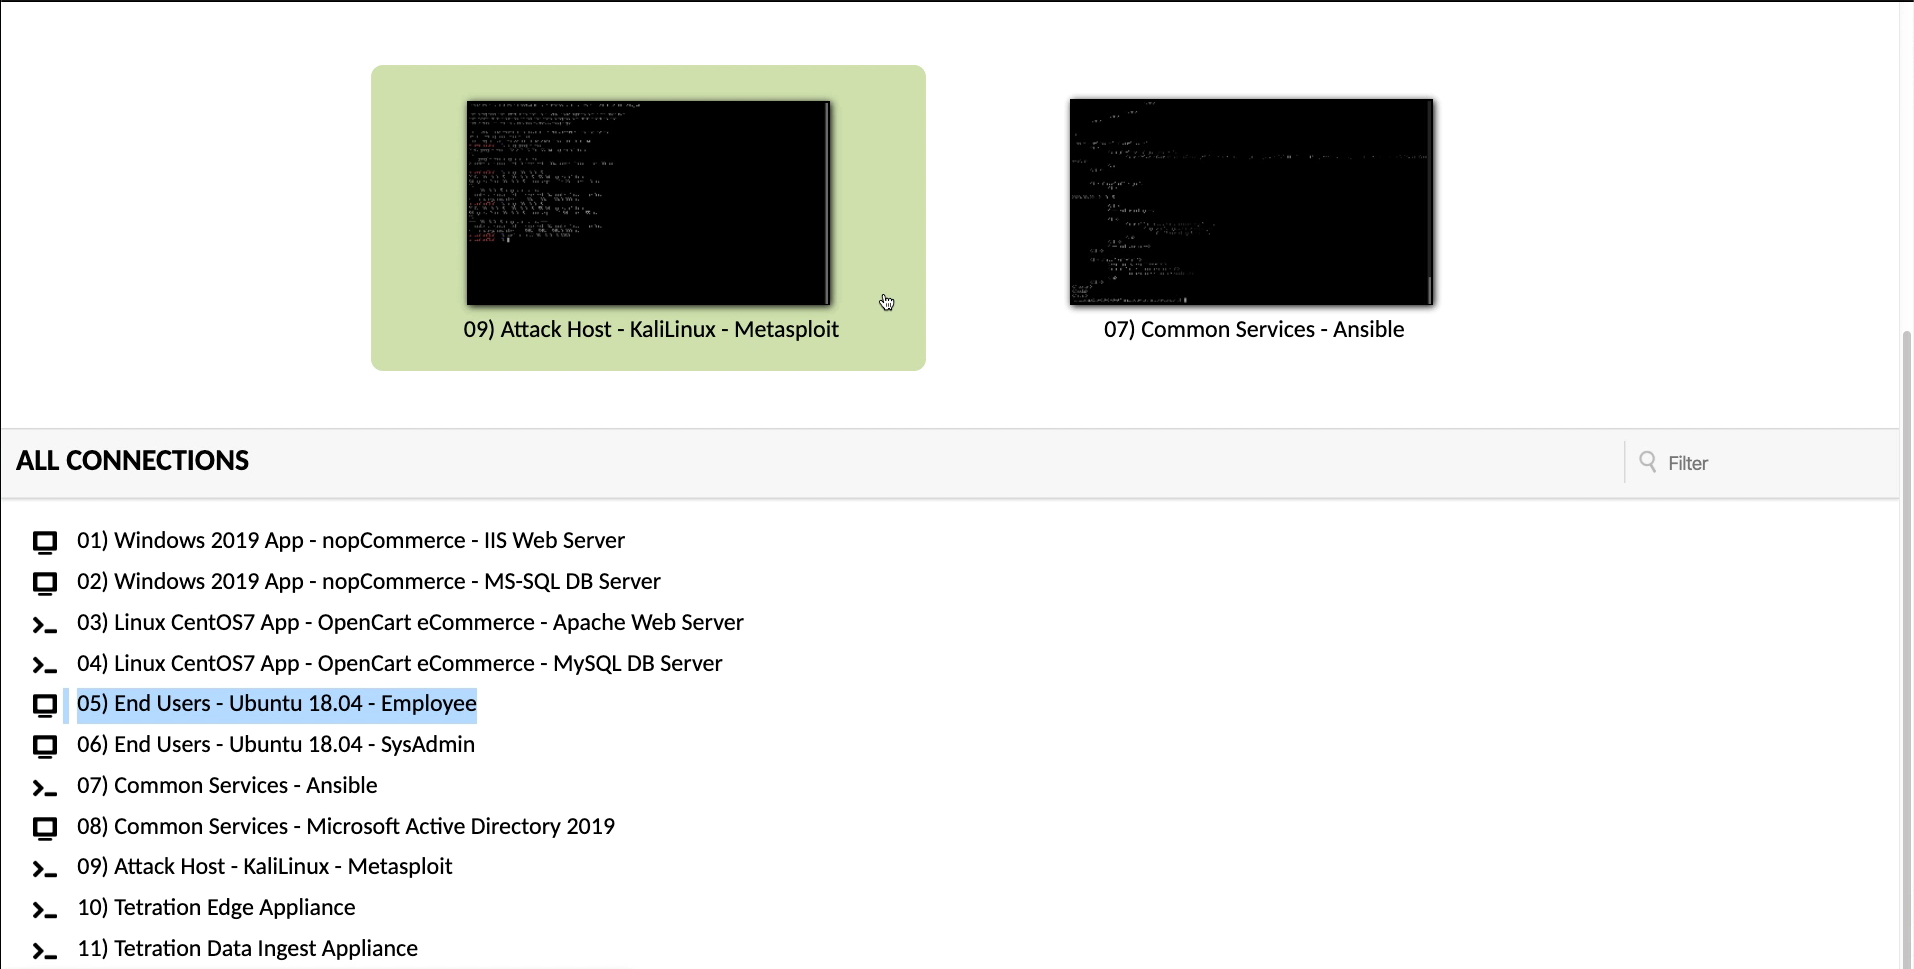
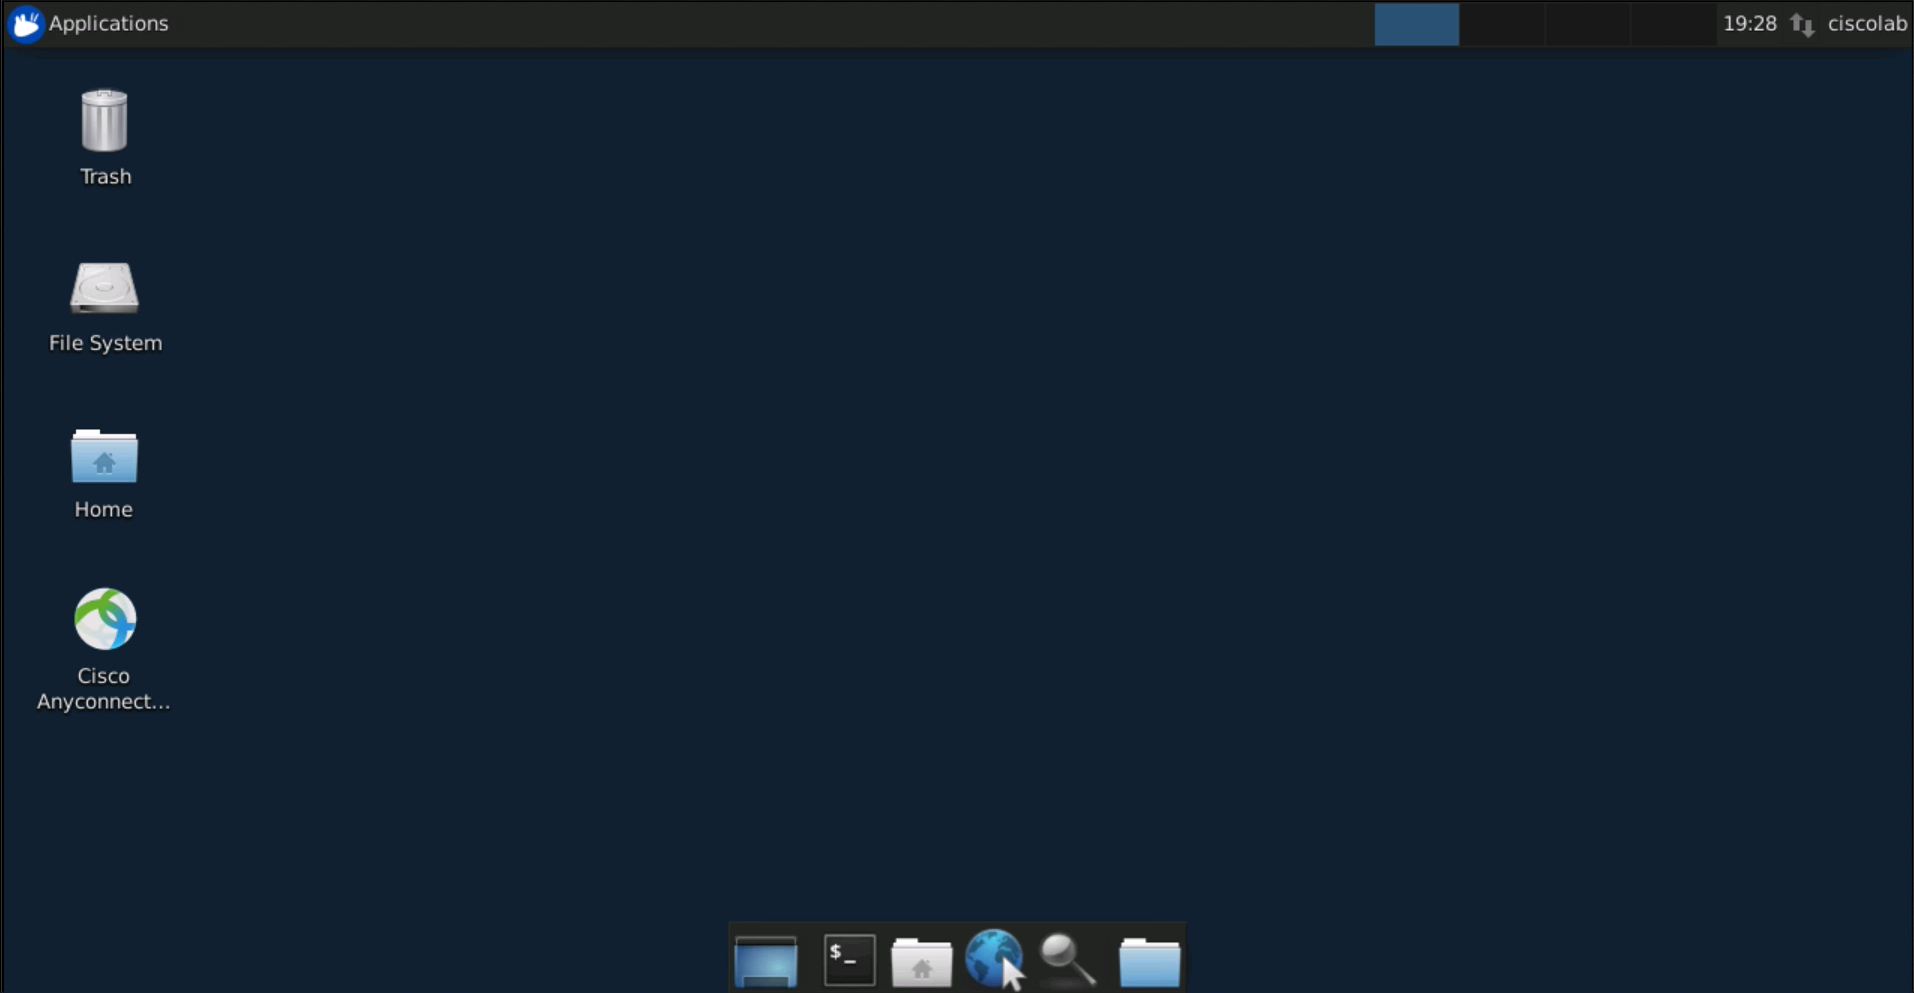
Open a session to the Employee desktop.
Click on the Cisco AnyConnect VPN Client icon on the desktop.
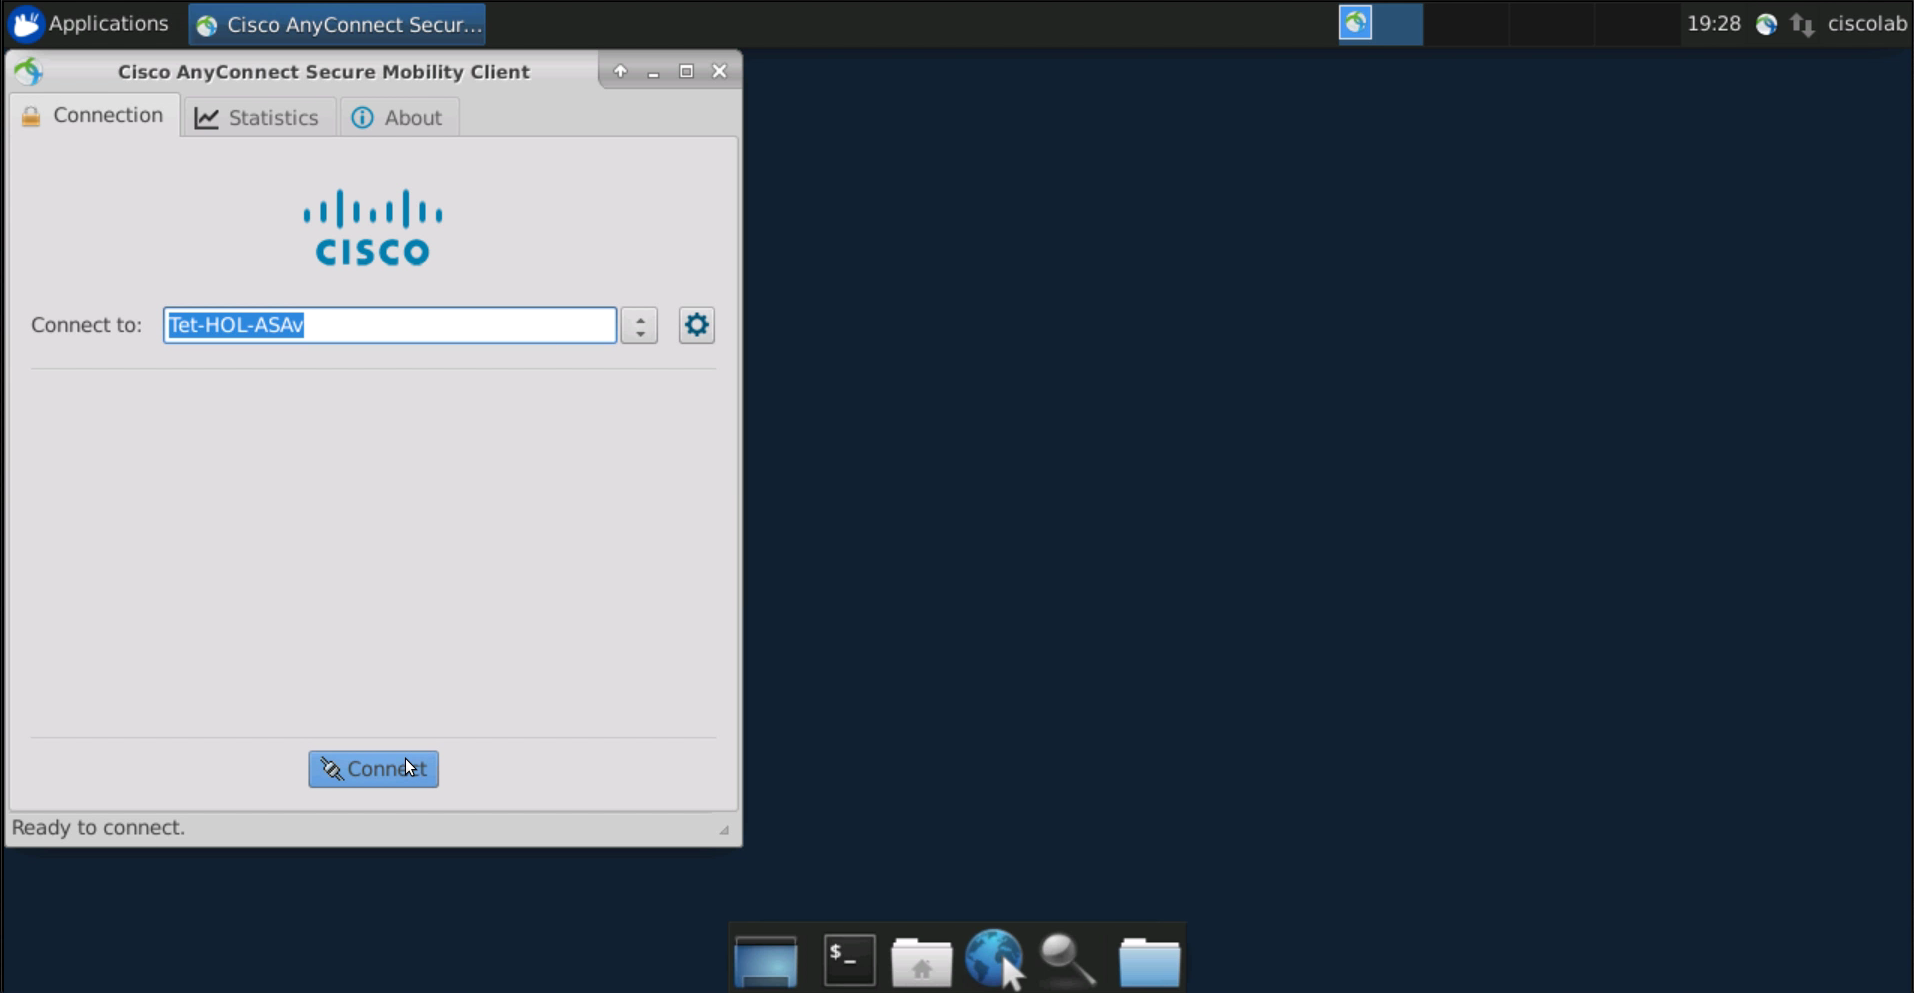
Click Connect.
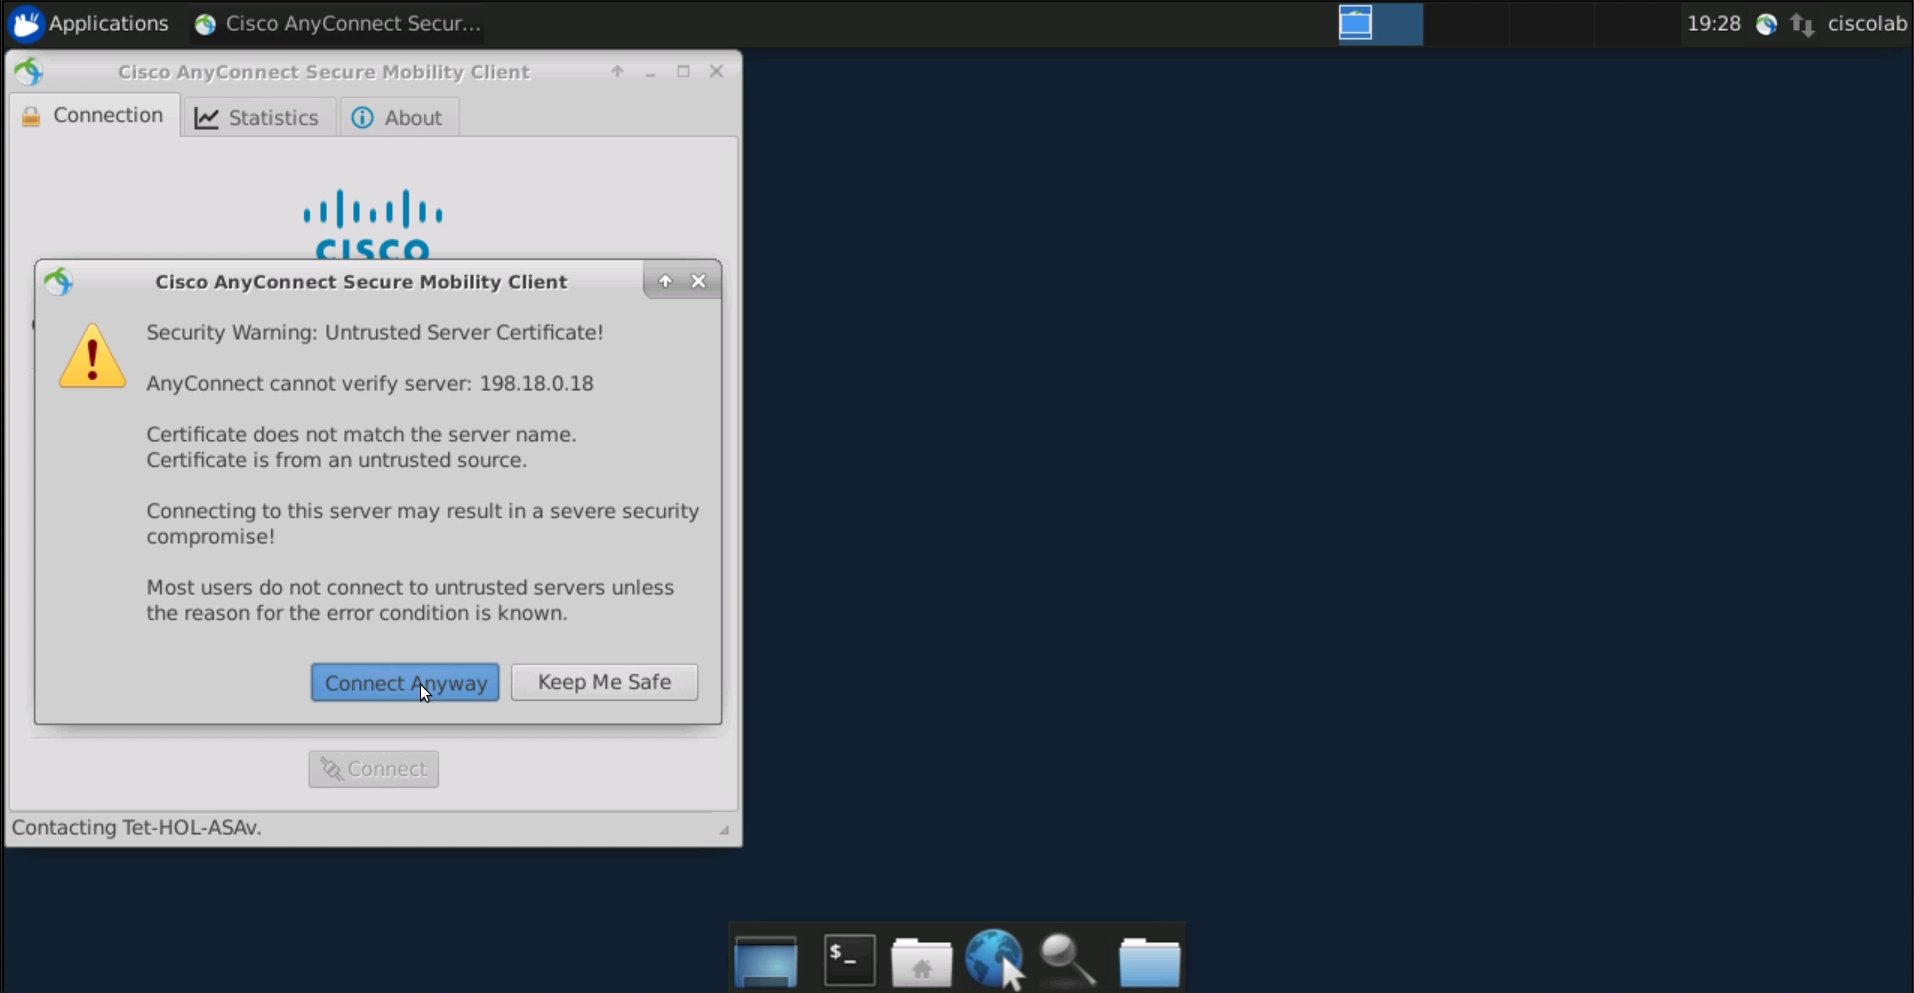
Select Connect Anyway on the security warning.
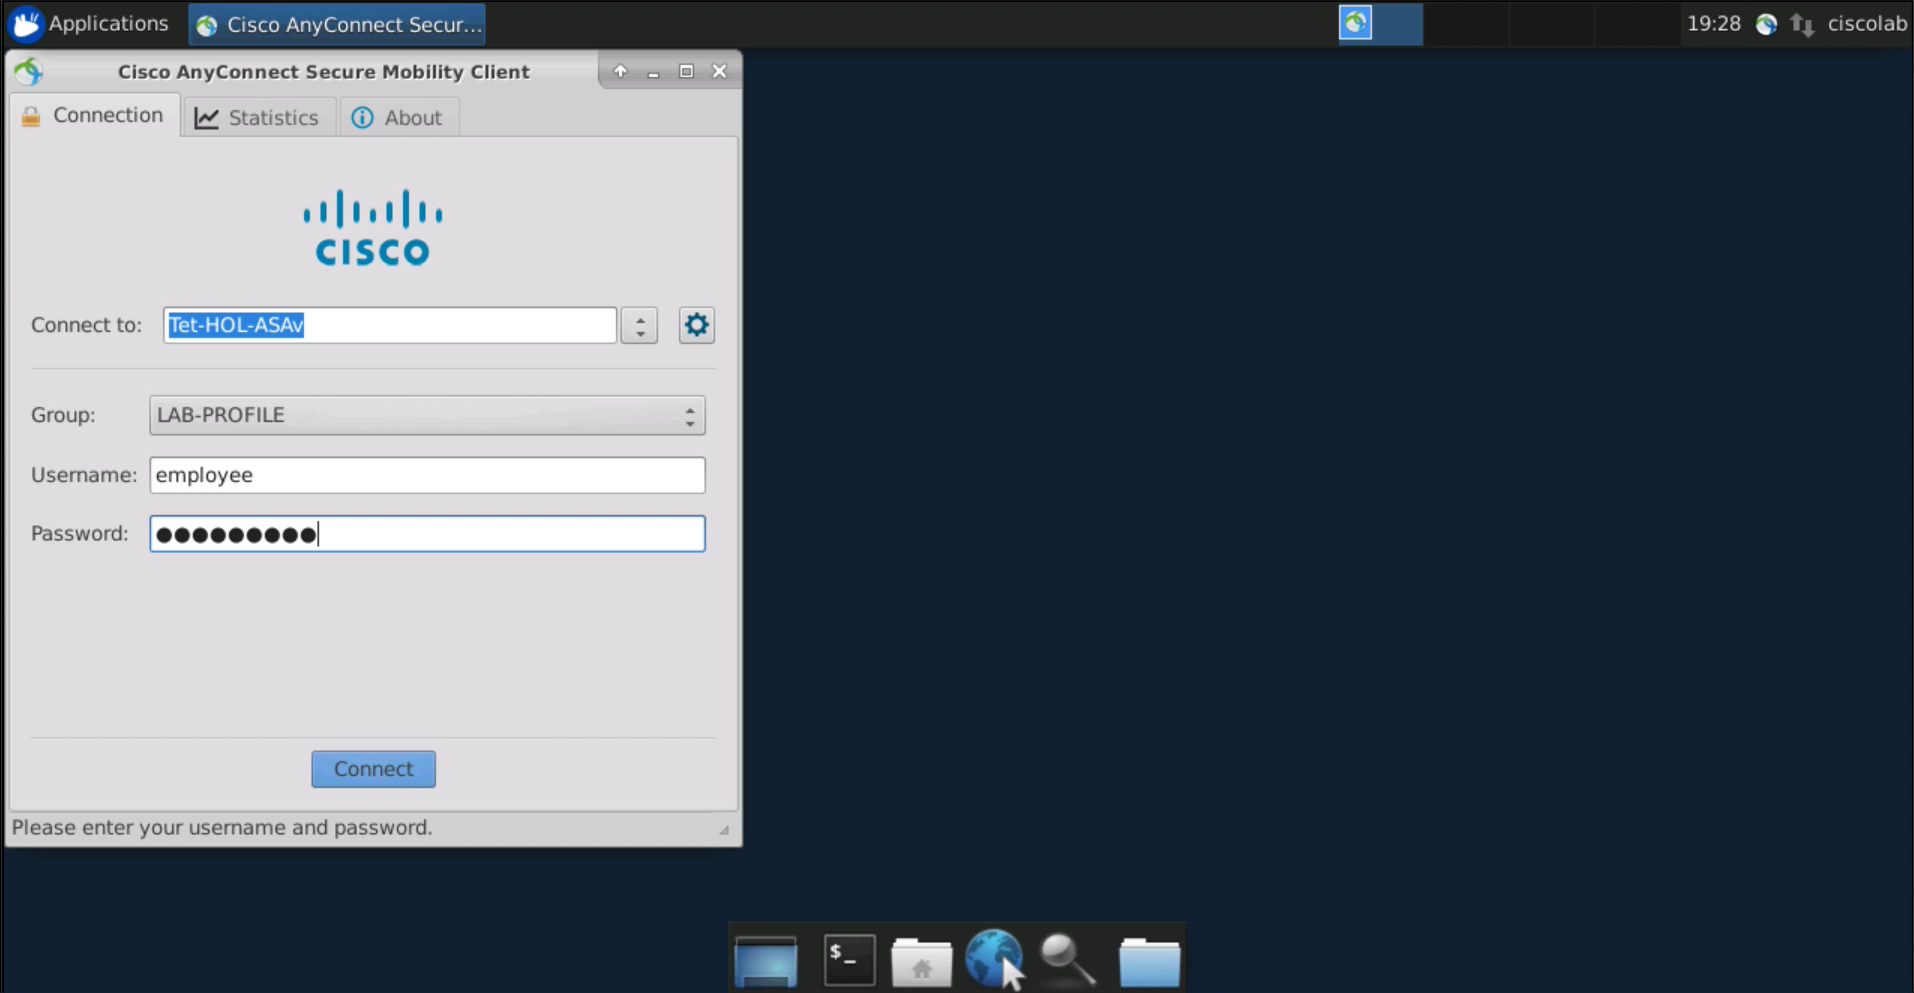
Log in using your employee credentials.
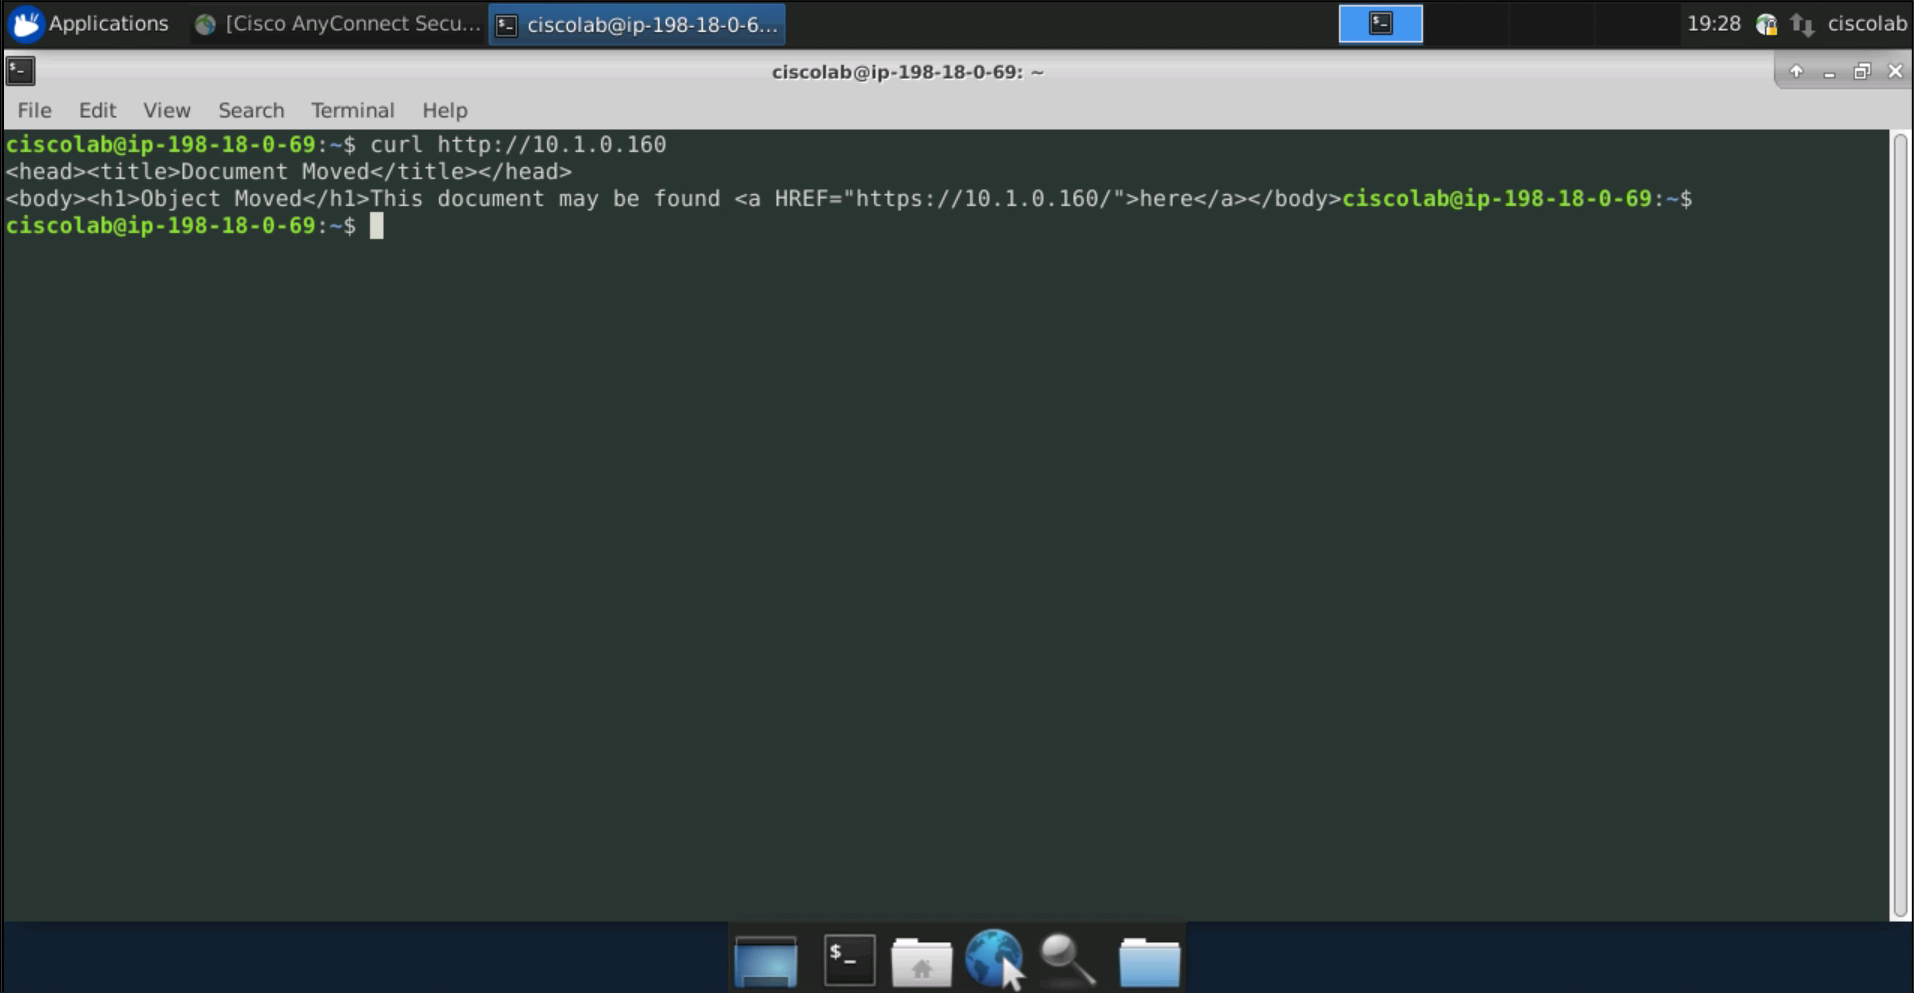
Open the terminal application and use the curl command to open an HTTP connection to the IIS web server. The terminal application can be launched by clicking the black icon in the bottom middle of the screen.
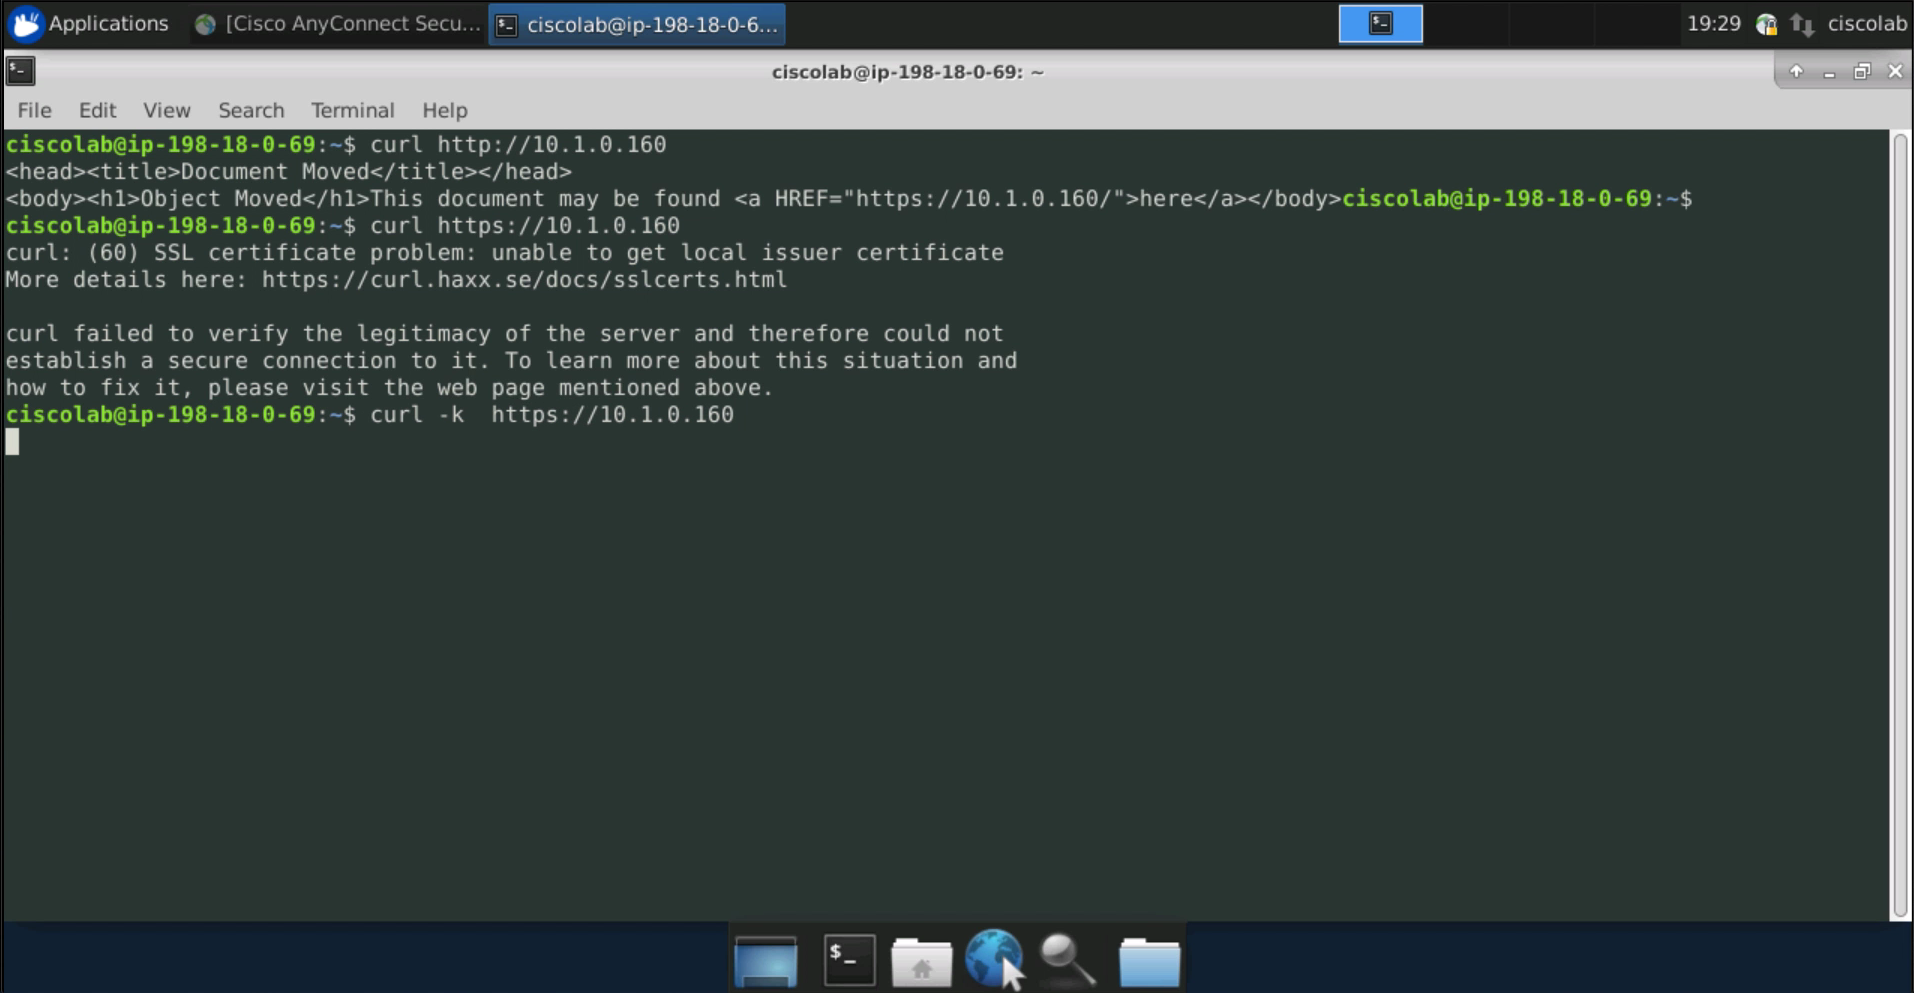
Use curl to open an HTTPS session to the IIS web server. This can be accomplished by using the -k flag and https for the URL as shown in the below image.
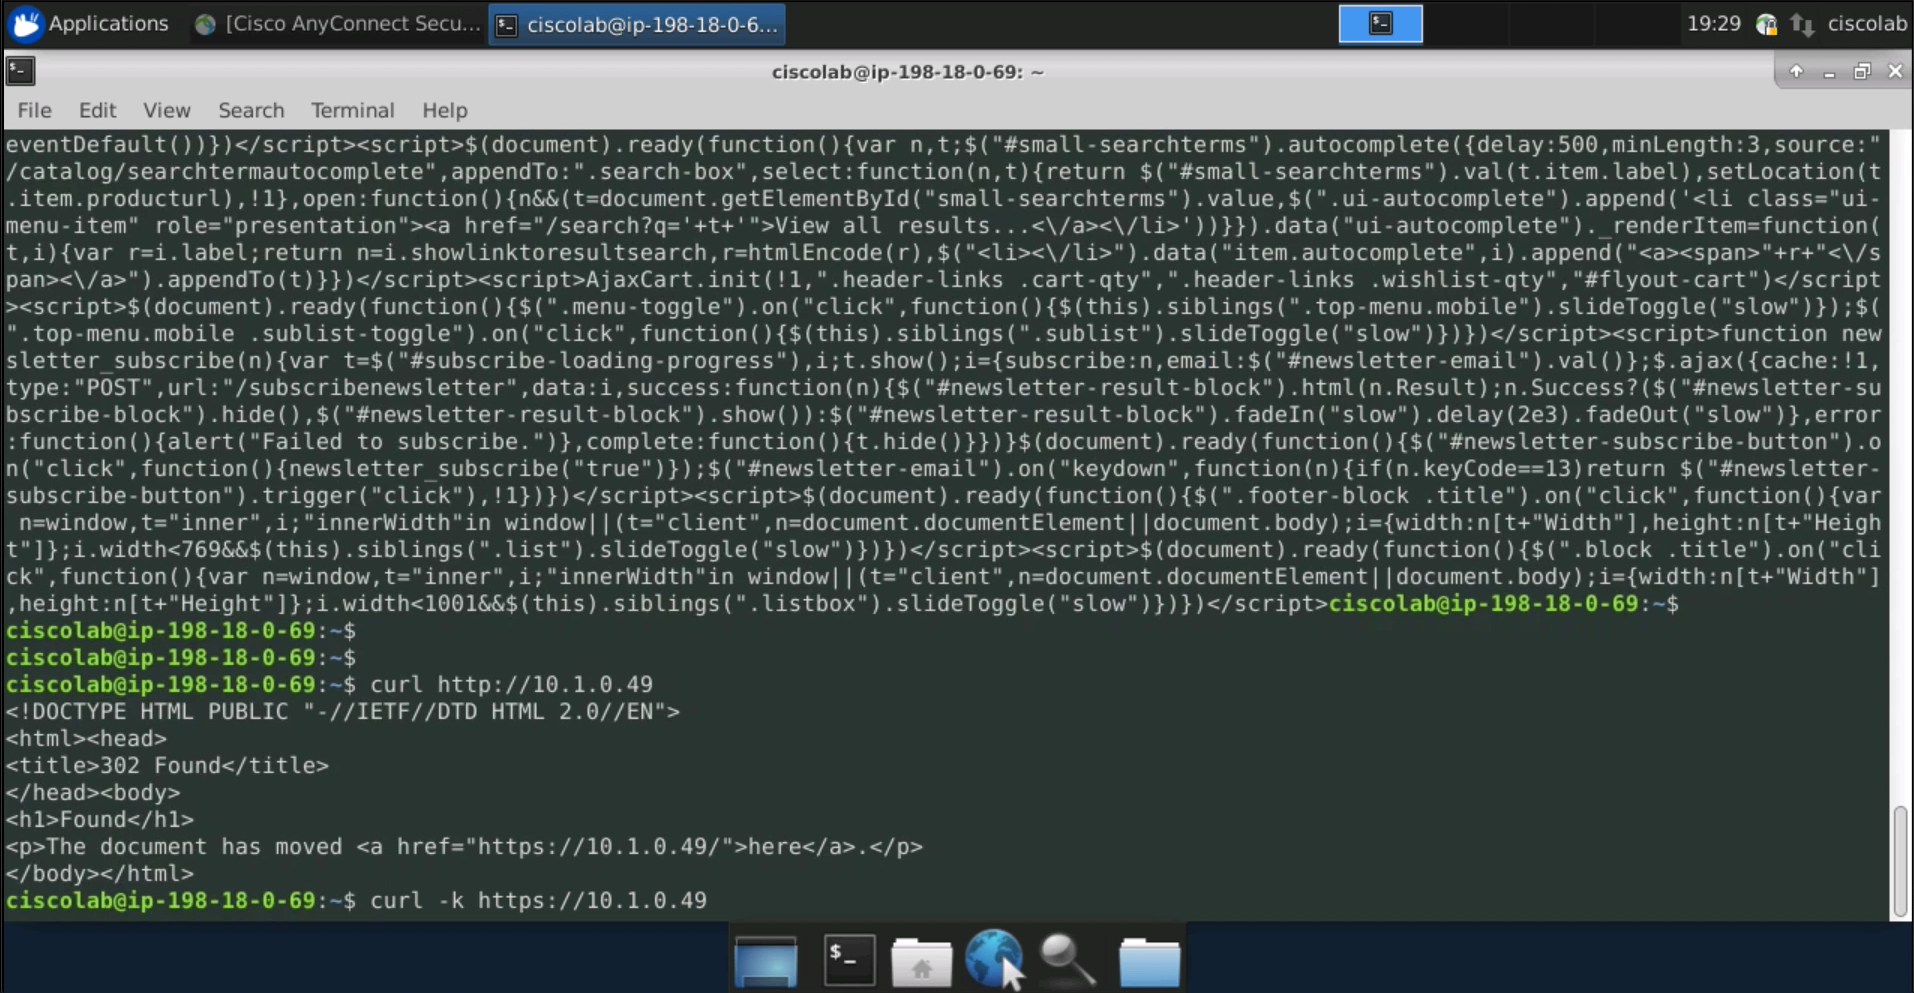
The below image shows the output of the curl command which is a text-based representation of the web site.

Test an HTTP connection to the Apache web server using the curl command.
Test an HTTPS connection to the Apache web server using the curl command.
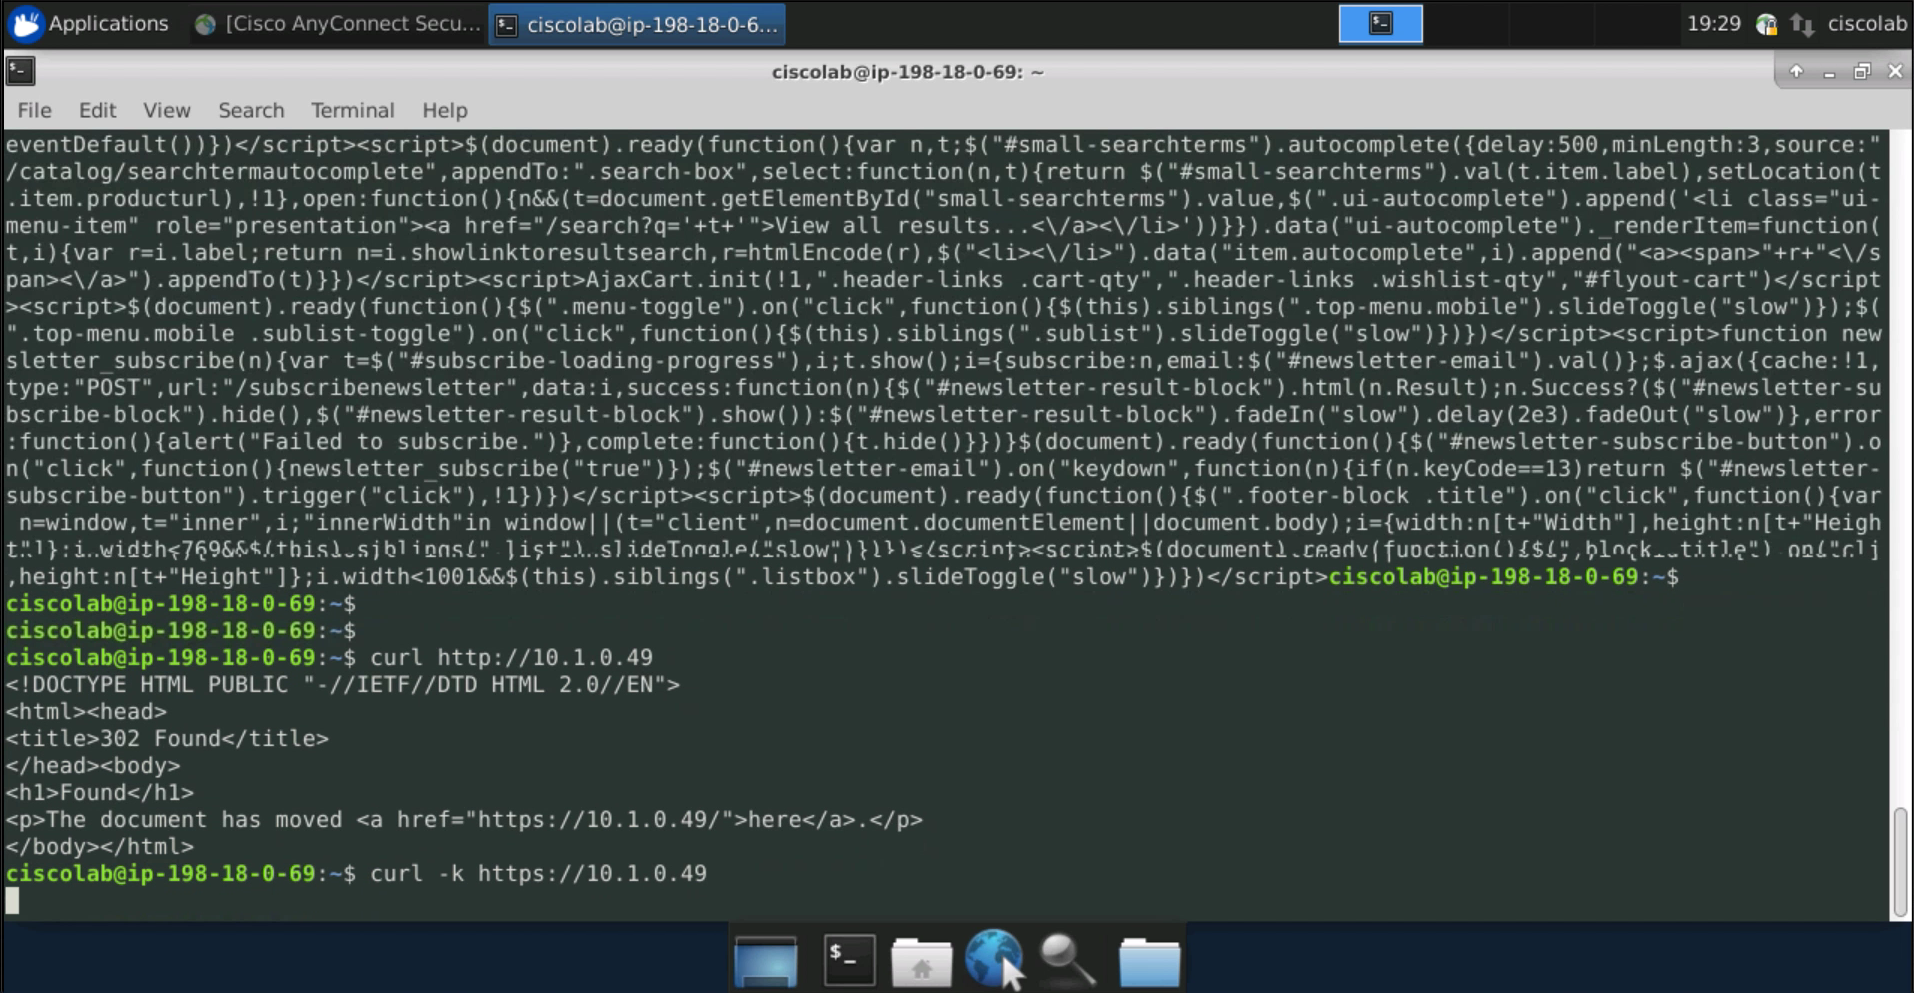
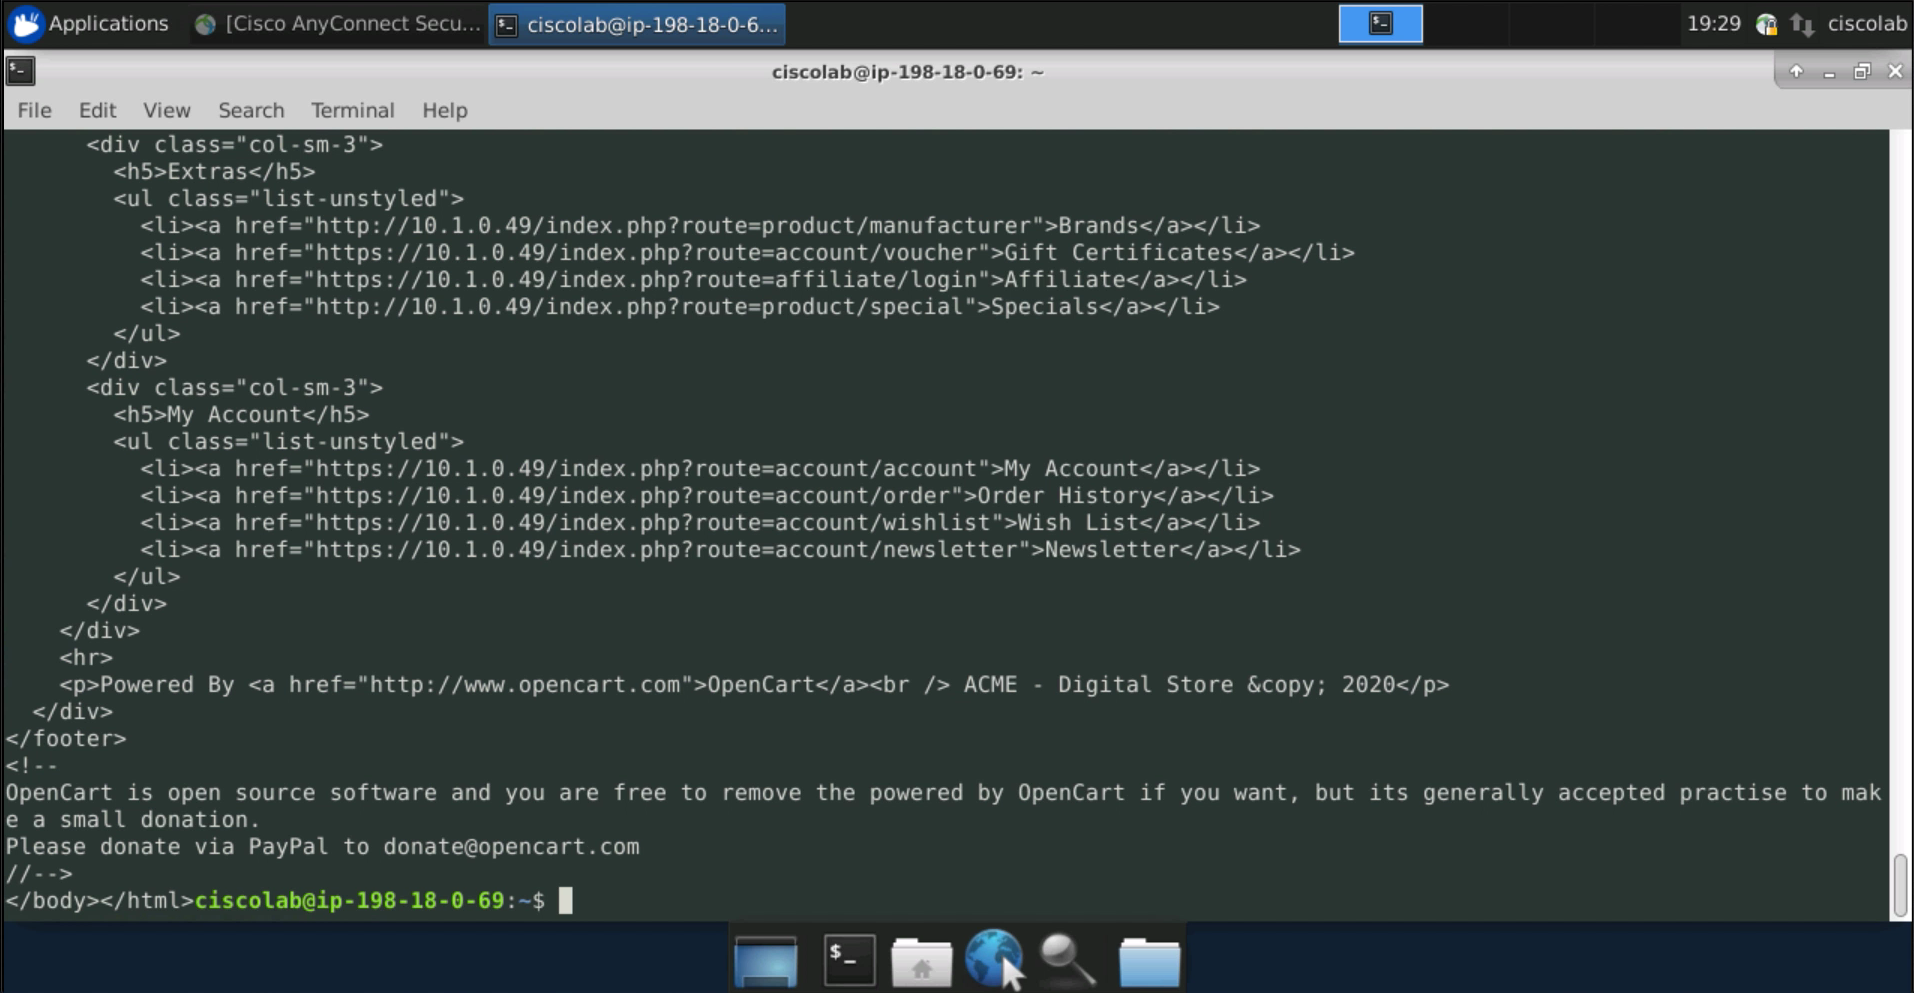
The below image shows the text-based representation of the web site that is returned from the previous curl command.
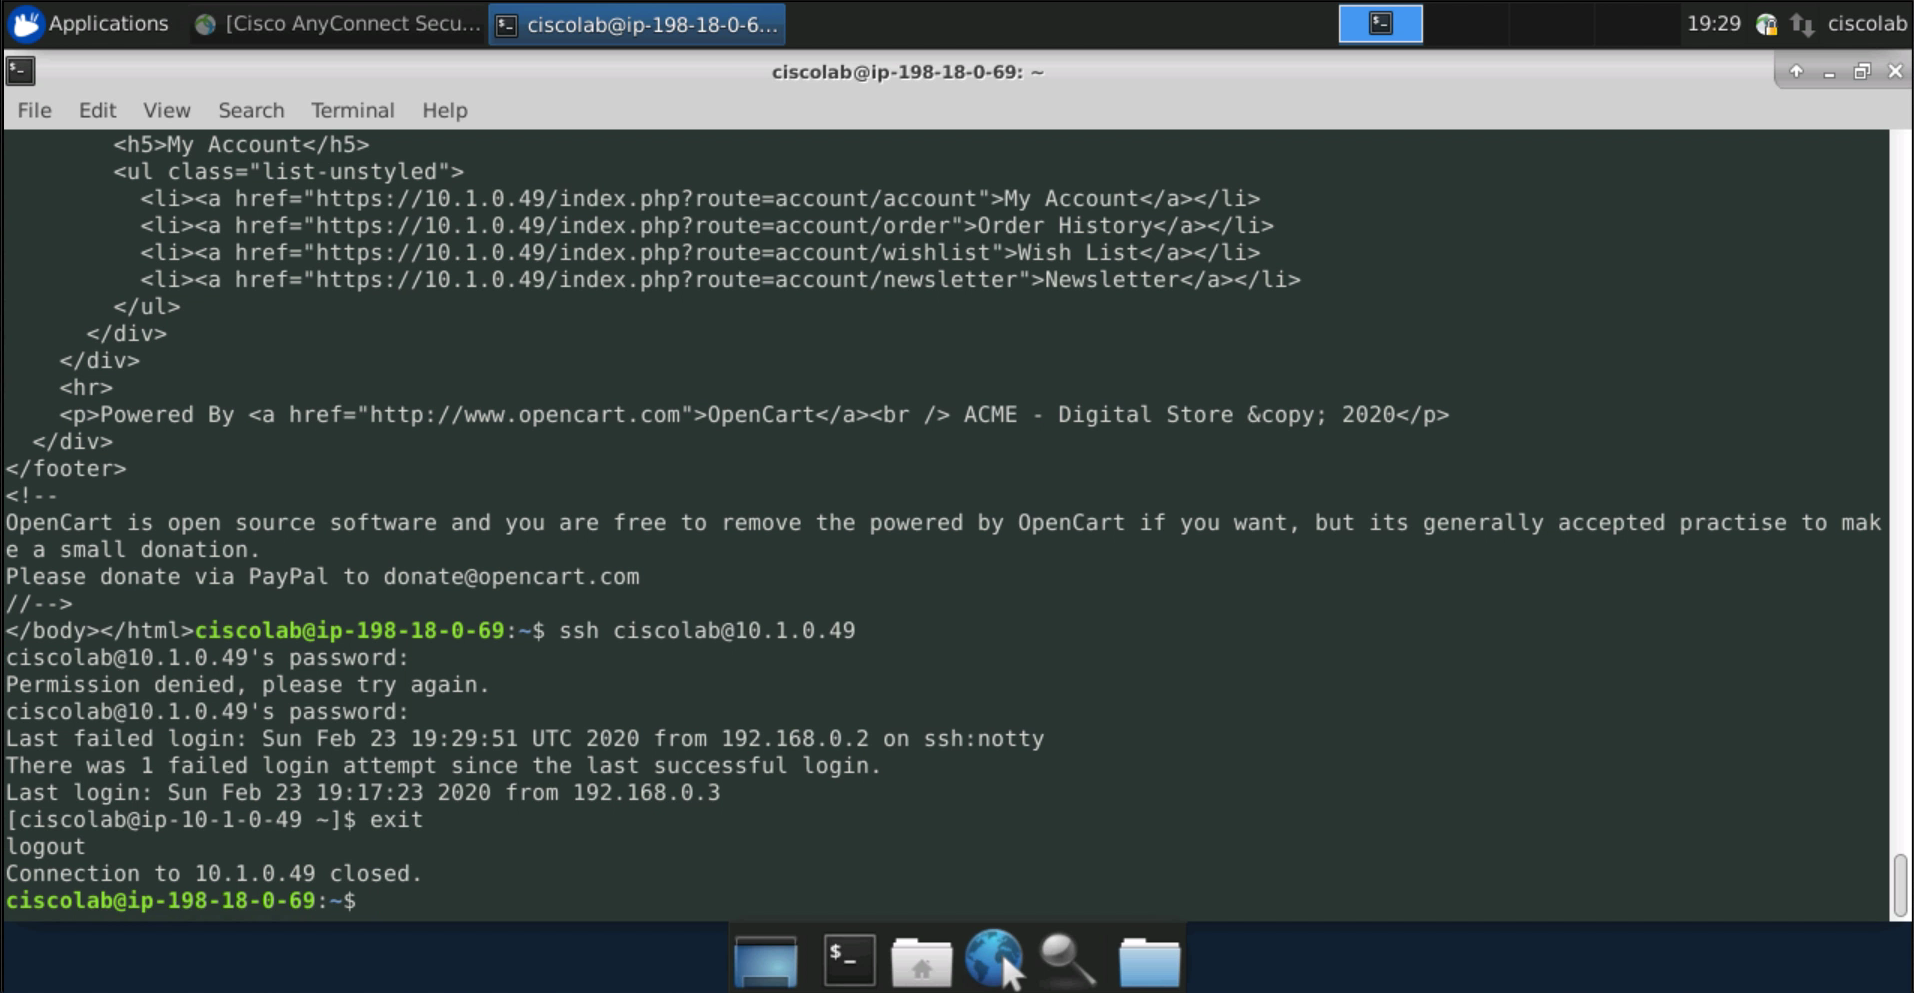
Connect to the Apache web server using SSH. The connection should be successful.
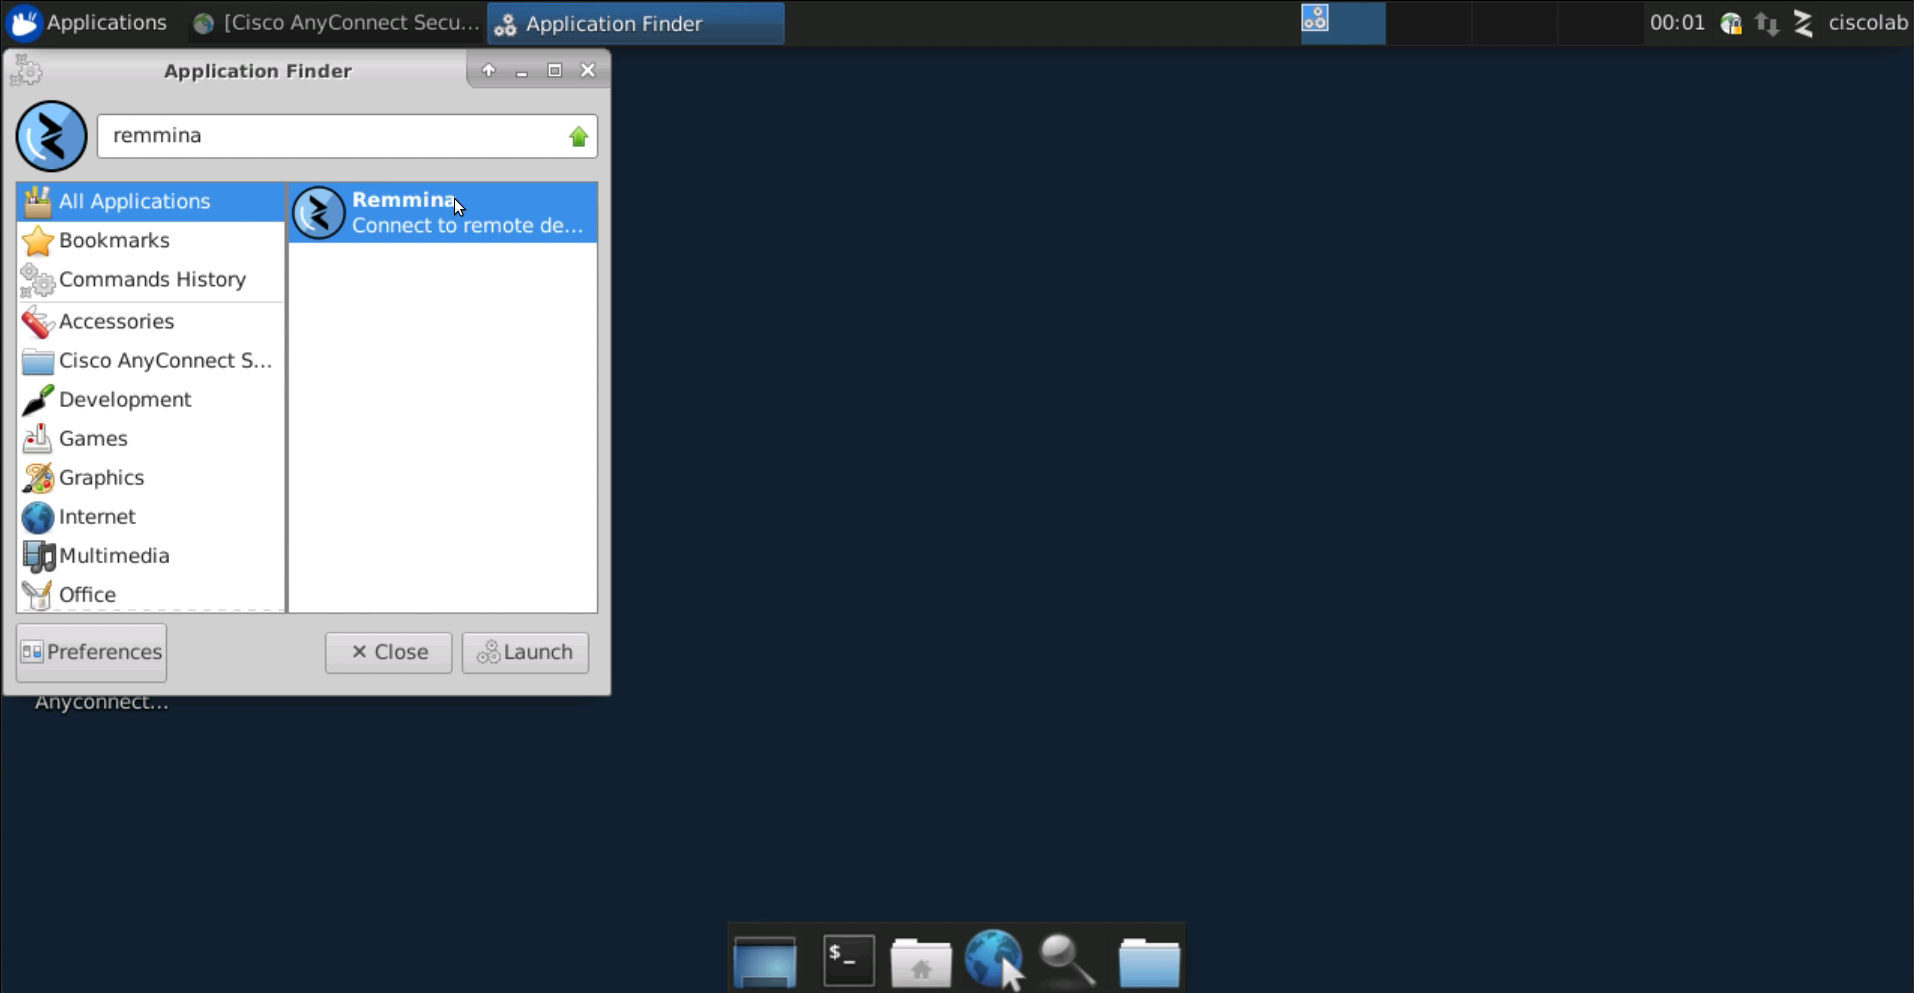
Click on the Search icon at the bottom of the screen and search for the Remmina application. This is an Remote Desktop application for Ubuntu. Click on Remmina, and select Launch.
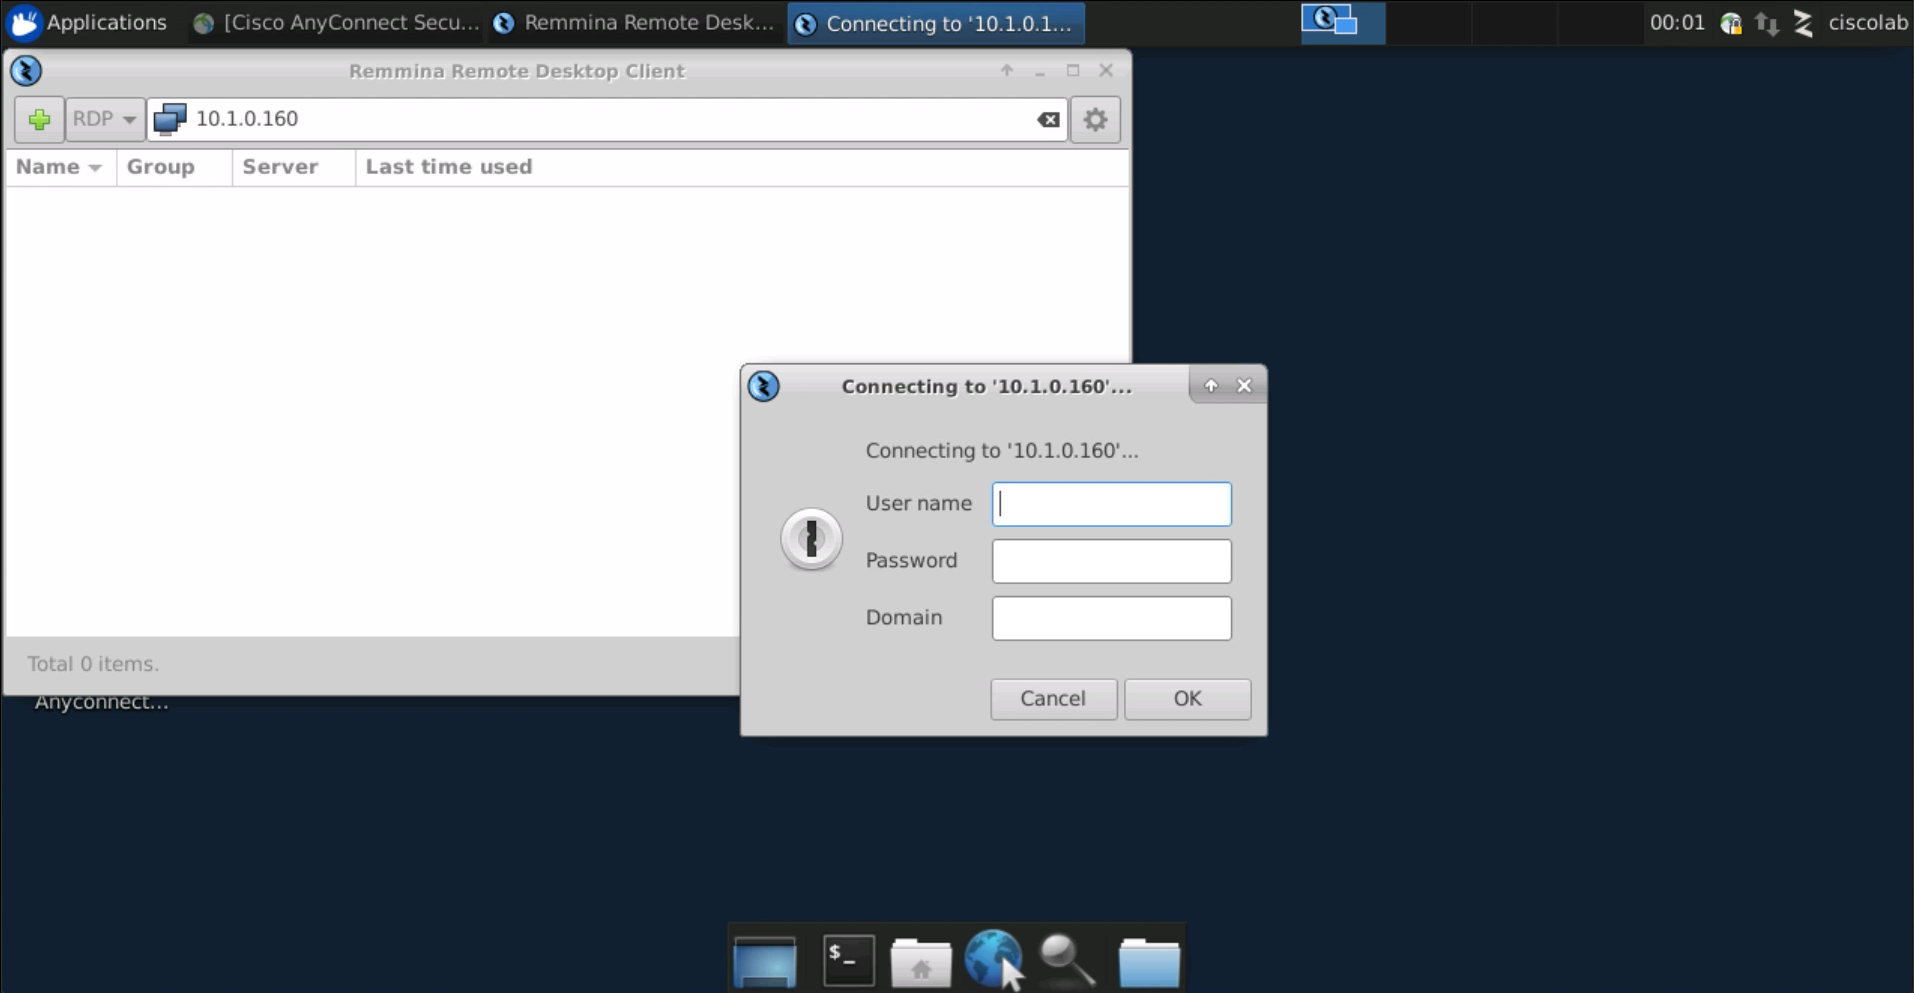
Enter the IP address of the IIS web server and click Connect. A userid/password dialogue should be display. This indicates that the connection was successful to the IIS server. There is no need to log into the RDP session. Close the login dialogue.
REPEAT STEPS 12-25 ON THE SYSADMIN MACHINE.
YOU HAVE FINISHED THIS MODULE
| Return to Table of Contents | Go to Top of the Page | Continue to the Next Module |